Paper Cut Out Effect in Photoshop CC | Easy Photo Manipulation Tutorial
Summary
TLDRIn this Photoshop tutorial, the creator demonstrates how to achieve a paper cutout effect. The process involves selecting and masking your subject, adding textures like crumpled paper, adjusting the background, and enhancing the subject with smart filters and layer styles. Key techniques include using the polygonal lasso tool for masking, applying hue and saturation adjustments, and incorporating a drop shadow for added depth. The tutorial also covers the use of tape overlays for a realistic effect. This step-by-step guide helps users create an eye-catching, artistic cutout design in Photoshop.
Takeaways
- 😀 You need an image to cut out, preferably one where the subject is clearly visible from all sides for better effect.
- 😀 Essential assets include white crumpled paper as texture, a background texture, and tape for the final touch.
- 😀 Duplicate the main image layer twice in Photoshop and name the layers accordingly: 'subject' and 'paper'.
- 😀 Use the polygonal lasso tool to cut out the subject, leaving some jagged edges for a more natural look.
- 😀 Use the quick selection tool in Photoshop to select the subject and apply a mask on the 'subject' layer.
- 😀 Place the background texture and adjust its hue, saturation, and levels to create the desired color and contrast.
- 😀 Apply a clipping mask to the paper texture layer so that it fits only within the cutout subject shape.
- 😀 Add a drop shadow to the paper layer to give it depth and make it appear more realistic.
- 😀 Use the high pass filter on the subject layer to bring out fine details, then set the blend mode to 'overlay' for enhanced texture.
- 😀 Add optional artistic effects, such as oil paint, film grain, and adjustments in the Camera Raw filter to enhance the cutout's visual appearance.
Q & A
What is the first thing you need to do when starting this paper cutout effect in Photoshop?
-The first thing you need to do is duplicate the main image twice by using Command/Control + J twice. Name one layer 'Subject' and the other 'Paper'.
Why is it important to leave jagged edges while using the Polygonal Lasso Tool?
-Jagged edges help create a more realistic cutout effect, as perfectly straight lines tend to look unnatural. Adding some imperfection makes the cutout feel more authentic.
How do you select the subject of your image in Photoshop?
-To select the subject, use the Quick Selection Tool and click 'Select Subject'. Photoshop automatically selects the subject, and you can adjust the selection by painting over areas with the plus or minus options.
What do you do after selecting your subject in Photoshop?
-After selecting the subject, click on the little rectangle with a circle in it to create a mask around the subject, which isolates it from the background.
How can you adjust the background texture to match your desired look?
-After placing the background texture, you can adjust its color using the Hue/Saturation layer and further tweak contrast with the Levels adjustment to refine the background's appearance.
How do you apply a paper texture to the cutout in Photoshop?
-To apply the paper texture, place the texture image on the 'Paper' layer, then right-click and select 'Create Clipping Mask'. This ensures the texture only shows where the mask is applied, following the shape of the cutout.
What effect does the 'Drop Shadow' layer style have on the paper layer?
-The 'Drop Shadow' layer style adds depth to the paper cutout by creating a shadow that makes the paper appear lifted off the background. The settings such as opacity, distance, size, and angle help control the shadow's appearance.
Why is it important to use a Smart Object when applying filters to the subject image?
-Using a Smart Object allows you to apply filters non-destructively. This means you can modify or remove filters at any time without permanently altering the original image.
What are some optional filters you can apply to the subject to enhance the effect?
-You can apply filters like 'Oil Paint', 'Film Grain', and adjustments in 'Camera Raw Filter'. These enhance the artistic or photocopy-like appearance of the subject, depending on your desired style.
How do you add tape to your final image to complete the paper cutout effect?
-To add tape, use a PNG image of tape, copy it into your project, and position it where you want. You can apply a drop shadow to the tape to make it look more realistic. Additionally, you can change the tape color using the Hue/Saturation adjustment.
Outlines

Cette section est réservée aux utilisateurs payants. Améliorez votre compte pour accéder à cette section.
Améliorer maintenantMindmap

Cette section est réservée aux utilisateurs payants. Améliorez votre compte pour accéder à cette section.
Améliorer maintenantKeywords

Cette section est réservée aux utilisateurs payants. Améliorez votre compte pour accéder à cette section.
Améliorer maintenantHighlights

Cette section est réservée aux utilisateurs payants. Améliorez votre compte pour accéder à cette section.
Améliorer maintenantTranscripts

Cette section est réservée aux utilisateurs payants. Améliorez votre compte pour accéder à cette section.
Améliorer maintenantVoir Plus de Vidéos Connexes
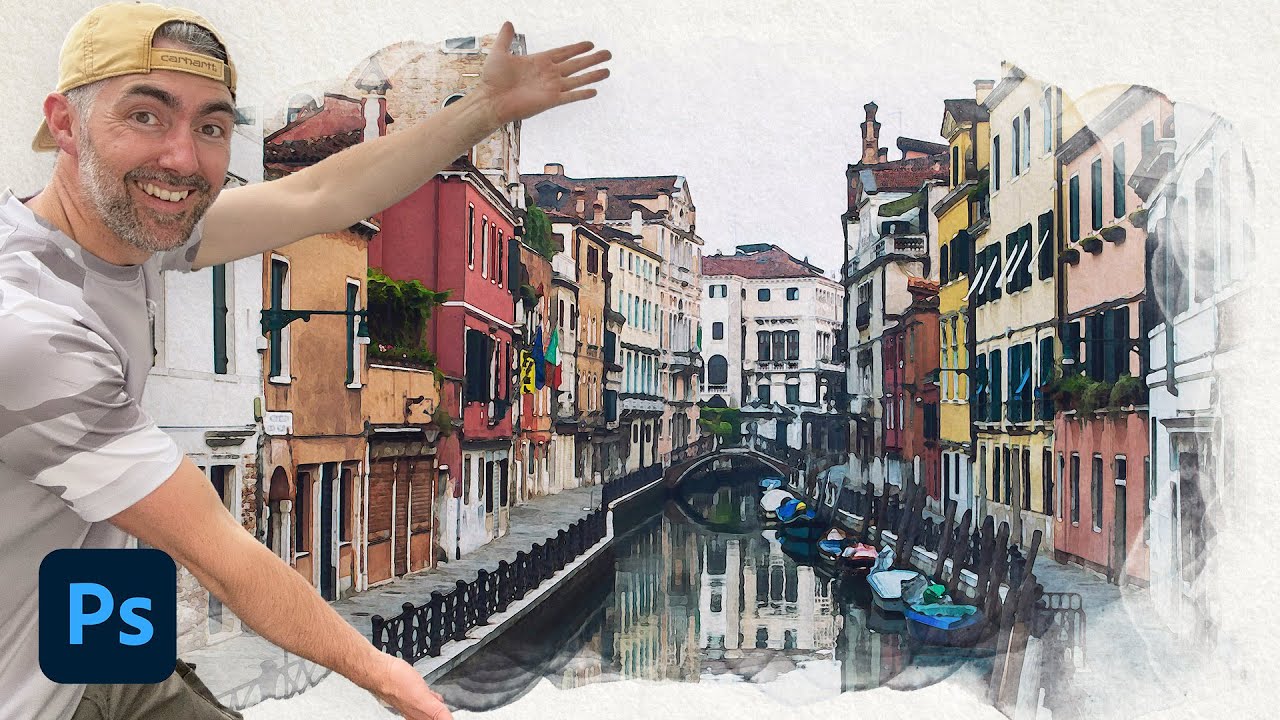
How to Create a Watercolor Painting Effect in Photoshop

SIMPLE INK BLEED EFFECT TUTORIAL | ADOBE PHOTOSHOP
How To Create Pixelated Text Effect in Photoshop [Free File] - Photoshop Tutorials
Cara Membuat Efek Cinematic Color Grading di Adobe Photoshop
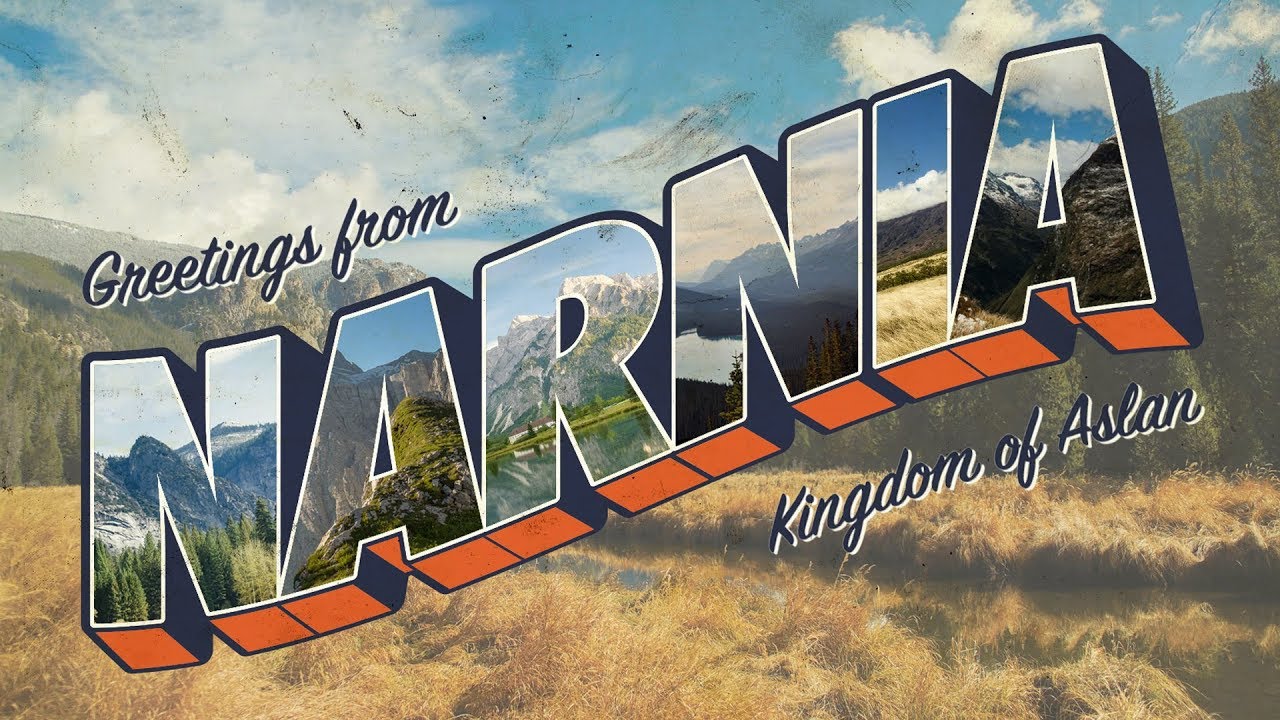
How To Create a Vintage Postcard Design (Illustrator & Photoshop Tutorial)
Text portrait Effect in Photoshop
5.0 / 5 (0 votes)
