Dominate Every Match: Akuma Setup Guide for Street Fighter 6
Summary
TLDRThis video offers an in-depth guide on Akuma's setup strategies in fighting games. It covers various moves, including light and heavy Tatsumaki options, sweeps, and special attacks, detailing the frame advantage and mix-up opportunities each provides. The guide also explores combo routes, wake-up options, and corner carry tactics, emphasizing the importance of adapting setups to different situations and opponent behaviors. Aimed at enhancing viewers' understanding of Akuma's potential and improving their gameplay.
Takeaways
- 🎮 Akuma setup video covering light Tatsumaki options and various setups for week one.
- 💥 Light Tatsumaki into sweep and double dash results in plus four frames and mix opportunities.
- 🌀 Safe jump setup after light Tatsumaki and sweep if executed immediately.
- 🔥 Light Tatsumaki into DP opens new combo routes, countering non-invincible wake-up options.
- 🔄 Sweep into dash followed by overhead or standing light kick for various frame advantages.
- 🚀 Heavy DP setups including overhead, command throw, and frame traps for plus frames.
- 💡 Medium Tatsumaki setup options leading to loops and consistent mix-ups.
- 🌐 Situational setups for light, medium, and heavy DP, including drive rush and demon flip variations.
- 🔄 Safe throw loops and back heavy kick setups after forward throws for pressure.
- ⚙️ EX Hadouken and teleport combinations for maintaining pressure and maximizing frame advantages.
Q & A
What is the primary focus of the Akuma setup video?
-The primary focus of the Akuma setup video is to cover all the setups found for Akuma in week one, including options for light tatsumaki, DP, and sweep setups both mid-screen and in the corner.
What are the options after hitting a light tatsumaki mid-screen?
-After hitting a light tatsumaki mid-screen, you can either go for a sweep and double dash for a plus four advantage and a mix-up opportunity, or jump immediately after the sweep for a safe jump.
What is a significant advantage of using the light tatsumaki into DP setup?
-Using the light tatsumaki into DP setup can open up new combo routes if executed well, as it allows for options like a drive rush into an immediate overhead or low, stuffing the opponent's wake-up options unless they have invincibility.
How does the safe jump setup work in the corner after a sweep?
-In the corner after a sweep, you can dash up and either go for a safe jump or set up other things on the opponent's wake-up, such as an overhead which is plus one on block and plus five on hit.
What setup can be used against characters without a reversal on wake-up?
-Against characters without a reversal on wake-up, you can use a dash-up light haduken for a plus two advantage, or a crouching light kick into either standing medium punch or crouching medium punch for a plus three or plus one advantage, respectively.
What is the key setup after hitting a heavy DP?
-After hitting a heavy DP, you can go for a slightly delayed overhead, which is plus four on hit and zero on block. You can also use setups like crouching medium punch into standing medium punch for a plus four advantage, allowing for trade combos.
What is a recommended setup after hitting a light DP?
-After hitting a light DP, a recommended setup is to whiff a standing light punch and go for a haduken, which will whiff if the DP is hit immediately, or to delay the light DP for a plus one overhead setup.
How can you use the medium tatsumaki setup effectively?
-The medium tatsumaki setup can be used effectively by dashing up after the medium tatsu and either going for an overhead or a crouching light punch into standing medium punch, which will leave you at plus four.
What is the purpose of using Akuma's target combo in setups?
-The purpose of using Akuma's target combo in setups is to force an overhead that beats jabs and allows for trade combos, providing plus frames on hit and combo opportunities.
What is a viable setup after a forward throw?
-After a forward throw, you can dash up and either go for a delayed medium punch for a meaty attack or a delayed throw for a throw loop. You can also use the EX haduken for plus frames on block and confirm if the opponent blocks it.
Outlines

Cette section est réservée aux utilisateurs payants. Améliorez votre compte pour accéder à cette section.
Améliorer maintenantMindmap

Cette section est réservée aux utilisateurs payants. Améliorez votre compte pour accéder à cette section.
Améliorer maintenantKeywords

Cette section est réservée aux utilisateurs payants. Améliorez votre compte pour accéder à cette section.
Améliorer maintenantHighlights

Cette section est réservée aux utilisateurs payants. Améliorez votre compte pour accéder à cette section.
Améliorer maintenantTranscripts

Cette section est réservée aux utilisateurs payants. Améliorez votre compte pour accéder à cette section.
Améliorer maintenantVoir Plus de Vidéos Connexes

【スト6、SF6】練習必須!最優先スト6筋トレメニュー

【SF6、スト6】JP 使い方講座 初級編

Como Criar o Onboarding para o seu Cliente de Tráfego Pago

Winlator 101 | an in-depth guide

GUIDE NAAFIRI MID S13 - LE MEILLEUR ASSASSIN DU JEU ! (gameplay éducatif explicatif tips)

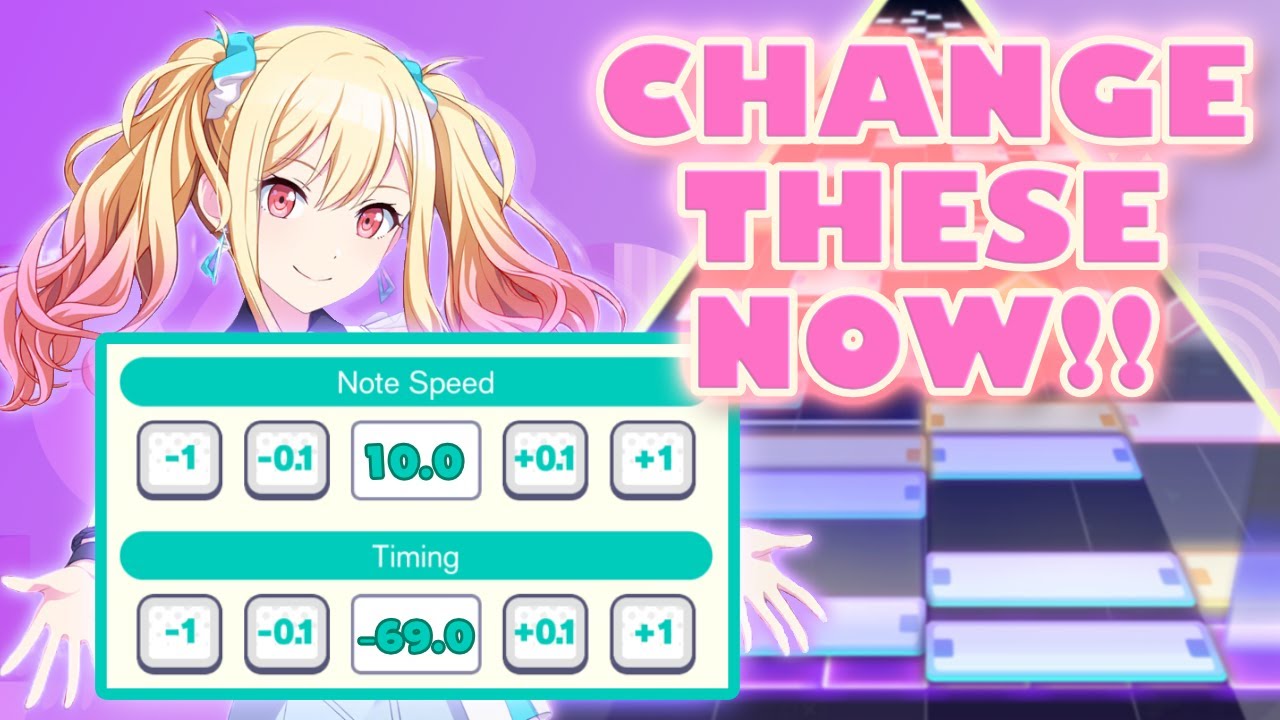
The MOST IMPORTANT Settings in Project SEKAI! | Understanding NOTE SPEED and TIMING
5.0 / 5 (0 votes)
