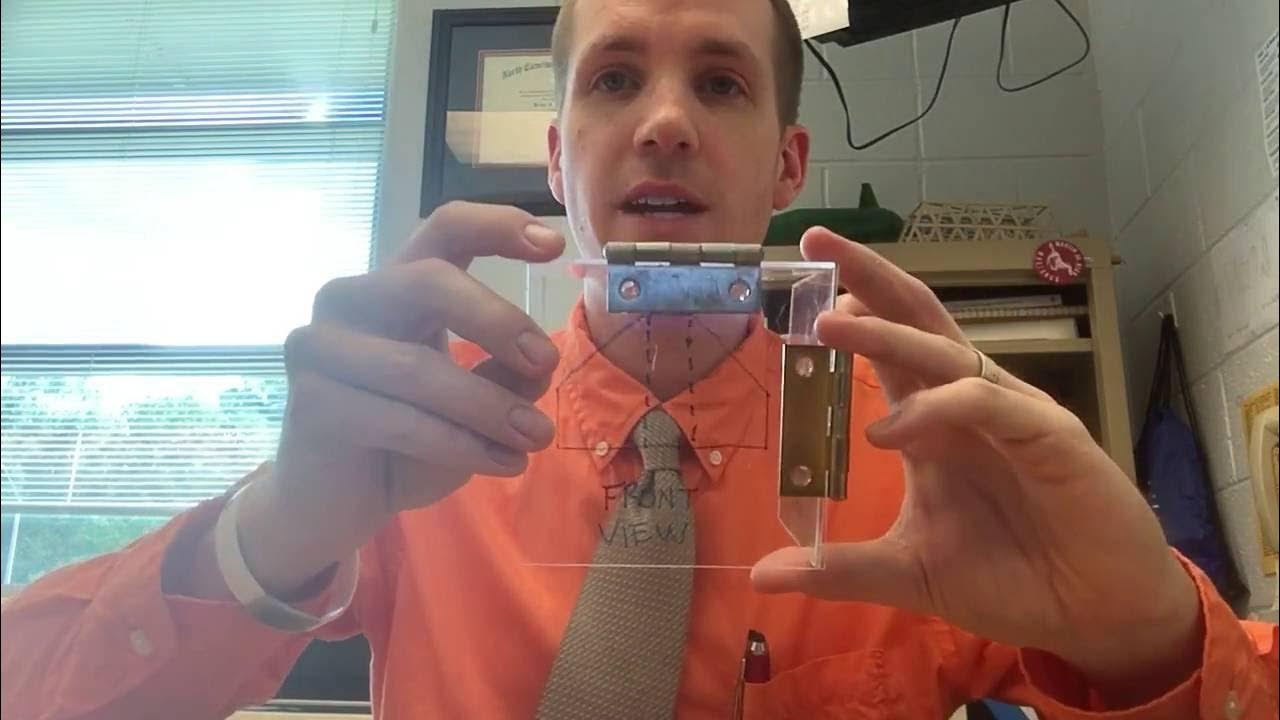
Learn AutoCAD: Simple 3 View Orthographic Projection - The Guide Block
Summary
TLDRThis AutoCAD tutorial provides a step-by-step guide for creating a 3-view orthographic projection. The process includes drawing object lines for the front, top, and side views, using tools like mirror, offset, and trim to ensure precision. Hidden lines are added to represent features such as drill holes and slots, with careful attention to visibility. The tutorial also covers transferring lines between views and finishing with centerlines. While dimensions and title blocks are left for the user to complete, the focus is on accurate alignment and proper drawing techniques.
Takeaways
- 😀 Start by drawing the object lines for the front view using basic AutoCAD commands like line and mirror.
- 😀 Use the **Mirror** command to quickly duplicate the front view, ensuring symmetry in the design.
- 😀 Draw extension lines from the front view to guide the creation of the top view, but don't worry about exact distances at first – you can trim later.
- 😀 **Offset** lines vertically to create space for dimensions in the top view, and adjust distances as needed.
- 😀 Add circles for drill holes in the top view, placing them according to specific measurements (¾-inch diameter).
- 😀 Use **Trim** to clean up unnecessary or overlapping lines in the top view.
- 😀 Create the side view by transferring lines from the front and top views, ensuring proper alignment between all three views.
- 😀 Add a notch in the side view by drawing a rectangle and using the **Move** command to position it accurately.
- 😀 Use the **Line** tool to transfer hidden lines from the front and top views, particularly for features like drill holes and slots.
- 😀 In the side view, **Trim** the hidden lines where the drill hole intersects with other features like the slot.
- 😀 Add center lines and center marks to the drawing for symmetry and clarity, using AutoCAD's **Center Line** and **Center Mark** tools.
Q & A
What is the main goal of this AutoCAD tutorial?
-The main goal of this tutorial is to teach how to create an orthographic projection with three standard views: the front view, top view, and right side view, along with hidden lines and dimensions.
What is the first step in drawing the front view in AutoCAD?
-The first step is to draw the visible object lines in the front view. These lines include a horizontal line, a vertical line, and other specific measurements, as described in the script.
How does the 'Mirror' tool help in creating symmetrical parts of the drawing?
-The 'Mirror' tool allows you to duplicate lines or shapes across a specified axis, ensuring symmetry in the drawing without having to manually draw the mirrored elements.
What is the purpose of offsetting lines in the top view?
-Offsetting lines in the top view helps create space for dimensions and ensures that the lines are evenly spaced, making the drawing clear and organized.
How do you handle circles (drill holes) in the top view?
-To handle the drill holes, circles with the specified diameter are drawn at precise locations, and hidden lines are used to indicate that these holes pass through the object.
Why is the Ortho feature important when transferring lines to the right side view?
-The Ortho feature ensures that lines are drawn at fixed angles, particularly 45°, making it easier to transfer accurate and consistent lines from the front and top views to the side view.
What tool is used to trim unwanted lines, and why is it important?
-The 'Trim' tool (TR) is used to remove excess or unnecessary lines, such as lines that extend beyond the intended boundaries or overlap incorrectly, helping to keep the drawing clean.
How do hidden lines differ from visible object lines in an AutoCAD drawing?
-Hidden lines represent features that are not visible in the current view, such as holes going through the object. These lines are typically drawn with a dashed or hidden line style to distinguish them from visible object lines.
What is the role of center lines in an orthographic projection?
-Center lines indicate the symmetry or central axes of features like holes or geometric shapes, helping to position and align objects accurately in the drawing.
What should you do before adding dimensions and a title block to the drawing?
-Before adding dimensions and a title block, ensure that all object lines, hidden lines, center lines, and other drawing elements are completed and accurate. The drawing should be clean and ready for final annotation.
Outlines

Cette section est réservée aux utilisateurs payants. Améliorez votre compte pour accéder à cette section.
Améliorer maintenantMindmap

Cette section est réservée aux utilisateurs payants. Améliorez votre compte pour accéder à cette section.
Améliorer maintenantKeywords

Cette section est réservée aux utilisateurs payants. Améliorez votre compte pour accéder à cette section.
Améliorer maintenantHighlights

Cette section est réservée aux utilisateurs payants. Améliorez votre compte pour accéder à cette section.
Améliorer maintenantTranscripts

Cette section est réservée aux utilisateurs payants. Améliorez votre compte pour accéder à cette section.
Améliorer maintenantVoir Plus de Vidéos Connexes
5.0 / 5 (0 votes)


