3D Letter Manipulation in Photoshop | Best Tutorial for Beginners
Summary
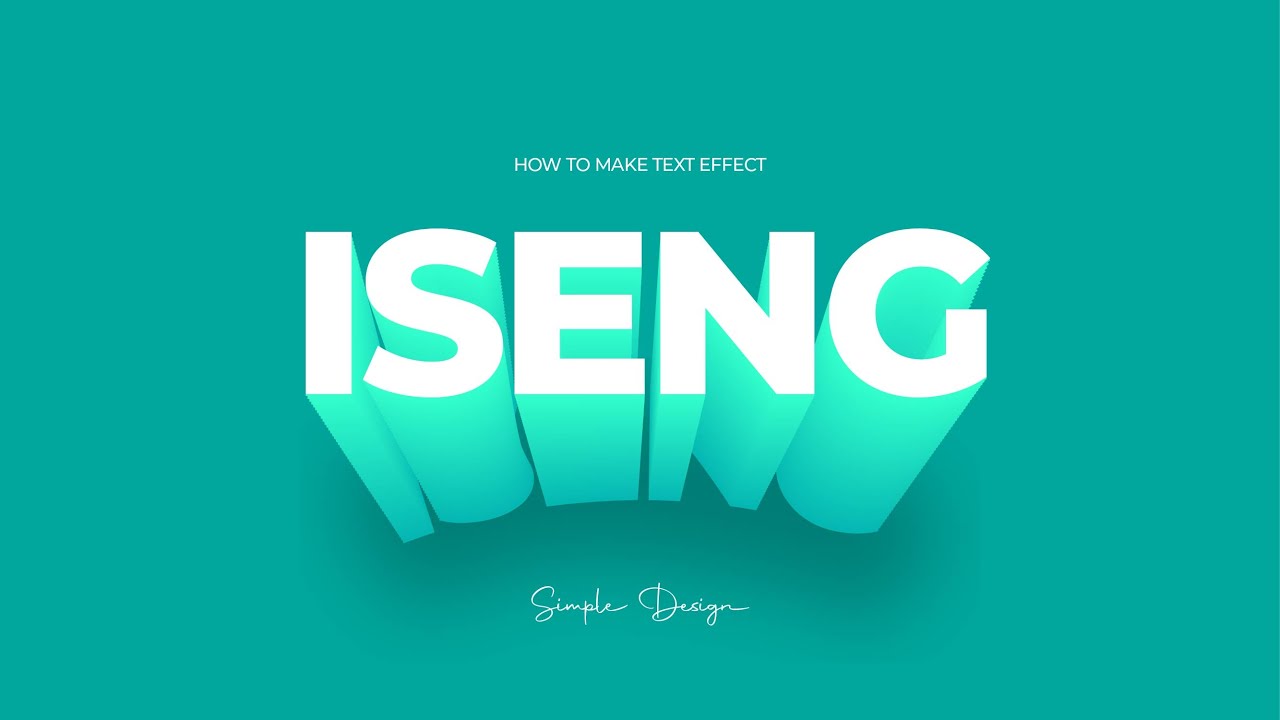
TLDRThis tutorial demonstrates how to create a striking 3D text effect in Photoshop. The process begins with typing and adjusting text, followed by duplicating layers and modifying their properties. It includes advanced techniques such as converting text to a smart object, adding clipping masks, and working with image adjustments. The video guides you through steps like flipping, masking, and applying gradient effects to enhance the text. Finally, the tutorial shows how to merge layers, use camera raw filters, and fine-tune the final result, making this a comprehensive guide for achieving a professional 3D text effect.
Takeaways
- 😀 Use the Text Tool to create your desired text in Photoshop, and choose your font (download link in description).
- 😀 Press Ctrl + T to adjust the size of your text to fit your design.
- 😀 Duplicate the text layer by pressing Ctrl + J and change its color to create depth.
- 😀 Use the Move Tool to position the duplicated text layer to the right for a 3D effect.
- 😀 Convert the text layers into a Smart Object for easier manipulation by selecting and right-clicking them.
- 😀 Embed an image into your design by going to the File menu and selecting Place Embedded, then flip it horizontally.
- 😀 Lower the image's opacity temporarily to better position the text layer beneath it, then reset the opacity to 100%.
- 😀 Create a Clipping Mask between the text and image layers by holding Alt and clicking between them.
- 😀 Mask areas of the text using the Brush Tool with black as the foreground color, based on the selection made from the text layer.
- 😀 Use shape layers and adjustment layers (such as Levels) to enhance the depth and effects on the design.
- 😀 Group all layers using Ctrl + G and duplicate the group, then merge it for final adjustments.
- 😀 Flip the merged group vertically and adjust its position to create a mirrored effect.
- 😀 Apply a Layer Mask and use the Gradient Tool to add blending effects to the text and image combination.
- 😀 Make a merged copy of all layers with Ctrl + Alt + Shift + E, convert it into a Smart Object, and apply final Camera Raw Filter settings.
Q & A
What is the first step in creating the 3D text effect in Photoshop?
-The first step is to use the Text Tool (T), choose your desired font, and type the text on your canvas.
How do you adjust the size of the text in Photoshop?
-To adjust the size of the text, press Ctrl + T (Windows) or Cmd + T (Mac) and scale the text accordingly.
Why should you duplicate the text layer in the tutorial?
-Duplicating the text layer allows you to change the text color and manipulate the duplicate independently for a 3D effect.
What is the purpose of the Pen Tool in this tutorial?
-The Pen Tool is used to create paths around the text, which helps add depth and dimension to the text effect.
Why is it important to convert layers to Smart Objects?
-Converting layers to Smart Objects allows for non-destructive editing, enabling easy adjustments and preserving the original layer data.
What does clipping the image to the text layer do?
-Clipping the image to the text layer allows the image to be displayed only within the boundaries of the text, creating a textured 3D effect.
How do you adjust the opacity of the image layer in the tutorial?
-You decrease the opacity temporarily to better see the underlying text layer while adjusting the image, then reset the opacity back to 100% once you're satisfied.
What is the purpose of creating a selection around the text layer using the 'Choose Subject' option?
-The 'Choose Subject' option helps you automatically select the text layer, so you can then manipulate or delete unwanted areas using a layer mask.
Why should you use a Layer Mask with black paint to delete parts of the text?
-Using a Layer Mask with black paint allows you to remove unwanted areas from the text without permanently deleting them, maintaining flexibility for future edits.
What is the final step of the tutorial involving Camera Raw Filters?
-The final step involves creating a merged copy of all layers, converting it to a Smart Object, and applying Camera Raw Filters for final adjustments to the image.
Outlines

Cette section est réservée aux utilisateurs payants. Améliorez votre compte pour accéder à cette section.
Améliorer maintenantMindmap

Cette section est réservée aux utilisateurs payants. Améliorez votre compte pour accéder à cette section.
Améliorer maintenantKeywords

Cette section est réservée aux utilisateurs payants. Améliorez votre compte pour accéder à cette section.
Améliorer maintenantHighlights

Cette section est réservée aux utilisateurs payants. Améliorez votre compte pour accéder à cette section.
Améliorer maintenantTranscripts

Cette section est réservée aux utilisateurs payants. Améliorez votre compte pour accéder à cette section.
Améliorer maintenantVoir Plus de Vidéos Connexes

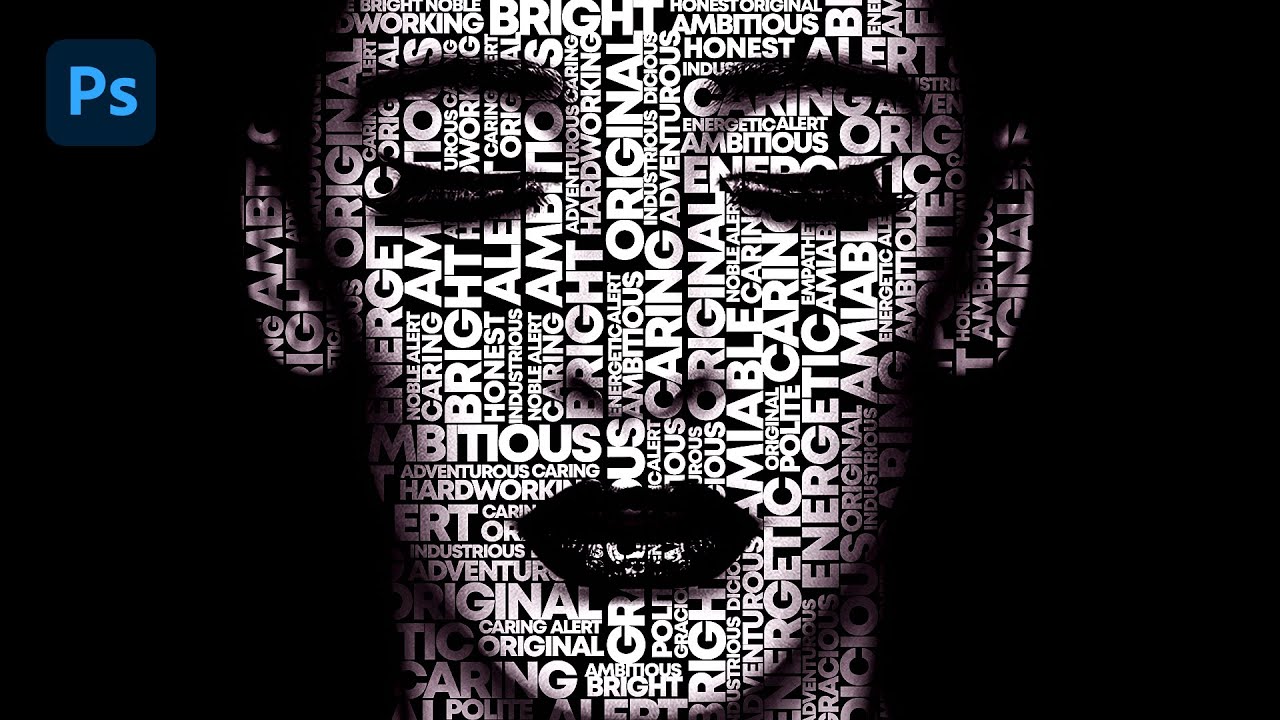
Text portrait Effect in Photoshop

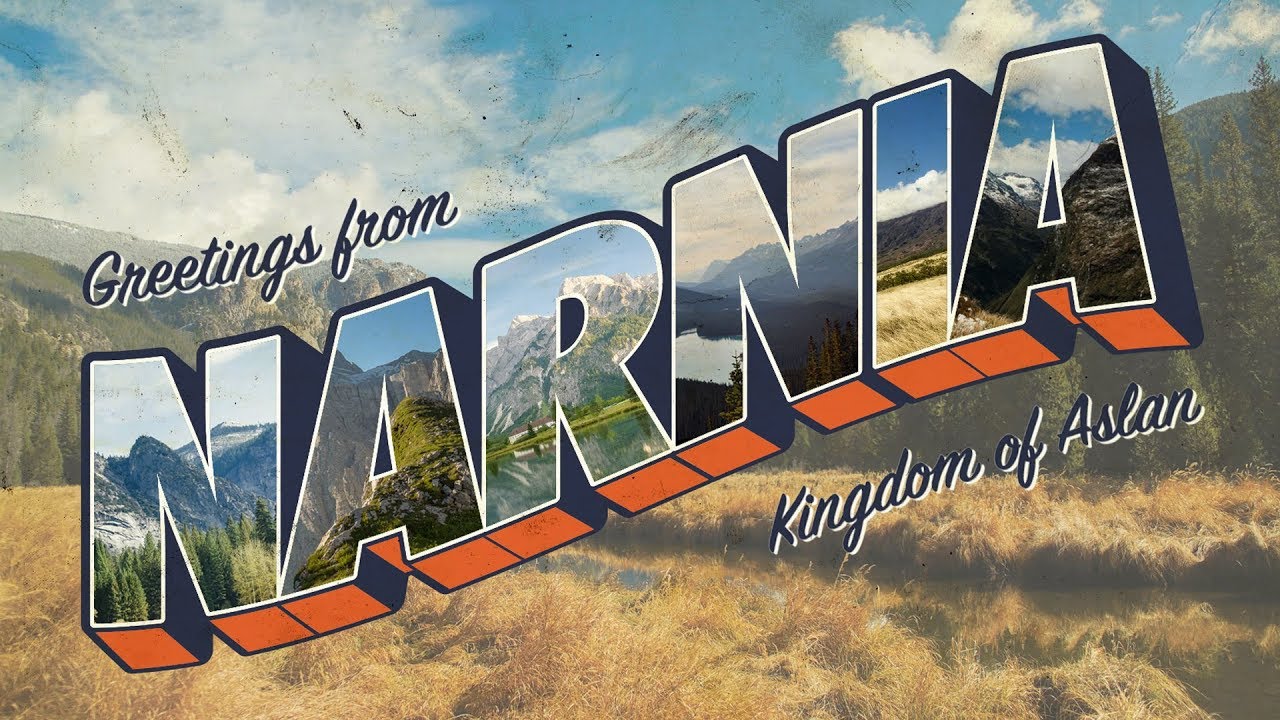
How To Create a Vintage Postcard Design (Illustrator & Photoshop Tutorial)

Cara Mudah Membuat Gradient Text Effect di Photoshop

Photoshope AYO MELOMPAT

Tutorial Membuat Typography Sederhana Text 3D Effect pada Adobe Illustrator

SIMPLE INK BLEED EFFECT TUTORIAL | ADOBE PHOTOSHOP
5.0 / 5 (0 votes)
