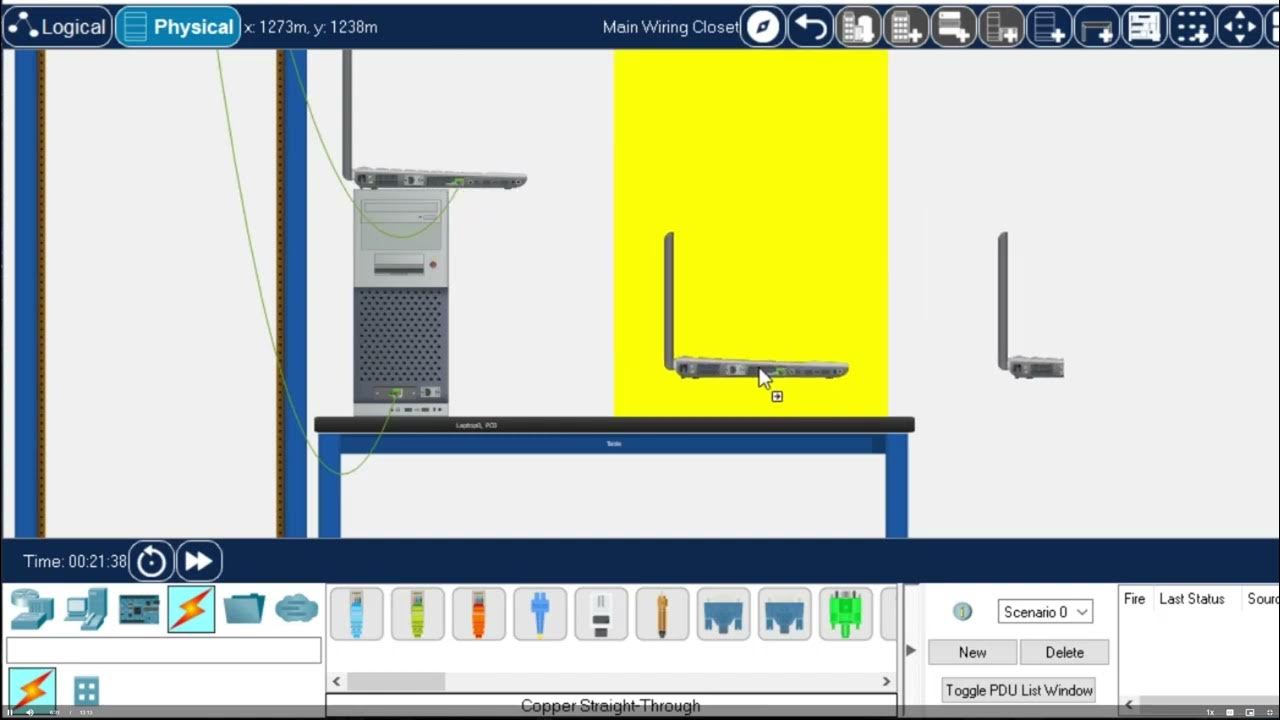
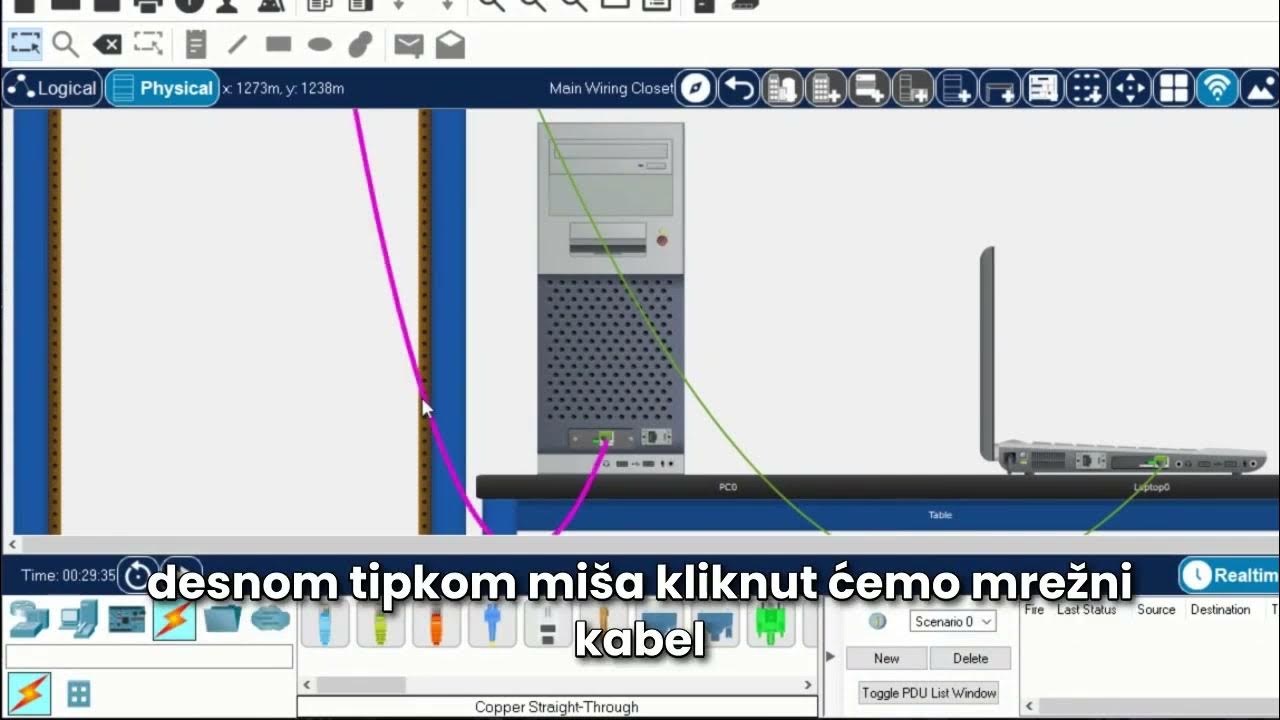
Cisco Packt Tracer Kreiranje mrežne topologije HR

Edukacije Brček
18 Aug 202307:21

Summary

TLDRThis tutorial provides an in-depth guide on creating and managing a network topology in Packet Tracer. It covers key tasks such as adding, arranging, and deleting devices like routers, switches, PCs, and servers. The video demonstrates using tools like the selection and delete tools, creating multiple devices and connections, and managing modules in devices. Additionally, it explains how to connect devices using Auto cable and manual selection of connection types, offering tips on using keyboard shortcuts for efficient navigation and setup.

Takeaways

  • 🔧 You can create and arrange network devices in a topology using Packet Tracer.
  • 🖱️ To add devices, click on the desired device in the selection box and place it on the workspace.
  • ⌨️ Holding Ctrl allows you to create multiple instances of the same device without going back to the selection box.
  • ⏪ You can use the undo and redo functions to reverse or repeat actions in the workspace.
  • 🖱️ The select tool is the default tool for moving and arranging devices.
  • 🗑️ To delete a device, highlight it and use the delete tool, or delete directly after activating the tool.
  • 🔌 You can make automatic or manual connections between devices, with Auto cable choosing the connection type automatically.
  • 📦 Routers may need to be turned off to add or remove modules in the physical view.
  • 🖥️ Different modules may not be compatible with certain devices, and you can remove and add different ones.
  • 🔄 You can change or delete connections easily by selecting the link or using the delete tool.

Q & A

  • What is the main topic of this episode of Packet Tracer?

    -The main topic is creating a network topology, including adding, arranging, and deleting devices, as well as making connections between those devices.

  • How can you create multiple instances of the same device in Packet Tracer?

    -To create multiple instances of the same device, press 'Ctrl' on your keyboard, select the desired device, and click multiple times on the workspace to create multiple instances without going back and forth.

  • What is the most commonly used tool in Packet Tracer, and what is its purpose?

    -The most commonly used tool in Packet Tracer is the Select tool. It is used to arrange devices on the workspace, move them around, and select multiple devices simultaneously.

  • How can you delete a device in Packet Tracer?

    -To delete a device, first highlight the device and then click on the Delete tool. Alternatively, with the Delete tool selected, you can click on any device to delete it directly.

  • How can you cancel the Delete tool in Packet Tracer?

    -You can cancel the Delete tool by selecting the Select tool or pressing the 'Escape' key on your keyboard.

  • How can you add modules to a router in Packet Tracer?

    -To add modules to a router, first turn off the router, then go to the Physical tab, select the desired module, and add it to the router.

  • Why might you need to turn off a router before adding modules?

    -Routers need to be turned off before adding modules because it is not possible to add or modify hardware while the device is powered on.

  • How do you create a connection between two devices using Auto cable?

    -To create a connection using Auto cable, select the Auto cable option, then click on the two devices you want to connect. Packet Tracer will automatically choose the appropriate connection type.

  • How can you manually select a connection type between two devices?

    -To manually select a connection type, choose the desired cable type (e.g., copper straight through) from the connections section, click on the devices you want to connect, and select the interfaces.

  • How can you delete an existing cable between two devices?

    -To delete an existing cable, make sure no devices are highlighted, select the Delete tool, and then click on the cable you want to remove.

Outlines

00:00

📦 Introduction to Device Creation and Management

The first part of the video introduces the concept of creating a network topology using Packet Tracer. It walks through the process of selecting devices from categories such as routers, switches, and other network components, and demonstrates how to place them on the workspace. The speaker explains how to create multiple instances of the same device efficiently by using keyboard shortcuts, specifically pressing 'Ctrl' to duplicate devices. Additionally, there are instructions on how to cancel actions, undo, and redo commands. This section highlights the importance of the select tool for arranging and managing devices in the workspace, explaining that it can move multiple devices at once or select them individually using the 'Shift' key. Finally, it covers how to delete devices by first highlighting them, then using the delete tool or pressing 'Escape' to cancel the deletion tool.

05:02

🔌 Connecting Devices and Managing Cables

This section covers the process of making connections between network devices. The speaker introduces the auto cable selection feature in Packet Tracer, which automatically determines the correct type of connection. The manual connection process is also explained, where the user can choose from different cable types such as copper straight-through, copper crossover, and fiber. By pressing 'Ctrl,' multiple connections can be made without having to repeat the selection process. The speaker further demonstrates how to delete connections using the delete tool and how to re-cable by clicking on the link light to change an existing connection. The section emphasizes efficient network setup and cable management.

Mindmap

Keywords

💡Network Topology

A network topology refers to the arrangement of various elements (like devices and connections) in a computer network. In the video, the term is used to describe how devices are placed and connected in Packet Tracer, showcasing the structure of the network. This is a crucial step in network design as it determines the flow of data between devices.

💡Device

In the context of the video, a 'device' refers to hardware components such as routers, switches, PCs, and servers that can be added to a network topology. The video explains how to create, arrange, and manage devices in the Packet Tracer workspace, highlighting the importance of setting up a network's physical structure.

💡Router

A router is a networking device that forwards data packets between computer networks. In the video, routers are used as an example of network devices that can be added to the topology. The video illustrates how different models of routers can be selected, added, and configured in Packet Tracer.

💡Selection Box

The selection box is a tool in Packet Tracer that allows users to choose different categories of devices, such as network devices and components. The video describes how users can use the selection box to choose specific devices like routers and switches to place in the network topology.

💡Undo and Redo

Undo and redo are functions that allow users to revert or reapply the last action taken in Packet Tracer. These functions are essential for correcting mistakes or testing different network configurations without having to start from scratch. The video demonstrates these functions through the creation and deletion of devices.

💡Select Tool

The select tool is the default tool in Packet Tracer that allows users to move, arrange, and manage multiple devices in the workspace. The video shows how this tool can be used to reposition routers and other devices, emphasizing its role in organizing a network layout.

💡Delete Tool

The delete tool allows users to remove devices or connections from the network topology. In the video, this tool is demonstrated when the user deletes routers and cables from the workspace, showing its importance for managing the network by eliminating unnecessary elements.

💡Modules

Modules are additional hardware components that can be installed in devices like routers to expand their functionality. The video explains how to add and remove modules in routers, illustrating how certain modules are compatible with specific devices while others are not.

💡Auto Cable

Auto Cable is a feature in Packet Tracer that automatically selects the appropriate cable type when connecting two devices. The video demonstrates this feature by showing how the program determines the correct cable type when a connection is made between a router and a switch.

💡Copper Straight-Through

Copper straight-through is a type of network cable used to connect different types of devices, such as a switch and a PC. In the video, this cable is manually selected to create connections in the network topology, illustrating how users can customize their network setup.

Highlights

Creating a network topology by adding, arranging, and deleting devices.

The selection box offers categories like network devices and device components.

To create a device, users can select from specific models, such as the 1941 or 2901 router.

By pressing Ctrl, multiple instances of the same device type can be created without going back and forth.

The ability to undo and redo actions, such as creating or deleting a router.

The select tool is the most commonly used tool for arranging and moving devices on the workspace.

Multiple devices can be selected and arranged simultaneously by dragging the select tool or using Shift for individual selection.

To delete a device, highlight it and use the delete tool, which changes the cursor to indicate the action.

Devices such as routers, switches, PCs, and servers can be added to the workspace for network topology creation.

The physical view of devices, like routers, allows adding and removing modules, provided the device is turned off.

Not all modules are compatible with routers, and the user must try different modules to find a compatible one.

Connections between devices can be made automatically using Auto cable, which selects the appropriate connection type.

Manual connection options include copper straight-through, copper crossover, and fiber, among others.

Multiple connections of the same type can be created using the Ctrl key.

Cables can be changed or deleted by selecting the link light or using the delete tool to remove connections.

Transcripts

play00:00

hello and welcome to this episode of

play00:02

package racer in this episode we want to

play00:05

talk about creating a network topology

play00:07

and inside the network topology we will

play00:10

create devices and arrange those devices

play00:13

also maybe delete some of the devices

play00:16

and make connection between those

play00:18

devices so let's get started to create a

play00:22

device you have this selection box in

play00:24

the selection box you have categories

play00:26

like network devices and devices

play00:28

components and as such and for those

play00:31

categories you have subcategories as

play00:33

well for example for route for network

play00:35

devices we have routers and for routers

play00:38

we have different type of models of

play00:40

routers specific devices

play00:43

so for example I want a 1941 router now

play00:48

I click on the 1941 router now my cursor

play00:52

has changed now I click on the workspace

play00:54

and now I have created a device

play00:59

to create multiple devices of the same

play01:02

type what I can do is that I will press

play01:04

Ctrl first on my keyboard then I will

play01:07

press one of these routers 2901 I want

play01:11

this router and now I come to the

play01:13

workspace and now I can create multiple

play01:17

instances of the same type of router 1 2

play01:21

3 4 without going backward and forward I

play01:24

can create many routers at the same time

play01:27

to cancel the connection either I can

play01:30

click in here as you can see it can be

play01:32

canceled or I can press

play01:34

escape on my keyboard

play01:38

we also have the ability to undo and

play01:41

redo and these are the shortcuts

play01:43

as you can see I can undo the creation

play01:46

of router 4 and I can redo the creation

play01:48

of what router 4 once again and it will

play01:51

appear for me once again

play01:53

the most commonly used tool that we use

play01:56

in packet racer is the select tool this

play01:58

is the default tool and by using the

play02:01

select tool we can arrange devices for

play02:03

example I can arrange this router and

play02:06

move it to wherever on the workspace

play02:09

that I want to I can arrange multiple

play02:11

devices at the same time so I will drag

play02:15

my select tool on four of these routers

play02:18

and I can arrange their position however

play02:21

I want to I can also select devices one

play02:25

at a time by pressing shift on my

play02:27

keyboard so if I have shift on my

play02:29

keyboard I can select this this and this

play02:32

and now I can move them from here to

play02:35

here

play02:38

to delete a device first I need to

play02:40

highlight that device now I have

play02:43

highlighted router 3 if I click on the

play02:46

delete tool there this router can be

play02:48

deleted

play02:49

now my cursor has changed to the delete

play02:52

tool as you can see this is the delete

play02:54

tool and my cursor has changed to the

play02:56

delete tool so now without highlighting

play02:59

I can click on whatever devices that I

play03:02

have on the workspace and I can delete

play03:06

them using the delete tool

play03:09

to cancel the delete tool you can go to

play03:12

the select tool or you can press Escape

play03:19

now let's add a few more devices to the

play03:21

workspace

play03:22

first I want to add a router and maybe I

play03:27

want to add a switch and I want to add a

play03:30

PC and I want to add a server

play03:34

now let's go to router 5 if I left click

play03:38

on the router 5 this window will appear

play03:40

for me I can go to the physical Tab and

play03:43

now I can zoom in on this router this is

play03:46

the physical view of the router routers

play03:49

don't have any modules installed by

play03:51

default so I can add modules to this

play03:53

router but first I need to turn off the

play03:56

router because it's not possible to add

play03:58

a module if the device is turned on so I

play04:02

will turn it off

play04:04

and now I can add modules

play04:07

I will add this module

play04:09

and this module

play04:11

and maybe I can add a cover if it fits I

play04:15

don't think it fits so I am not able to

play04:17

add this module if I want to remove a

play04:21

module I can click on the module on the

play04:23

router and put it back here on the list

play04:25

now it's removed now I can add another

play04:28

different type of module

play04:31

this module is not compatible so not all

play04:34

modules are compatible

play04:36

let's try this one this is also not

play04:39

compatible

play04:40

let's maybe put a cover back in here

play04:49

now let's go and make a few connections

play04:51

between these devices

play04:53

to make a connection first in the device

play04:57

type selection box you can go to

play04:59

connections and you can use Auto cable

play05:02

using Auto cable Packet Tracer will

play05:05

automatically choose the connection type

play05:07

for you

play05:08

now if I press this my cursor has

play05:11

changed to a connection I can left click

play05:14

on the router and click again on the

play05:18

switch

play05:19

and as you can see the connection has

play05:21

been created and the type of connection

play05:23

is also selected by packet tracer

play05:27

now let's add a connection by manually

play05:29

choosing the connection type now in here

play05:32

I have the copper straight through

play05:34

copper crossover

play05:36

fiber and other types of connections I

play05:39

will need a copper straight through so I

play05:42

will select it

play05:43

select on switch

play05:46

select the interface

play05:51

click on PC and select the interface and

play05:55

now this connection has been created

play05:59

to add multiple connection of the same

play06:02

type I can use control on my keyboard

play06:04

and now that I have control on my

play06:07

keyboard I will click on copper straight

play06:09

through

play06:10

then I can create multiple connections

play06:13

at the same time

play06:25

to cancel this mode simply press escape

play06:28

on your keyboard to change a cable from

play06:31

one device to another or re-cable I can

play06:34

click here on the link light and once I

play06:37

click here on the link light now the

play06:40

cursor has changed to a connection and I

play06:42

can change from that router to this

play06:44

router

play06:47

and to delete an existing cable I can

play06:51

use the delete tool

play06:52

sorry I have to go back because router 2

play06:55

was highlighted I don't I want to press

play06:58

on the workspace so nothing is

play07:00

highlighted

play07:01

now I go to delete tool

play07:04

I can delete these connections easily by

play07:08

using the delete tool

Rate This

5.0 / 5 (0 votes)

Étiquettes Connexes
Network SetupPacket TracerTopology CreationDevice ManagementNetworkingRouter ConfigurationConnection SetupIT SkillsCisco ToolsTech Tutorial
Besoin d'un résumé en anglais ?