Corn Pattice Recipe | Crispy Sweet Corn Aloo Tikki | कॉर्न पेटिस बनाने का तरीका | Chef Sanjyot Keer
Summary
TLDRIn this video, Sanjyot Keer shares a delicious recipe for making crispy Corn Patties, also known as Corn Cutlets. Inspired by the monsoon flavors of Mahabaleshwar, these patties are filled with a spiced corn mixture and coated with a thin layer of mashed potatoes. The recipe includes step-by-step instructions, from preparing the corn filling to shaping and frying the patties to achieve a golden, crispy exterior. Keer also offers tips for different cooking methods, including shallow frying, deep frying, and baking. It's a simple yet flavorful dish perfect for rainy days.
Takeaways
- 🌽 The recipe featured is for Corn Patties, which can also be called Corn Cutlets.
- ☔ This dish is popular during the monsoon season in Mahabaleshwar, India.
- 🍲 The patties are made by stuffing a spiced corn mixture into mashed potatoes, forming a patty, and then frying it until crispy.
- 🔥 There are various cooking methods for the patties: deep frying, shallow frying, pan-searing, or air frying.
- 🧄 The corn stuffing includes garlic, ginger, green chilies, and cilantro, all blended into a paste.
- 🍋 The corn mixture is spiced with cumin, sugar, lemon juice, salt, chaat masala, coriander powder, and red chili powder.
- 🥔 It's important to use starchy potatoes like 'Pahari' or 'Indori' varieties for a crispy outer layer.
- 🥄 The patties are coated in a slurry made from flour and water, then breaded before frying.
- 🧑🍳 Corn Patties can be made in advance, stored in the freezer, and fried when needed.
- 💡 The video encourages viewers to try the recipe at home, especially during the rainy season, and to experiment with adding other flavors like cheese or paneer.
Q & A
What is the main dish being prepared in the video?
-The main dish being prepared is 'Corn Patties,' also referred to as 'Corn Cutlets.'
Where is this dish commonly served, according to the video?
-This dish is commonly served in Mahabaleshwar, especially during the rainy season.
What is the key filling used in the Corn Patties?
-The key filling in the Corn Patties is made of boiled sweet corn that is flavored with a mixture of spices and herbs.
What are some variations that can be made to the corn filling?
-The corn filling can be varied by adding periperi masala, cheese, or crumbled paneer to give it different flavors.
What type of potatoes are recommended for the outer coating of the Corn Patties?
-The video recommends using ‘Pahadi’ potatoes, Indori potatoes, or French fry potatoes, as these types result in a crispier coating.
How are the Corn Patties shaped before frying?
-The Corn Patties are shaped by first forming a round shape, then making a cone-like shape, and finally pressing them into a small bowl-like shape to fill with the corn mixture before sealing them.
What method is used to coat the patties before frying?
-The patties are coated by dipping them in a slurry made of all-purpose flour (maida) and water, and then rolled in breadcrumbs to ensure a crispy outer layer.
What are the different ways the Corn Patties can be cooked?
-The Corn Patties can be cooked in several ways: shallow frying, deep frying, baking, or air frying.
What temperature and frying method is suggested for a crispy texture?
-For a crispy texture, the video suggests deep frying at around 170°C with high flame initially, then lowering to medium heat once the patties start turning golden brown.
Can the Corn Patties be stored, and if so, how?
-Yes, the Corn Patties can be stored in an airtight container and kept in the freezer for up to 10 days. If made for the same day, they can be kept in the fridge.
Outlines

Cette section est réservée aux utilisateurs payants. Améliorez votre compte pour accéder à cette section.
Améliorer maintenantMindmap

Cette section est réservée aux utilisateurs payants. Améliorez votre compte pour accéder à cette section.
Améliorer maintenantKeywords

Cette section est réservée aux utilisateurs payants. Améliorez votre compte pour accéder à cette section.
Améliorer maintenantHighlights

Cette section est réservée aux utilisateurs payants. Améliorez votre compte pour accéder à cette section.
Améliorer maintenantTranscripts

Cette section est réservée aux utilisateurs payants. Améliorez votre compte pour accéder à cette section.
Améliorer maintenantVoir Plus de Vidéos Connexes
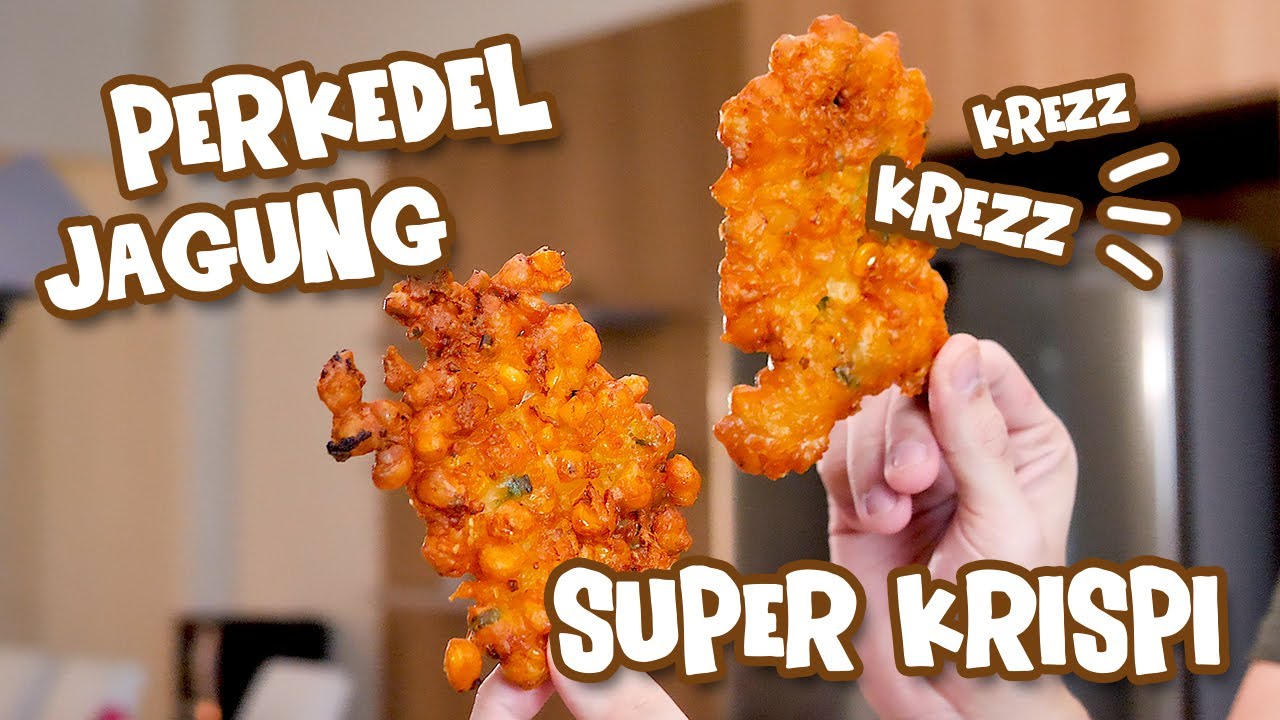
Resep Perkedel Bakwan Jagung Krispi [ Tidak Mungkin Lembek ]

न मैदा नहीं आटा केवल एक कप मेथी तयार करें बहुत ही simple स्वादिष्ट नाश्ता।
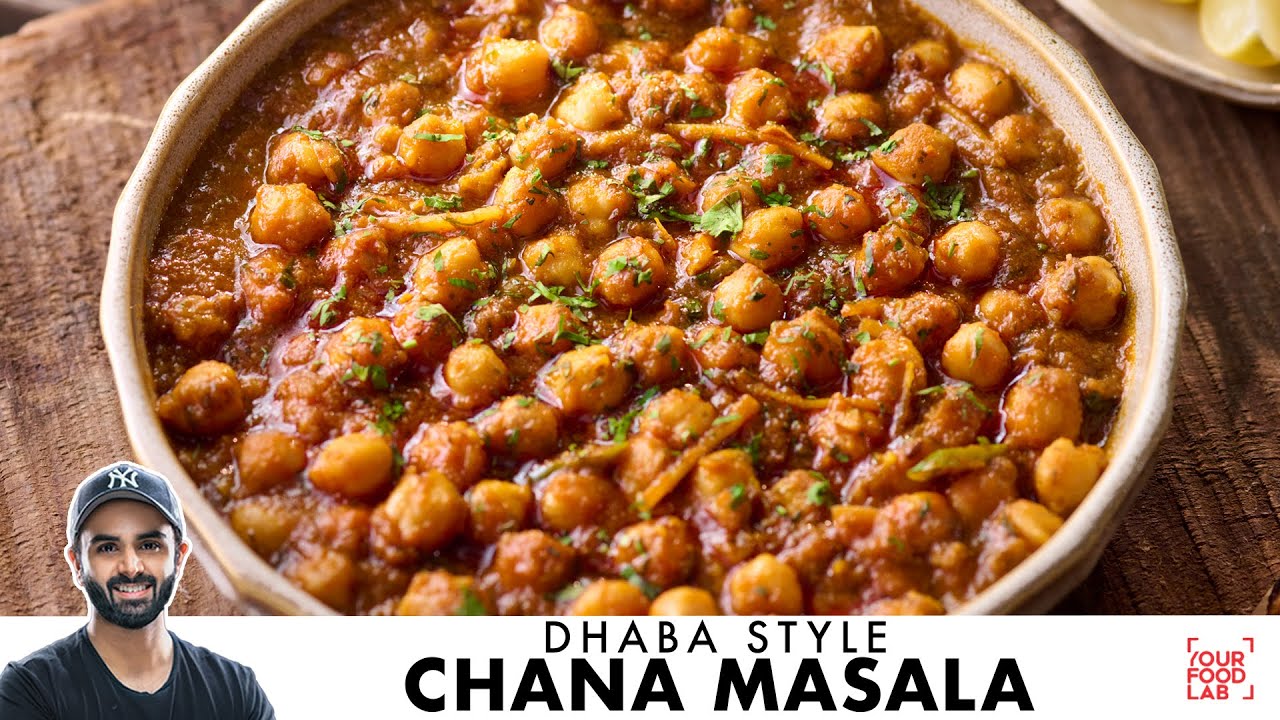
Chana Masala Recipe | Dhaba Style Easy Chole | ढाबे जैसा मसालेदार चना मसाला | Chef Sanjyot Keer
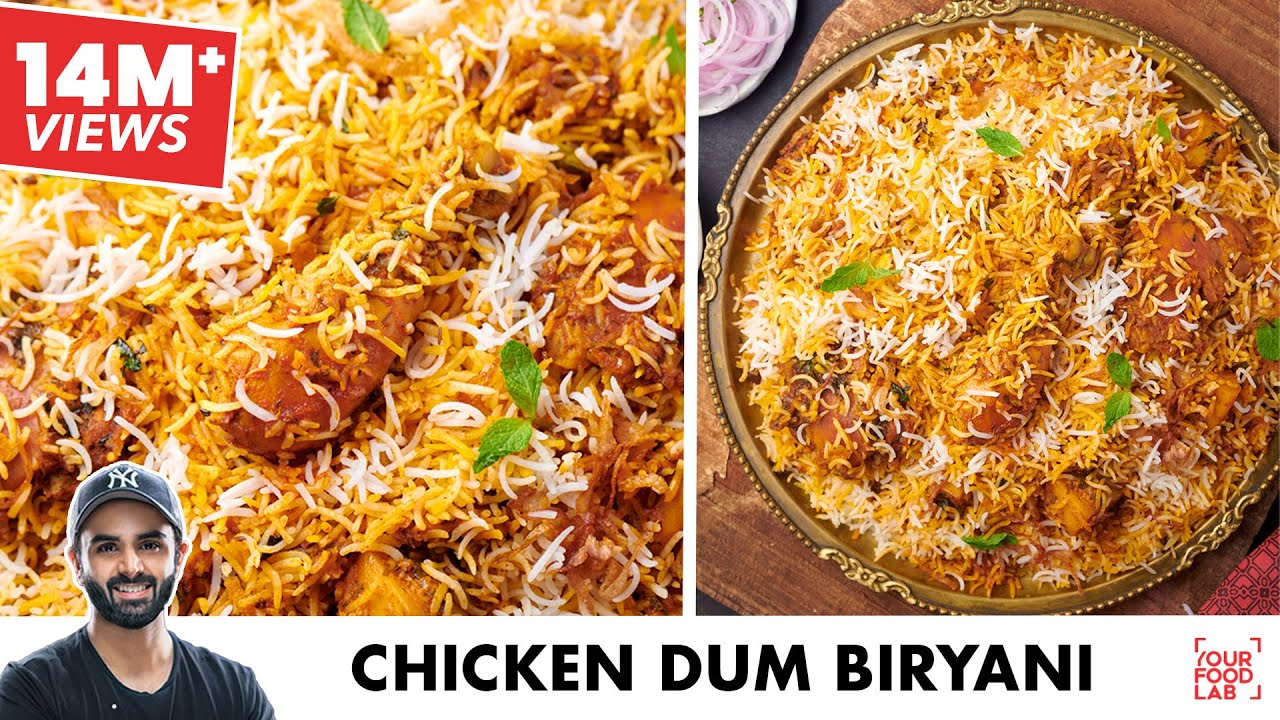
Chicken Dum Biryani Recipe | स्वादिष्ट चिकन दम बिरयानी | Chef Sanjyot Keer

Moong Dal Ka Cheela | Quick & Healthy Paneer Cheela | मूंग दाल और पनीर का चीला | Chef Sanjyot Keer

Crispy Veggie Burger Recipe | Home Made Veg Burger Patty | बाज़ार जैसा वेज बर्गर | Chef Sanjyot Keer
5.0 / 5 (0 votes)
