How to Rig Game Characters in Blender
Summary
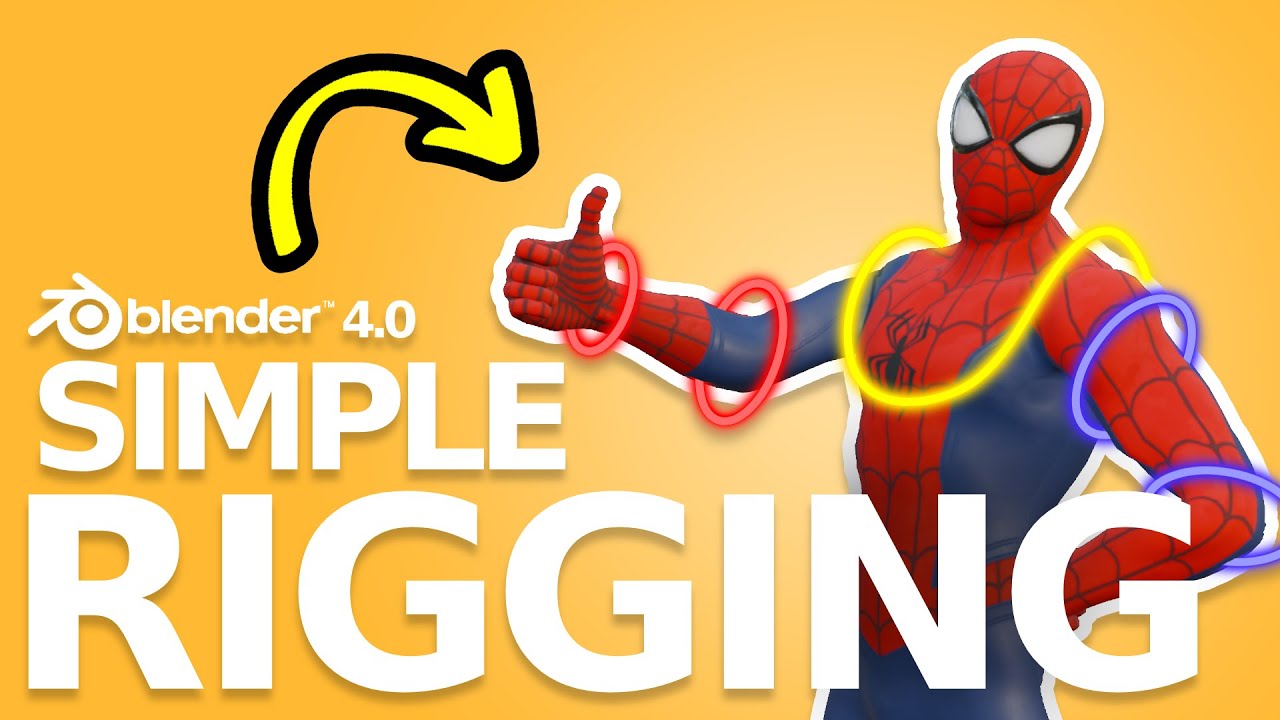
TLDRThis video provides a comprehensive guide on rigging characters for animation in Blender, focusing on bone placement, naming conventions, and rigging techniques. It explains the process of adding bones, setting up FK and IK rigs, using volume snapping for bone placement, and organizing bones for both symmetry and efficiency. Key topics include proper bone rotation, managing pull targets for correct joint movement, and tips for animating characters. Additionally, the tutorial covers automatic weight painting and how to refine it for better results, offering valuable insights for both beginners and advanced users interested in character rigging.
Takeaways
- 😀 Start by adding an armature and placing bones where you want something to bend, like elbows and knees.
- 😀 Use volume snapping in Blender to accurately place bones inside the body, especially for limbs.
- 😀 Naming bones is important for smooth animation; use consistent naming conventions and add '.L' for the left side.
- 😀 Place bones for only the left side of the body first, then use the symmetrize tool to mirror them to the right side.
- 😀 Ensure proper bone rotation by resetting it to avoid animation issues, especially for fingers and other joints.
- 😀 Understand the difference between FK (Forward Kinematics) and IK (Inverse Kinematics) rigs: FK rigs bend each bone in a chain, while IK rigs allow for more flexible movement by adding additional control bones.
- 😀 When setting up an IK rig, clear any parenting from the bones to avoid bugs, and set up the length of the chain to affect the correct number of bones.
- 😀 Use pull targets to control the direction of bends in bones, like knees and elbows, ensuring proper positioning during animation.
- 😀 Correct knee placement is crucial in animation; use a straight line between the hip and ankle bones to avoid unnatural bending.
- 😀 Automatic weight painting in Blender can be used to assign mesh parts to the rig, but manual adjustments may be needed for better results.
- 😀 Watch tutorials to learn the full process of character rigging in Blender, with tips and screencast keys to guide you through the process.
Q & A
What is the first step to start building a rig in Blender?
-The first step is to add an Armature by pressing Shift + A and selecting 'Armature'. You can then start placing bones for your rig, beginning with the hips or central part of the body.
How do you ensure your bones are placed correctly during rigging?
-To place bones correctly, use volume snapping by pressing 'Ctrl' while moving the bones. This allows them to snap inside the body parts for more accurate placement.
Why is naming bones important in rigging?
-Naming bones properly helps during animation, especially for actions like flipping poses (e.g., swapping left and right feet). A consistent naming convention ensures smoother workflow and easier adjustments in animation.
What does the 'dot L' convention mean when naming bones?
-The 'dot L' convention is used to indicate bones on the left side of the character. It's important for symmetry because once the left side is named, you can mirror the rig to the right side.
What should you do after naming the bones for the left side of the character?
-Once the left side bones are named, you can use the 'Symmetrize' function to create the corresponding bones for the right side, keeping the naming conventions intact.
Why is bone rotation important in rigging?
-Correct bone rotation ensures that the bones rotate as expected during animation. Incorrect rotations, especially for parts like fingers, can cause unnatural movements, so it's important to reset bone rotations and check orientations.
What is the difference between FK and RK rigs in animation?
-FK (Forward Kinematics) involves rotating each bone in a chain, while RK (Reverse Kinematics) allows you to control a bone in the chain (like the wrist) and move the connected bones accordingly. RK is particularly useful for legs and other complex animations.
How do you set up an RK rig in Blender?
-To set up an RK rig, go to Edit Mode, extrude a bone where you want the control (e.g., wrist for the arm), clear its parent, and then go to Pose Mode. You can then use the 'Shift + I' shortcut to set up the inverse kinematics, choosing how many bones to affect in the chain.
What is the purpose of the 'Pull Target' in an RK rig?
-A Pull Target is used to control the direction of a joint (like the knee or elbow) when using RK. It helps you fine-tune the direction the joint moves in by adjusting the position of the Pull Target.
How do you avoid issues with knee movement in an RK setup?
-To prevent issues with knee movement, ensure that the knee bone is positioned correctly in relation to the hip and ankle. You can also use the 'Shift + S' shortcut to center the knee and adjust the leg's positioning in side view to avoid unnatural bending.
Outlines

Esta sección está disponible solo para usuarios con suscripción. Por favor, mejora tu plan para acceder a esta parte.
Mejorar ahoraMindmap

Esta sección está disponible solo para usuarios con suscripción. Por favor, mejora tu plan para acceder a esta parte.
Mejorar ahoraKeywords

Esta sección está disponible solo para usuarios con suscripción. Por favor, mejora tu plan para acceder a esta parte.
Mejorar ahoraHighlights

Esta sección está disponible solo para usuarios con suscripción. Por favor, mejora tu plan para acceder a esta parte.
Mejorar ahoraTranscripts

Esta sección está disponible solo para usuarios con suscripción. Por favor, mejora tu plan para acceder a esta parte.
Mejorar ahoraVer Más Videos Relacionados
Animate ANY Character in Davinci Resolve!
Intro to Animation Rigging & Procedural Animation in Unity
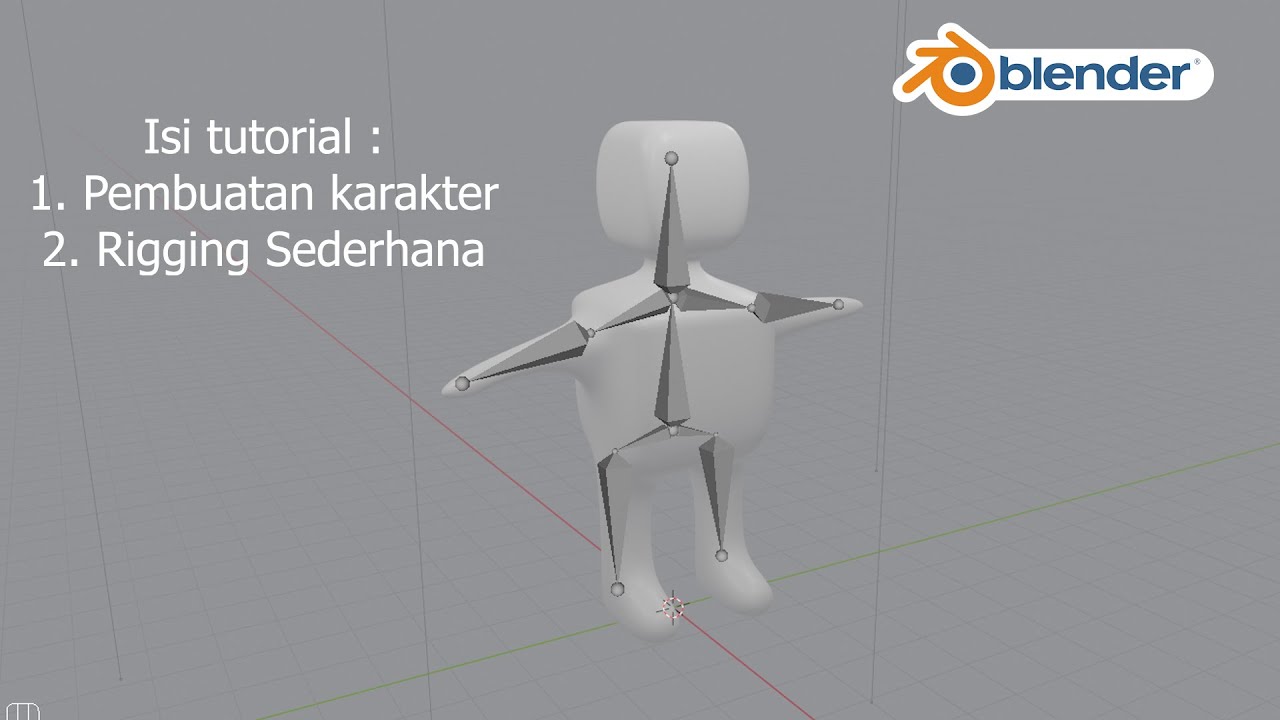
Tutorial Blender Pemula - Membuat Karakter Sederhana dan Rigging
Goodbye Mixamo! This NEW Auto-Rigger is INSANE! (Offline)

Over 50 Blender Terms Explained
Amazingly EASY Way To Rig Characters in Blender 4.1
5.0 / 5 (0 votes)
