Blender 3D Tutorial Membuat Karakter Game Amoung Us! 3D Modeling, (Pemula) Blender 2.90
Summary
TLDRThis Blender tutorial takes users through the process of 3D modeling a character using various techniques in the software. The presenter demonstrates step-by-step how to manipulate meshes, apply subdivision surface modifiers, and adjust geometry to create realistic features. The tutorial covers the creation of detailed body parts, including the head, legs, and arms, and walks through key tools like proportional editing, mirroring, and applying materials for coloring. By the end, viewers will have learned essential modeling skills to create a basic 3D character model in Blender.
Takeaways
- 😀 The tutorial is about creating a 3D model of an object using Blender, starting with the basics of using mesh objects.
- 😀 The speaker removes unnecessary elements and uses a 'mesh' to begin creating the model's structure.
- 😀 The speaker uses various Blender tools such as subdivision, extrude, and proportional editing to shape and refine the model.
- 😀 Edges are selected and manipulated with tools like Control + R for edge loops to create more detailed shapes.
- 😀 The tutorial covers the process of adjusting the scale and positioning of different parts of the model, including mirroring to replicate symmetrical parts.
- 😀 A focus is placed on refining the form by adding subdivision surfaces for smoothness and adjusting proportions.
- 😀 Materials are applied to the model, such as a glass material for the front, and different colors are used for distinct parts.
- 😀 The speaker introduces basic rendering and lighting techniques to enhance the visual appearance of the model.
- 😀 Instructions include adding the right background and lighting effects to make the model appear more realistic.
- 😀 The model’s components are fine-tuned by selecting and adjusting specific parts for proper alignment and visual appeal.
- 😀 The speaker concludes by encouraging viewers to like, comment, and subscribe for more content on modeling and Blender tutorials.
Q & A
What is the primary software used in the tutorial for creating the 3D model?
-The primary software used in the tutorial is Blender, specifically version 2.9.
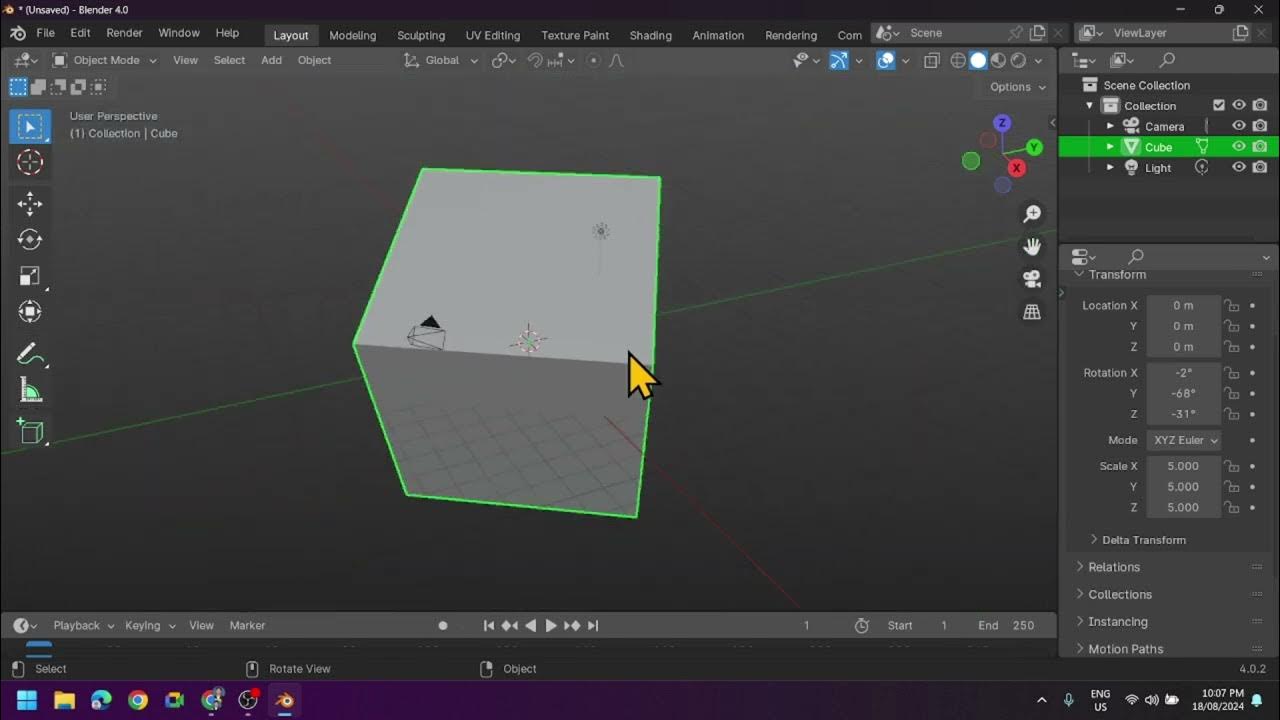
What is the first step in modeling the robot in Blender?
-The first step is to delete the default cube and start with a mesh that will be used to model the robot.
How does the tutor refine the shape of the model in the early stages?
-The tutor uses the Subdivision Surface modifier and Edge Loop (Ctrl+R) to add more geometry and refine the shape of the model.
What tool is used to select and move specific parts of the model?
-The tutor uses the 'C' key for circle selection and the 'S' key for scaling to modify specific parts of the model.
How does the tutor ensure symmetry in the model?
-The tutor uses the Mirror Modifier to create a symmetrical model, ensuring the other side updates automatically as changes are made.
What is the purpose of the proportional editing tool in the tutorial?
-The proportional editing tool is used to move vertices smoothly and adjust parts of the model, maintaining a smooth transition when modifying the mesh.
Which material types are applied to different parts of the robot?
-The tutor applies glass material to the front glass part of the model and red material to the body. For the lines and details, a black material is used.
What is the final step in the process before rendering the model?
-The final step involves adjusting the lighting and camera setup, making sure the model is properly positioned, and then rendering the scene.
What does the tutor mean by 'extruding' the model?
-Extruding refers to extending or pulling out parts of the model to add more geometry and shape, especially in areas like the legs and other details.
How does the tutor adjust the resolution of the final render?
-The tutor adjusts the resolution of the final render by modifying the output settings to match the desired resolution before starting the render.
Outlines

Esta sección está disponible solo para usuarios con suscripción. Por favor, mejora tu plan para acceder a esta parte.
Mejorar ahoraMindmap

Esta sección está disponible solo para usuarios con suscripción. Por favor, mejora tu plan para acceder a esta parte.
Mejorar ahoraKeywords

Esta sección está disponible solo para usuarios con suscripción. Por favor, mejora tu plan para acceder a esta parte.
Mejorar ahoraHighlights

Esta sección está disponible solo para usuarios con suscripción. Por favor, mejora tu plan para acceder a esta parte.
Mejorar ahoraTranscripts

Esta sección está disponible solo para usuarios con suscripción. Por favor, mejora tu plan para acceder a esta parte.
Mejorar ahoraVer Más Videos Relacionados

How to make a Character in Blender - My Full Process in 10 Minutes

Tutorial animasi 3D dengan blender 2.8 bahasa indonesia part 1 - Modeling Kepala
Blender Jack O'Lantern Pumpkin Tutorial | Polygon Runway
Modeling & Animasi Tangan | tutorial Hand Animation in Blender | Indonesia

Tutorial animasi 3D dengan blender 2.8 bahasa indonesia Pt.2 - Modeling Badan
Introduction to Blender 3D: Getting Started with the Interface & Essential Tools in Blender
5.0 / 5 (0 votes)
