Tutorial animasi 3D dengan blender 2.8 bahasa indonesia Pt.2 - Modeling Badan
Summary
TLDRIn this detailed tutorial, the creator demonstrates how to model a 3D character of Krillin from *Dragon Ball* using Blender. The process starts with crafting the body, copying the head as a base, and refining the shape. Then, the tutorial focuses on creating Krillin's Shaolin-style clothing, adding details like a belt and adjusting the fit. Techniques like proportional editing, extruding, and applying modifiers are used throughout. The video offers practical tips for beginners who are comfortable with Blender, encouraging viewers to experiment with various views and adjustments to perfect their 3D modeling skills.
Takeaways
- 😀 Start by copying the character's head to create the body, simplifying the design to avoid unnecessary details like a neck.
- 😀 Use proportional editing and modifiers like the solidify modifier to adjust the character’s body shape and ensure the design fits well.
- 😀 The body’s proportions should not be too long, and adjustments should be made to ensure the upper body is visible, as the rest will not be as important.
- 😀 When creating clothing, duplicate the body’s shape and adjust the geometry to form the outfit, distinguishing it with different colors.
- 😀 Apply materials and modifiers to the clothing to differentiate it visually from the body and refine the overall shape.
- 😀 Make sure the clothing meshes well with the body, ensuring that it doesn’t appear detached or poorly fitting.
- 😀 Work through both the left and right sides of the character separately, since the clothing design is not symmetrical in this case.
- 😀 Use the subdivision surface modifier to smooth out the body and clothing, giving a clean and polished look to the model.
- 😀 Regularly rotate the model to check the details from all angles to ensure proper alignment and avoid errors like gaps or overlaps.
- 😀 Refining the belt and ensuring it fits the character properly is important, using extrude and scale functions to adjust its appearance.
- 😀 For detailed features, apply sculpting techniques to create specific visual elements like folds, stitching, and texture in the clothing.
Q & A
What is the first step in creating the body for the character?
-The first step is to copy the head object and use it as the base for the body, which avoids having to model the body from scratch.
Why does the tutorial suggest making the neck shorter or not visible?
-The tutorial suggests making the neck shorter or non-existent to simplify the design, focusing only on the visible upper body for the character model.
How do you make sure that the body and clothing do not blend together visually in Blender?
-By changing the colors of the body and clothing to different colors, it's easier to distinguish between the two parts during the modeling process.
What is the purpose of applying the 'Solidify' modifier?
-The 'Solidify' modifier is used to give thickness to the clothing, making it appear more realistic by creating a 3D effect, especially around areas like the sleeves or pants.
What is the importance of 'Proportional Editing' when working on the model?
-'Proportional Editing' allows for smooth transformations of the geometry, which helps maintain proper proportions as you adjust parts of the model, such as the body or clothing.
Why should you often change the view or angle while working on the model?
-Changing the view frequently ensures that you're not missing any parts of the model that might not look correct from a single angle, improving the overall accuracy and quality of the model.
How do you handle the clothing when there's no mirror modifier applied?
-Without the mirror modifier, the left and right sides of the clothing need to be manually adjusted and modeled to ensure symmetry and proper fit on the character.
What role does the 'Subdivision Surface' modifier play in the modeling process?
-The 'Subdivision Surface' modifier smooths the geometry of the model, giving it a cleaner, more polished appearance by adding more geometry without manual detailing.
How do you create the belt for the character in the tutorial?
-The belt is created by selecting the clothing object, moving the cursor to the selected object, and then using a circle object to form the belt, followed by extrusion and refinement to match the design.
What is the final step in refining the clothing in the tutorial?
-The final step involves using 'Proportional Editing' to fine-tune the fit of the clothing, ensuring that the parts of the model do not intersect or 'poke through' in unnatural ways, and making sure it fits the character's body.
Outlines

This section is available to paid users only. Please upgrade to access this part.
Upgrade NowMindmap

This section is available to paid users only. Please upgrade to access this part.
Upgrade NowKeywords

This section is available to paid users only. Please upgrade to access this part.
Upgrade NowHighlights

This section is available to paid users only. Please upgrade to access this part.
Upgrade NowTranscripts

This section is available to paid users only. Please upgrade to access this part.
Upgrade NowBrowse More Related Video

Tutorial animasi 3D dengan blender 2.8 bahasa indonesia part 1 - Modeling Kepala

Blender 3D Tutorial Membuat Karakter Game Amoung Us! 3D Modeling, (Pemula) Blender 2.90

How to make a Character in Blender - My Full Process in 10 Minutes
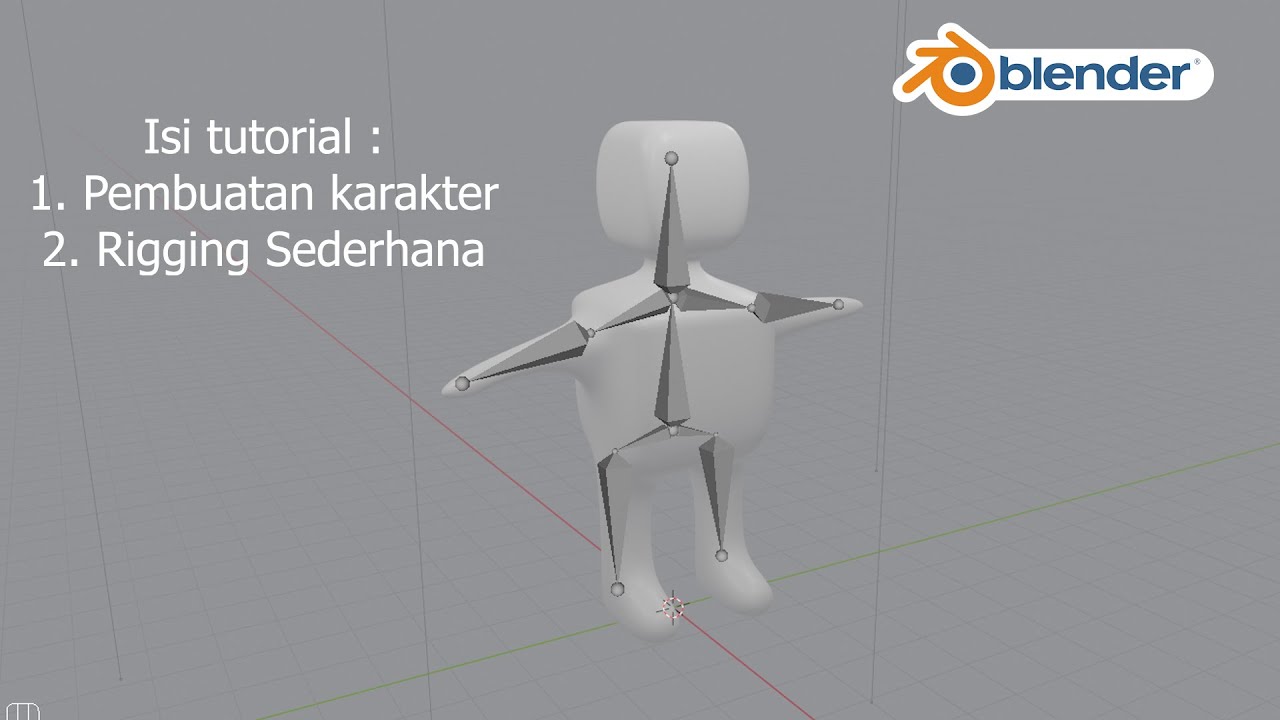
Tutorial Blender Pemula - Membuat Karakter Sederhana dan Rigging
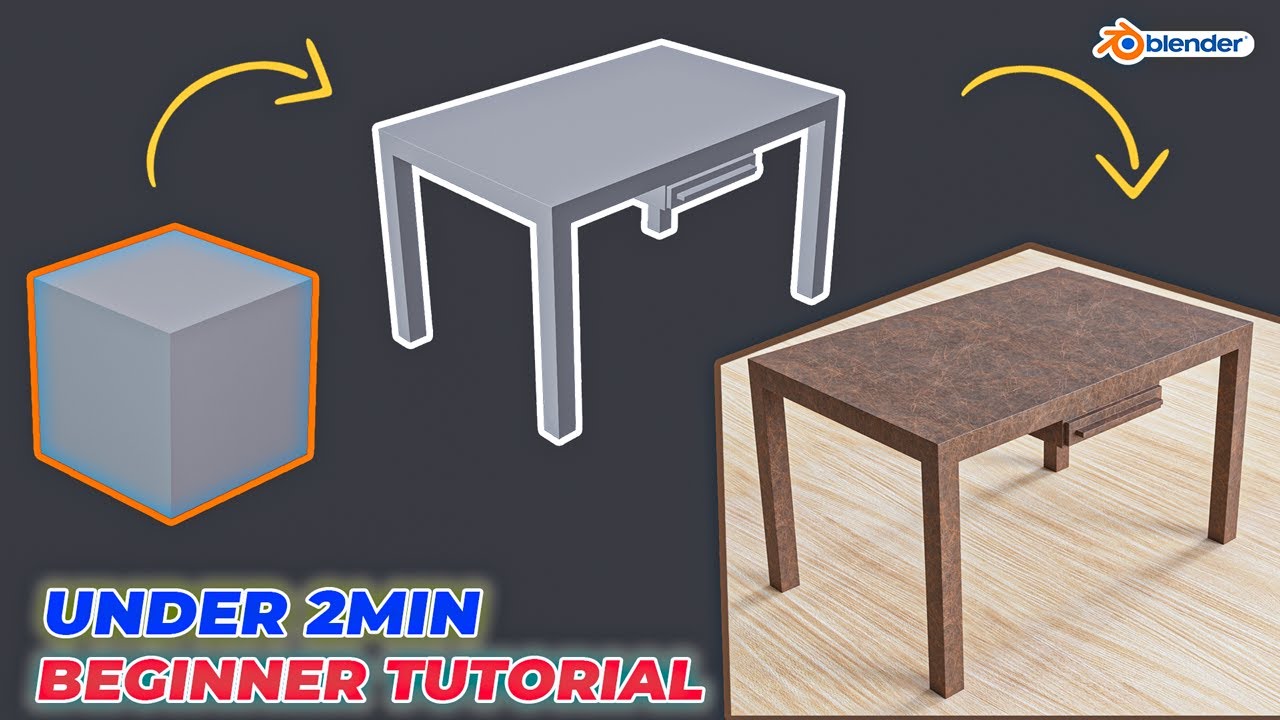
Modeling Table Under 2Min || Blender Beginners Tutorial
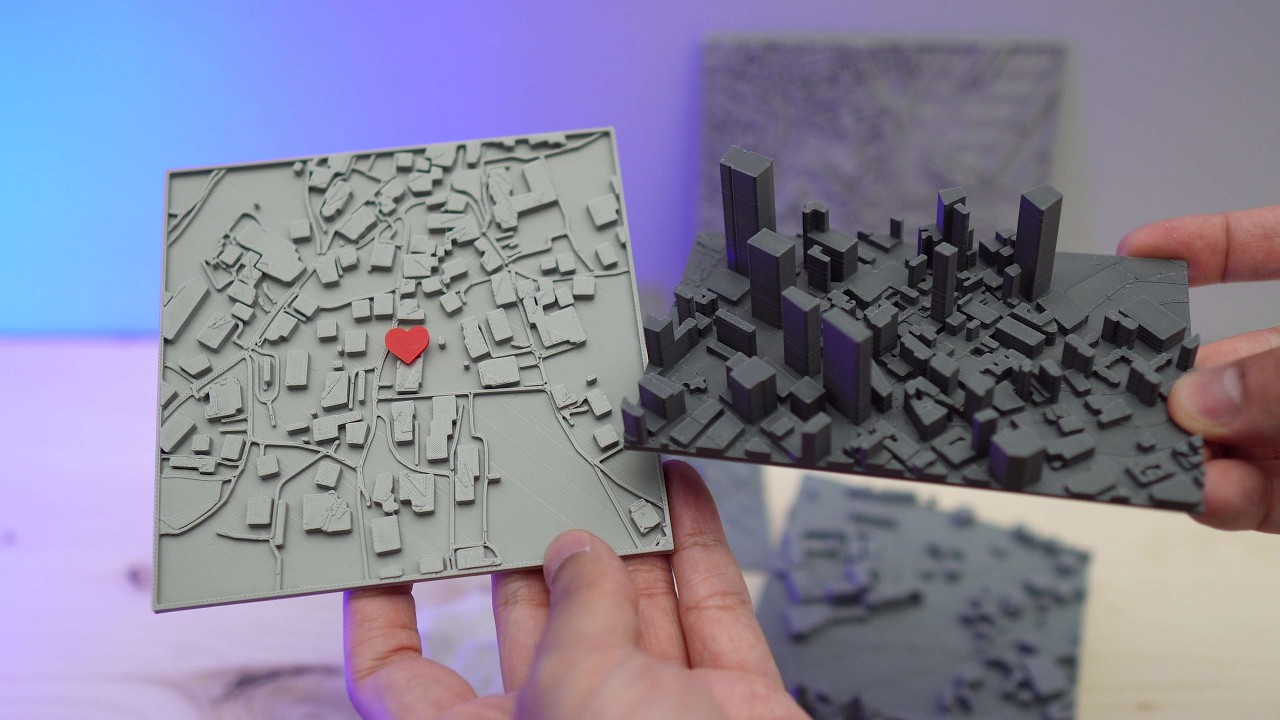
How to 3D Print your own Cityscapes and Terrains (FREE Method)
5.0 / 5 (0 votes)