TUTORIAL DASAR MIKROTIK (KONEKSI INTERNET)
Summary
TLDRIn this video tutorial, the creator walks viewers through the process of setting up a MikroTik RB750 router for basic LAN and hotspot configuration. The tutorial covers configuring interfaces for LAN and internet connections, setting up a DHCP server to assign IPs automatically, establishing NAT (Network Address Translation) for internet access, and troubleshooting connectivity. The creator demonstrates how to configure a router for both wired LAN clients and Wi-Fi devices, with further plans to explore hotspot configurations. This tutorial serves as a foundational guide for beginners looking to set up networking with MikroTik devices.
Takeaways
- 😀 The script covers the basic configuration of a MikroTik RB750 router for LAN and internet connectivity.
- 😀 The router setup includes configuring interfaces for LAN (Ether2), internet (Ether1), and the access point (Ether3).
- 😀 IP addresses are assigned to interfaces, with Ether1 connected to the internet and Ether2 used for LAN clients.
- 😀 The script demonstrates how to use DHCP client settings to automatically receive an IP address from the ISP via Ether1.
- 😀 Routing is automatically configured in MikroTik when an IP address is assigned to an interface, facilitating internet access.
- 😀 The tutorial shows how to verify internet connectivity by pinging a website to ensure proper setup.
- 😀 DNS settings are configured, allowing the router to handle domain name resolution requests.
- 😀 A DHCP server is set up to automatically assign IP addresses to LAN clients, with a predefined range for 30 clients.
- 😀 The script includes a demonstration of how to check if LAN clients are connected and receiving valid IP addresses.
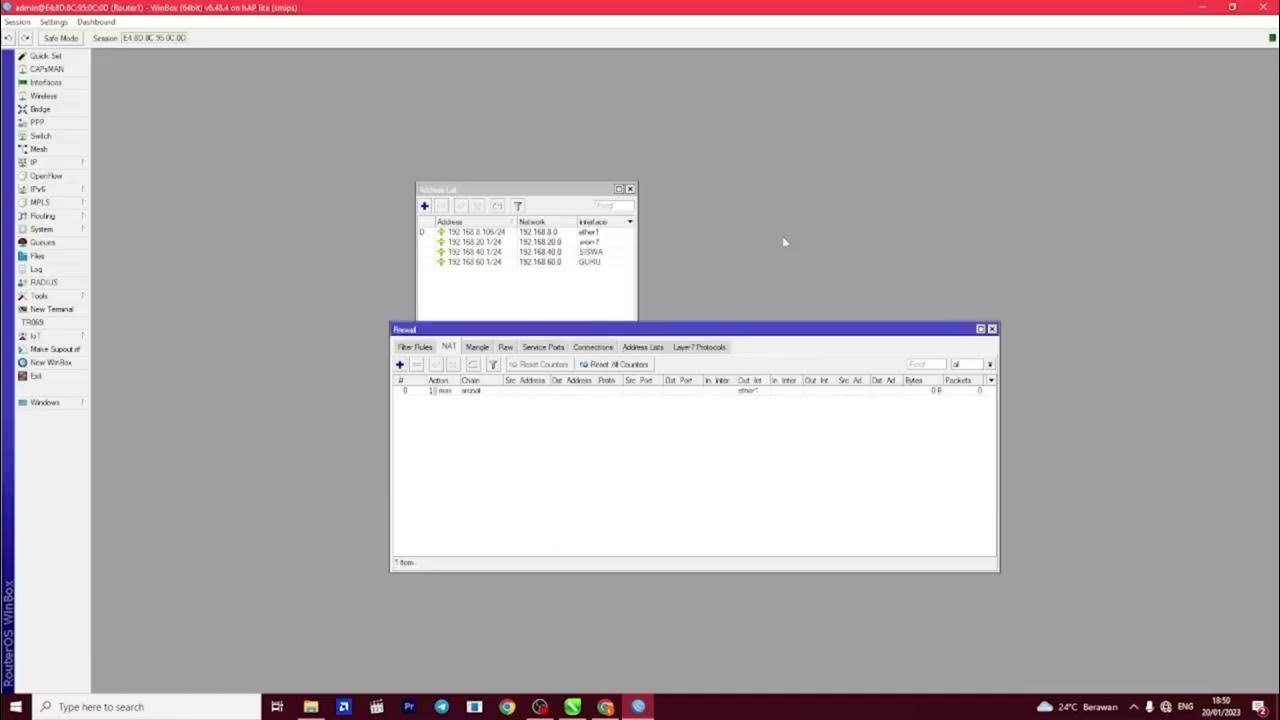
- 😀 NAT (Network Address Translation) is configured to enable private IP addresses to access the internet by masquerading as public IPs.
- 😀 The tutorial ends with verifying the connection status and signaling successful internet access for the devices connected to the LAN.
Q & A
What is the purpose of configuring the MikroTik RB750 in this tutorial?
-The purpose is to set up a basic LAN and internet connectivity using the MikroTik RB750 router, enabling clients in a local network to access the internet and creating a hotspot.
What is the function of Ether1 in this network setup?
-Ether1 is connected to the internet via a modem and acts as the gateway for the router to access the internet.
What role does Ether2 play in the network configuration?
-Ether2 is connected to the LAN or switch, providing network access to local devices within the internal network.
How is internet connectivity established on the MikroTik RB750?
-Internet connectivity is established by configuring Ether1 as a DHCP client, which automatically obtains an IP address from the ISP modem.
What is the significance of setting up DNS on the MikroTik router?
-DNS setup allows the router to resolve domain names into IP addresses, enabling connected devices in the LAN to browse the internet by using domain names like google.com.
What is the DHCP server, and why is it necessary in this configuration?
-The DHCP server automatically assigns IP addresses to devices within the LAN, eliminating the need for manual IP configuration on each device.
What is NAT, and how is it configured in this tutorial?
-NAT (Network Address Translation) is used to translate private IP addresses in the local network to a public IP for internet access. It is configured in the firewall settings under NAT with the Masquerade action.
What happens if the DHCP server is not configured on the MikroTik router?
-If the DHCP server is not configured, devices connected to the network will not automatically receive IP addresses, and manual IP configuration will be required on each device.
How can you check if the MikroTik router is successfully connected to the internet?
-You can check the internet connection by pinging a public DNS server like 8.8.8.8 from the router's command line to verify connectivity.
Why is it important to configure the correct IP range for the DHCP server?
-Configuring the correct IP range ensures that devices in the LAN receive valid and unique IP addresses within the network, preventing address conflicts and ensuring proper connectivity.
Outlines

Esta sección está disponible solo para usuarios con suscripción. Por favor, mejora tu plan para acceder a esta parte.
Mejorar ahoraMindmap

Esta sección está disponible solo para usuarios con suscripción. Por favor, mejora tu plan para acceder a esta parte.
Mejorar ahoraKeywords

Esta sección está disponible solo para usuarios con suscripción. Por favor, mejora tu plan para acceder a esta parte.
Mejorar ahoraHighlights

Esta sección está disponible solo para usuarios con suscripción. Por favor, mejora tu plan para acceder a esta parte.
Mejorar ahoraTranscripts

Esta sección está disponible solo para usuarios con suscripción. Por favor, mejora tu plan para acceder a esta parte.
Mejorar ahoraVer Más Videos Relacionados

Konfigurasi Mikrotik untuk OLT + Setting EPON OLT Mode PPPoE dan Hotspot

PEMBAHASAN UKK TKJ PAKET 2 TAHUN 2023

Full Setting Mikrotik Semua Port Bridge untuk Mode Hotspot Voucheran + Topologi Settingan Mikrotik

How to setup Mikrotik to access the Internet

Setting Pakai HP: TP-Link WR840N (ID) Mode AP Hotspot Voucher

CARA SETTING / KONFIGURASI DASAR MIKROTIK - MIKROTIK TUTORIAL [IND SUB] - Part 1
5.0 / 5 (0 votes)
