16 - Understanding digital images for Python processing
Summary
TLDRIn this Python tutorial for microscopists, the basics of image processing using Python are discussed. The video explains that images are essentially numpy arrays with pixel values representing RGB colors. It covers the RGB color model, the concept of alpha for transparency, and the conversion between different color spaces. The tutorial also demonstrates how to open and manipulate images in Python using libraries like scikit-image and matplotlib, highlighting the ability to perform mathematical operations on images as numpy arrays. The video serves as an introduction to the foundational concepts of image processing.
Takeaways
- 💻 The script is a Python tutorial aimed at beginners, focusing on image processing.
- 🖼️ An image is described as an array of numbers or pixels, with each pixel representing a number.
- 🌈 For color images, pixel values are defined by red, green, blue (RGB), and alpha (transparency).
- 🎨 The script explains how to define colors using RGB values, using Microsoft Paint as an example.
- 📈 The tutorial introduces the concept of different color spaces, including RGB and hue, saturation, luminance (HSL).
- 📚 The script demonstrates opening an image in Python using the scikit-image library.
- 🔢 It explains that images can be represented as numpy arrays, with pixel values ranging from 0 to 255 for 8-bit images.
- 🔄 The tutorial shows how to convert images from integer to floating-point data types and vice versa.
- 📊 The script discusses the possibility of performing mathematical operations on images, such as addition and multiplication.
- 🖥️ The presenter demonstrates creating an artificial image with random pixel values using numpy.
- 🛠️ The tutorial concludes with a teaser for the next video, which will cover different libraries for image loading and manipulation.
Q & A
What is the main focus of the Python tutorials on the 'Python for Microscopists' YouTube channel?
-The main focus of the Python tutorials on the 'Python for Microscopists' YouTube channel is to teach image processing using Python, targeting students, researchers, and anyone interested in this field, with an emphasis on basic programming and development skills.
How are images represented in Python according to the tutorial?
-Images in Python are represented as numpy arrays, where each pixel is a number. For color images, each pixel consists of values for red, green, and blue.
What is the significance of the alpha value in the context of image processing?
-The alpha value in image processing defines the transparency of a color. It determines how transparent the color is at a particular location in the image.
How does the tutorial demonstrate the RGB color model?
-The tutorial demonstrates the RGB color model by using Microsoft Paint to show how colors can be defined by adjusting the red, green, and blue values, and how these values combine to create different colors.
What is the difference between an 8-bit and a 16-bit image in terms of pixel value range?
-An 8-bit image has pixel values ranging from 0 to 255, while a 16-bit image has a broader range from 0 to 65535, allowing for more color depth and detail.
How can one convert an image from one data type to another in Python?
-In Python, one can convert an image from one data type to another using functions from libraries like skimage, such as the 'image_as_float' function, which converts images to floating-point representations.
What is the purpose of using 'matplotlib' and 'plt.imshow' in the context of image processing?
-In the context of image processing, 'matplotlib' and 'plt.imshow' are used to display images. They provide a visual representation of the numpy arrays that represent the images.
How does the tutorial illustrate the concept of manipulating pixel values in an image?
-The tutorial illustrates the concept of manipulating pixel values by creating an artificial image with random numbers, modifying the pixel values to darken the image, and replacing certain pixel values to draw colored boxes on an existing image.
What mathematical operations can be performed on images since they are numpy arrays?
-Since images are numpy arrays, any mathematical operation that can be performed on numpy arrays can also be done on images, such as addition, multiplication, and the use of min and max functions to find the range of pixel values.
What is the significance of the tutorial's discussion on different data types for image representation?
-The discussion on different data types for image representation is significant because it highlights the importance of choosing the appropriate data type based on the required color depth and the potential loss of information when converting between types, such as from 16-bit to 8-bit.
Outlines

Esta sección está disponible solo para usuarios con suscripción. Por favor, mejora tu plan para acceder a esta parte.
Mejorar ahoraMindmap

Esta sección está disponible solo para usuarios con suscripción. Por favor, mejora tu plan para acceder a esta parte.
Mejorar ahoraKeywords

Esta sección está disponible solo para usuarios con suscripción. Por favor, mejora tu plan para acceder a esta parte.
Mejorar ahoraHighlights

Esta sección está disponible solo para usuarios con suscripción. Por favor, mejora tu plan para acceder a esta parte.
Mejorar ahoraTranscripts

Esta sección está disponible solo para usuarios con suscripción. Por favor, mejora tu plan para acceder a esta parte.
Mejorar ahoraVer Más Videos Relacionados
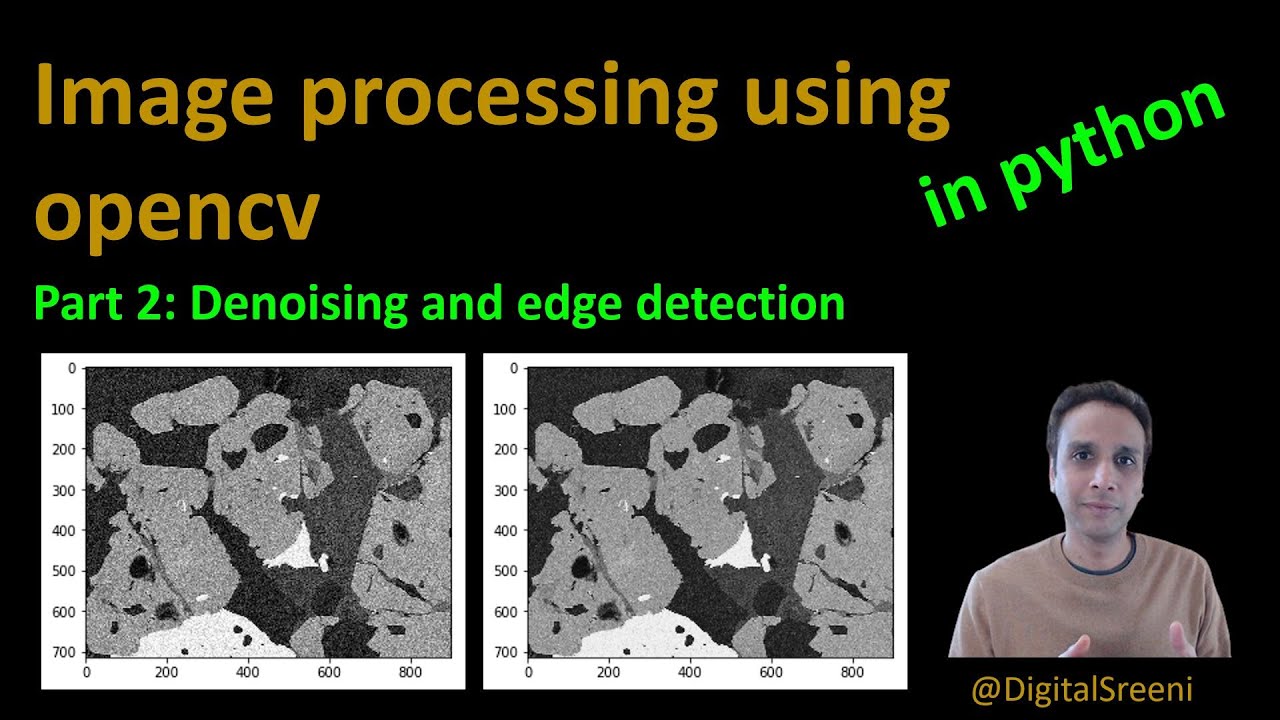
26 - Denoising and edge detection using opencv in Python
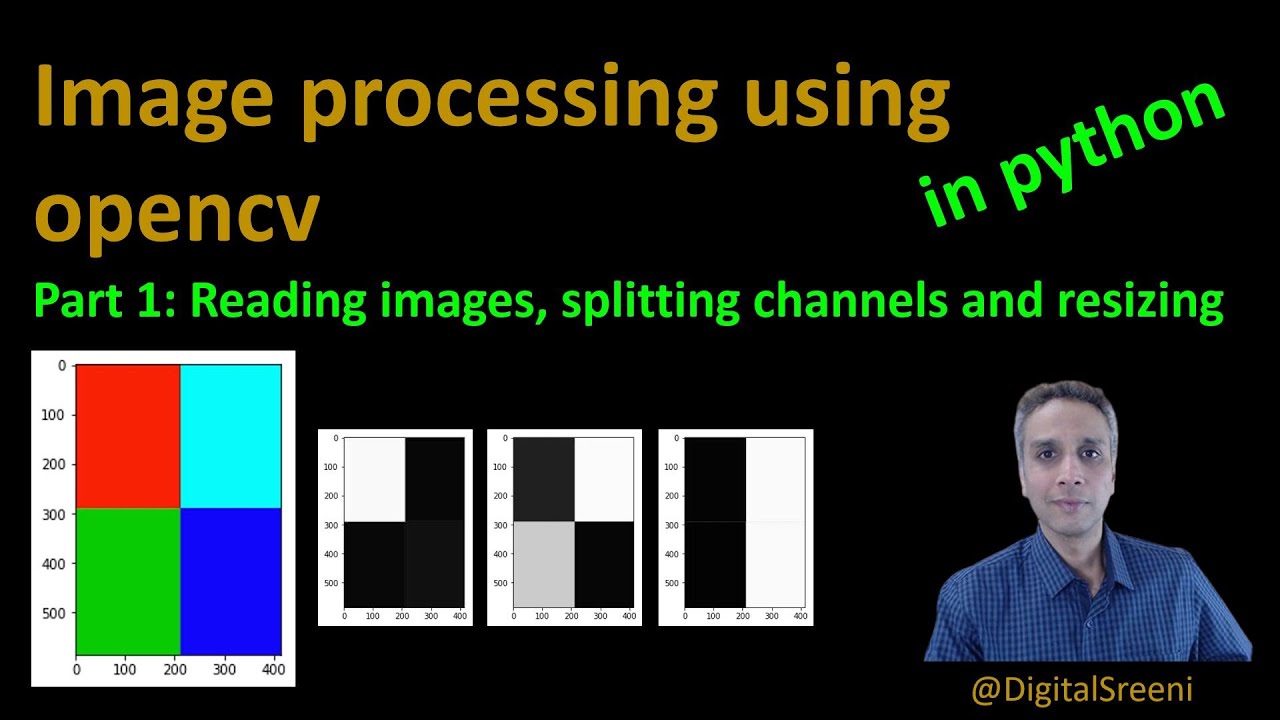
25 - Reading Images, Splitting Channels, Resizing using openCV in Python

LEGO MINDSTORMS Robot Inventor Guide – How to program in Python

Penggunaan Google Colab (Colaboratory) untuk Pemrograman Python

OpenCV on Google Colab - Working with Gray Image

Lesson 7-2: String Indexing and Slicing
5.0 / 5 (0 votes)
