Revit - Tutorials for Beginners in 10 MINUTES ! [ FULL GUIDE 2024 ]
Summary
TLDRThis comprehensive Revit tutorial, led by Zachary Brown, guides users through the basics of creating both 2D and 3D models using Revit on Windows. It covers key features such as starting new projects, drawing floors and walls, managing levels, and adding components like doors, windows, and roofs. The tutorial also delves into customizing the workspace, using various view modes, and rendering projects. With practical tips and step-by-step instructions, this tutorial is perfect for beginners looking to master Revit and create architectural projects with ease.
Takeaways
- 😀 Revit is a powerful tool for creating both 2D and 3D models on Windows, used for architectural, structural, and systems design.
- 😀 Revit projects are categorized into Models (complete projects) and Families (single components that can be used in multiple projects).
- 😀 To start a new architectural project in Revit, select 'New' and choose either Imperial or Metric scale before opening the main interface.
- 😀 The Build section under the Architecture tab provides tools for drawing floors, walls, and other architectural elements in Revit.
- 😀 When creating a floor, the drawing tools allow for different shapes such as rectangles, polygons, and circles, and sketches can be undone or adjusted.
- 😀 Walls automatically join at intersections in Revit, and you can switch to 3D view for a complete project visualization.
- 😀 The 3D View Cube and Full Navigation wheel help in adjusting the 3D view, allowing for easy panning, zooming, and orbiting.
- 😀 Levels and Elevations provide essential reference points for designing, enabling you to view projects from different heights and directions.
- 😀 The Wall tool allows for flexible customization and height adjustments, while objects like doors and windows can be inserted with the Component tool.
- 😀 The Roof tool in Revit allows for creating roofs with slopes, and you can modify the roof to be flat or adjust its slopes based on your design needs.
- 😀 Revit projects are saved as .rvt files, and you can reopen and edit your work at any time. Regular saving is important with CTRL + S.
Q & A
What are the two main types of Revit projects?
-Revit projects come in two types: Models and Families. Models are complete projects made of several compositions, while Families are individual components that can be used in one or multiple projects.
What is the difference between the Imperial and Metric scales in Revit?
-The Imperial scale is based on feet and inches, while the Metric scale uses millimeters and centimeters. You can choose between these scales when starting a new architectural project in Revit.
How can you customize the user interface in Revit?
-To customize the user interface in Revit, you can show or hide panels by going to View and selecting User Interface. This allows you to adjust the workspace according to your preferences.
What are Scope Boxes in Revit, and how do you manage them?
-Scope Boxes are green lines in the project view that help manage larger projects. You can hide them by right-clicking on any Scope Box and selecting 'Hide in View, Category.'
How do you enter Edit Mode in Revit, and what tools are available?
-To enter Edit Mode, click on a tool like the Floor tool, and the green Modify tab will appear at the top, offering various drawing tools like lines, arcs, and splines. You can use these to create or modify objects.
What is the function of the Measure Between Two References tool?
-The Measure Between Two References tool allows you to check the height of walls in a 3D view by selecting two points and getting the precise measurement between them.
How do you adjust the visual style of a Revit project?
-You can adjust the visual style by selecting a different option at the bottom of the preview, ranging from wireframe to realistic view. This helps in viewing materials and object details.
What is the purpose of Levels and Elevations in Revit?
-Levels and Elevations help you define and view the project from different heights or angles. Levels represent floor plans, while Elevations show the project from cardinal directions like East, North, South, or West.
How do you modify the height or dimensions of walls in Revit?
-To modify the height of walls, select the wall and use the blue nodes to adjust the height. You can also modify walls by double-clicking to enter Edit Mode and adjusting the sketches.
What steps should be followed to add a roof in Revit?
-To add a roof, enable the Roof tool, select the roof base level, and then use drawing tools to define the roof's shape. You can adjust slopes, attach walls, and customize the roof further if needed.
Outlines

Dieser Bereich ist nur für Premium-Benutzer verfügbar. Bitte führen Sie ein Upgrade durch, um auf diesen Abschnitt zuzugreifen.
Upgrade durchführenMindmap

Dieser Bereich ist nur für Premium-Benutzer verfügbar. Bitte führen Sie ein Upgrade durch, um auf diesen Abschnitt zuzugreifen.
Upgrade durchführenKeywords

Dieser Bereich ist nur für Premium-Benutzer verfügbar. Bitte führen Sie ein Upgrade durch, um auf diesen Abschnitt zuzugreifen.
Upgrade durchführenHighlights

Dieser Bereich ist nur für Premium-Benutzer verfügbar. Bitte führen Sie ein Upgrade durch, um auf diesen Abschnitt zuzugreifen.
Upgrade durchführenTranscripts

Dieser Bereich ist nur für Premium-Benutzer verfügbar. Bitte führen Sie ein Upgrade durch, um auf diesen Abschnitt zuzugreifen.
Upgrade durchführenWeitere ähnliche Videos ansehen
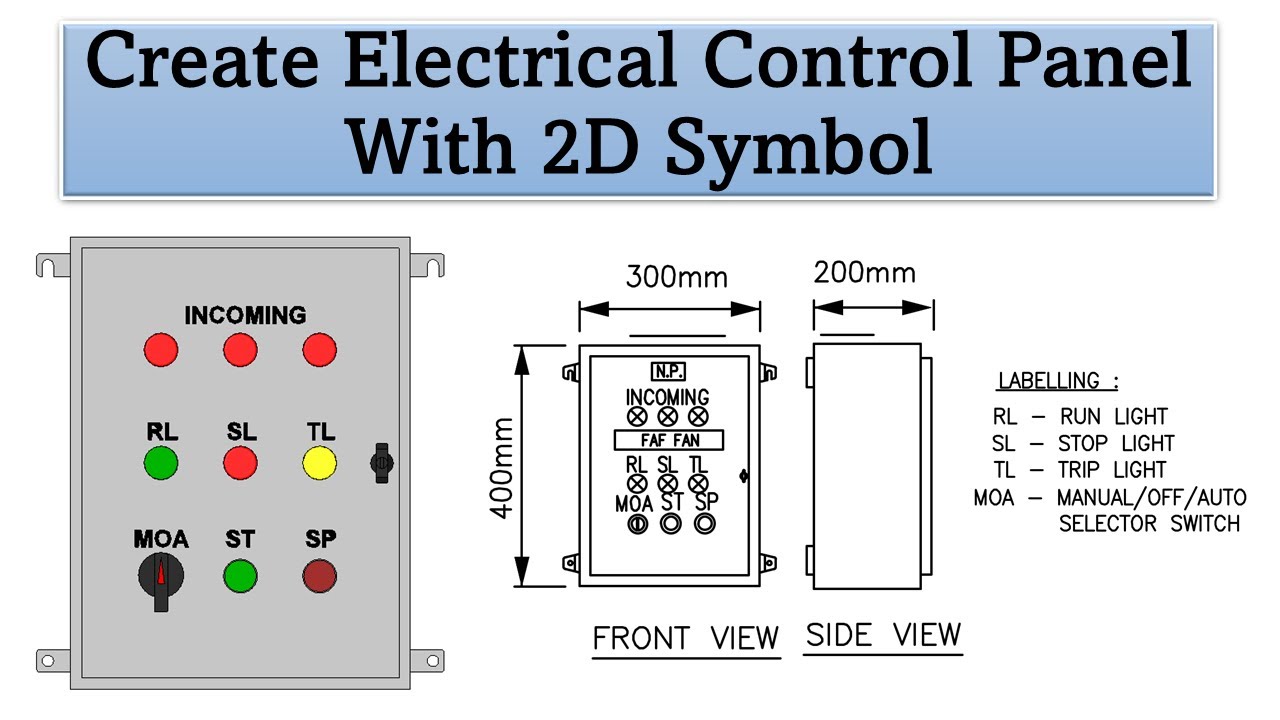
Create Electrical Control Panel Revit Family including 2D Symbol
video1107663336

Revit Course for Beginners – Part 1 – First Floor Design

Apa itu Revit? Apa hubungan Revit dengan BIM?
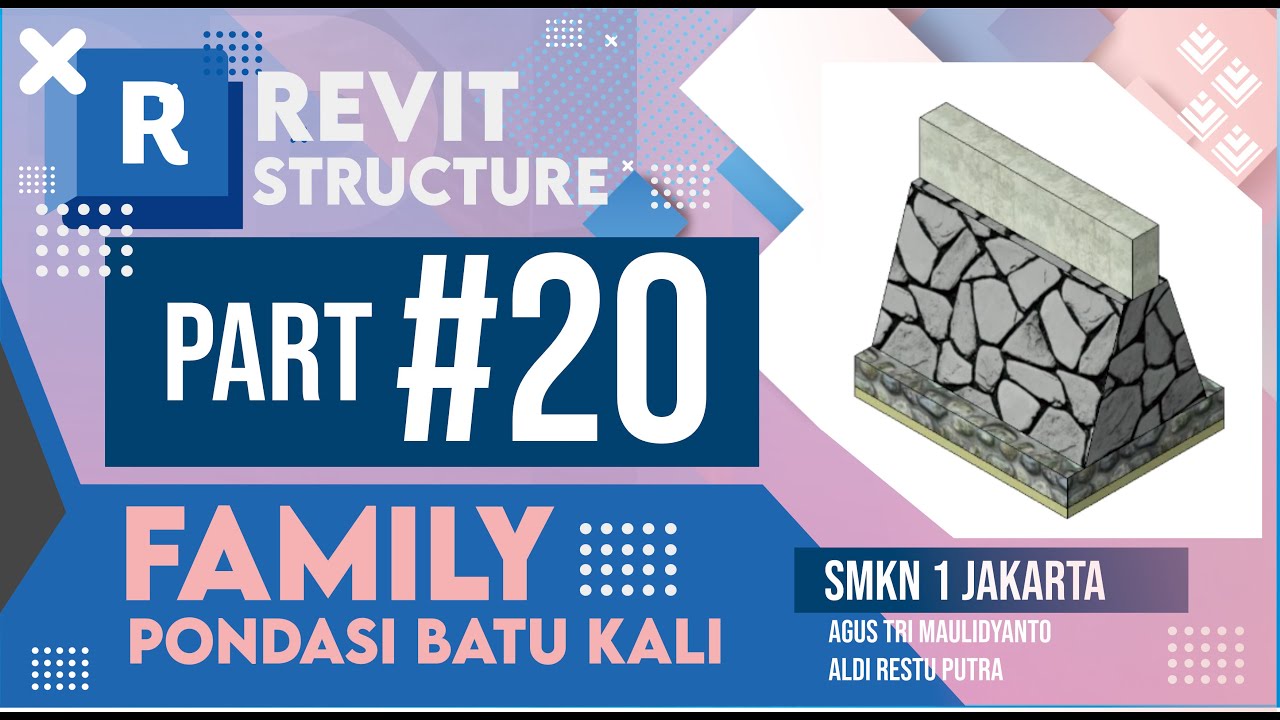
TUTORIAL BIM REVIT STRUKTUR SMK PART 20 | DPIB SMKN 1 JAKARTA - PONDASI BATU KALI
Learn autodesk inventor 3dimensional # 13 mechanical engineering
5.0 / 5 (0 votes)
