Cara Setting Mail Merge di PowerPoint | untuk Sertifikat
Summary
TLDRThis tutorial demonstrates how to create a mail merge in PowerPoint, specifically for generating certificates with automatic name insertion. The process involves preparing participant names in Excel, setting up a PowerPoint slide with a certificate design, and linking the participant data to the PowerPoint slides. The video covers all steps, from organizing the data in Word and Excel to formatting the certificates, including customizing fonts and exporting the final output in PDF or JPG formats. It's an efficient method for bulk certificate creation, ideal for events or courses.
Takeaways
- 😀 Prepare participant names in an Excel file before starting the mail merge process.
- 😀 Use PowerPoint for designing certificates and Excel to manage participant data for mail merge.
- 😀 In PowerPoint, start with a 'Title Only' slide layout to eliminate unnecessary placeholders.
- 😀 Switch to 'Slide Master' view in PowerPoint for bulk edits and formatting of certificates.
- 😀 Copy the list of participants into the PowerPoint slide master to automate name insertion.
- 😀 Adjust the layout and font size to fit the design of your certificate template.
- 😀 Set the font and size in PowerPoint using the 'Slide Master' for consistency across slides.
- 😀 Save the PowerPoint presentation as a PDF or JPG for easier distribution or printing.
- 😀 PowerPoint allows you to automatically adjust participant names on certificates based on the slide master template.
- 😀 The process of creating mail merge certificates in PowerPoint is a quick and efficient way to generate personalized certificates for many participants.
- 😀 Final output can be in PDF or JPG format, making it ready for printing or sharing electronically.
Q & A
What is the main topic of the video?
-The video demonstrates how to create a mail merge in PowerPoint for automatically generating certificates with participant names.
What is the first step in creating a mail merge for certificates in PowerPoint?
-The first step is to prepare a list of participant names in an Excel sheet and save it in RTF format.
What is the purpose of using PowerPoint for mail merge?
-PowerPoint is used to design and print certificates, where participant names are automatically inserted into the design using mail merge.
What is the 'Slide Master' used for in this process?
-The 'Slide Master' is used to modify the overall layout and design of the certificate slides, allowing for automatic updates to all slides.
How do you remove unwanted text boxes from the slide layout?
-You can delete unwanted text boxes by selecting the box and pressing the delete button. Additionally, you can change the slide layout to 'Title Only' to remove extra elements.
What adjustment is made to ensure that the participant name appears correctly on the certificate?
-The participant's name is placed in a specific location on the slide, adjusting it to align with the design, ensuring it appears correctly on each certificate.
How do you change the font and size for the text on the certificates?
-To change the font and size, go to the 'View' tab, select 'Outline', and adjust the font and size from the 'Home' tab. You can choose a font like Algerian and set the size to 40.
What is the final step before printing the certificates?
-The final step is saving the PowerPoint slides as a PDF or JPG file, ready for printing or distribution.
What are the advantages of using PowerPoint for mail merge compared to other tools?
-PowerPoint allows for easy customization of certificate design, automatic insertion of participant names, and simple export to PDF or JPG formats, making it a versatile tool for creating bulk certificates.
Can you print the certificates directly from PowerPoint after creating the mail merge?
-Yes, after saving the slides as a PDF or JPG, you can print them directly or distribute them digitally.
Outlines

Dieser Bereich ist nur für Premium-Benutzer verfügbar. Bitte führen Sie ein Upgrade durch, um auf diesen Abschnitt zuzugreifen.
Upgrade durchführenMindmap

Dieser Bereich ist nur für Premium-Benutzer verfügbar. Bitte führen Sie ein Upgrade durch, um auf diesen Abschnitt zuzugreifen.
Upgrade durchführenKeywords

Dieser Bereich ist nur für Premium-Benutzer verfügbar. Bitte führen Sie ein Upgrade durch, um auf diesen Abschnitt zuzugreifen.
Upgrade durchführenHighlights

Dieser Bereich ist nur für Premium-Benutzer verfügbar. Bitte führen Sie ein Upgrade durch, um auf diesen Abschnitt zuzugreifen.
Upgrade durchführenTranscripts

Dieser Bereich ist nur für Premium-Benutzer verfügbar. Bitte führen Sie ein Upgrade durch, um auf diesen Abschnitt zuzugreifen.
Upgrade durchführenWeitere ähnliche Videos ansehen
TLE 7- MATATAG CURRICULUM LESSON (1ST QTR)-WORD PROCESSING SOFTWARE
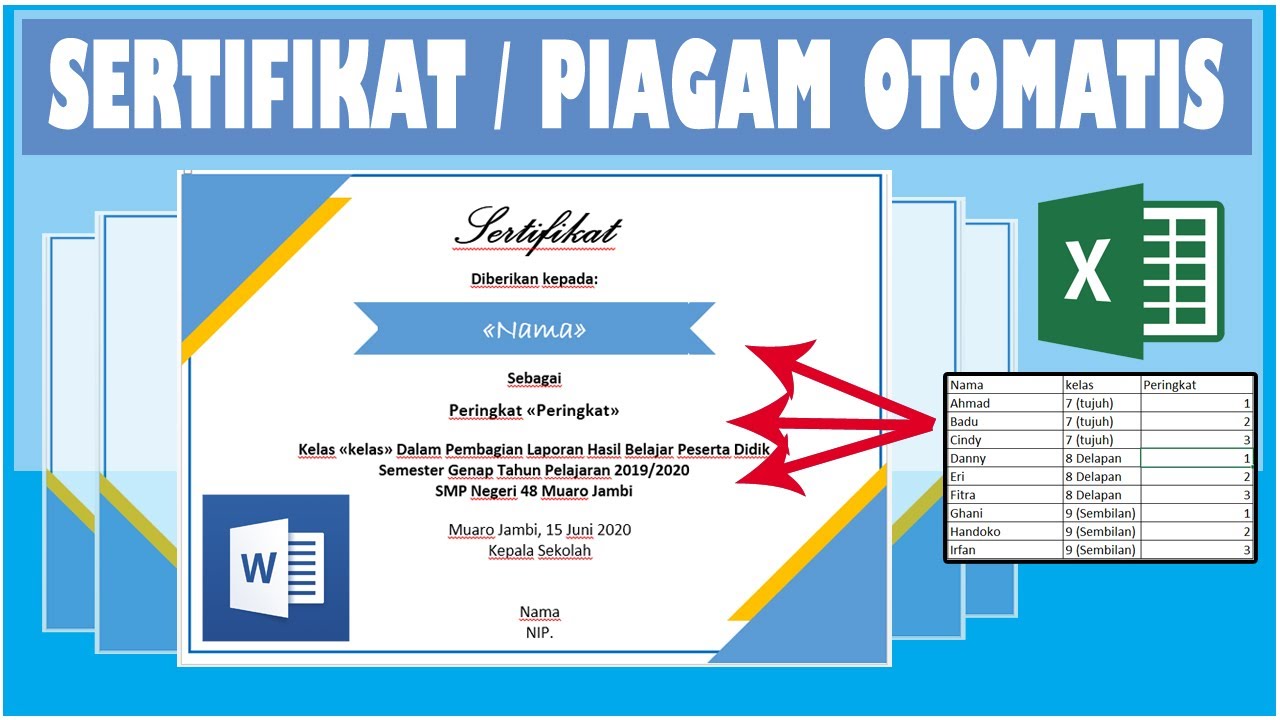
Cara Membuat Sertifikat atau Piagam Otomatis di Microsoft Word || Mengambil data dari excel

How to Create a Certificate in Word Connected With Mail Merge

How to Create LETTERS in Microsoft Word Using Mail Merge | Use List From Microsoft Excel
Cara Membuat surat masal di Word - Mail Merge

Mail Merge in Google Docs
5.0 / 5 (0 votes)
