Tutorial Drawing #1 Mengubah Ukuran Kertas dan Garis Tepi Di Autodesk Inventor Indonesia
Summary
TLDRIn this video tutorial, the creator shares how to set up drawing borders and paper sizes in Autodesk Inventor. The tutorial covers various paper sizes from A0 to A5 and beyond. The presenter demonstrates how to create a drawing sheet, adjust the border and paper size, and customize the border settings. The tutorial is aimed at users looking to enhance their technical drawing skills using Autodesk Inventor.
Takeaways
- 🎥 The video is a tutorial on how to create a drawing using Autodesk Inventor.
- 📝 The tutorial is divided into several parts, with the first part focusing on setting up sheet edges and paper sizes.
- 📑 The presenter discusses various paper sizes including A0, A1, A2, A3, A4, and A5.
- 🖥 The video starts with a demonstration of the initial screen of Autodesk Inventor.
- 📐 The presenter creates a drawing sheet and explains the different types of sheets available.
- 🖌 The black lines represent the sheet edges, the yellow areas are the paper, and the bottom part is the title block.
- 🗑 The default border and title block can be deleted and adjusted according to needs.
- 📏 The size of the paper is set by selecting the desired format, such as A3 in this case.
- 📐 The presenter demonstrates how to adjust the size of the paper and the margins for the borders.
- 📏 The tutorial also covers how to insert drawing borders with specific column and margin settings.
- 👍 The presenter encourages viewers to ask questions in the comments and to like, subscribe, and ring the bell for more content.
Q & A
What is the main topic of the video?
-The main topic of the video is a tutorial on how to create a drawing using the Autodesk Inventor application.
What is the focus of the first video in the series?
-The focus of the first video is on how to set up the edge lines and paper size in Autodesk Inventor.
What are the different paper sizes mentioned in the video?
-The video mentions various paper sizes including A0, A1, A2, A3, A4, and A5.
What does the presenter do before starting the tutorial?
-Before starting the tutorial, the presenter plays an intro which is the initial display of the Autodesk Inventor application.
What is the first step the presenter takes in creating a drawing?
-The first step the presenter takes is to create a drawing sheet.
What are the different types of drawing sheets available in Autodesk Inventor?
-The types of drawing sheets available include Aam_Piece, Amadeus corden, and others, but the presenter uses the ISO one.
What does the presenter explain about the black area and yellow area in the drawing?
-The black area represents the edge lines, the yellow area represents the paper, and the area below represents the labels.
How does the presenter adjust the size of the border and labels?
-The presenter deletes the default border and labels by right-clicking and selecting 'Delete', and then adjusts the size of the border and labels according to needs.
What is the process to set the paper size in the video?
-To set the paper size, the presenter goes to 'File' > 'Page Setup', then selects the desired paper size (A3 in this case) and confirms the dimensions.
What are the fixed dimensions for an A3 paper according to the video?
-The fixed dimensions for an A3 paper are height 297mm and width 420mm.
How does the presenter create the edge lines in the drawing?
-The presenter creates the edge lines by right-clicking on the 'Border' menu and selecting 'Insert Drawing Border'.
What are the settings for the horizontal and vertical columns in the border?
-The settings for the horizontal columns are six columns labeled 1 to 6, and for the vertical columns, there are four labeled A to D.
How does the presenter adjust the margins for the border?
-The presenter adjusts the margins by setting the top, right, bottom, and left margins to 10mm, 10mm, 10mm, and 20mm respectively.
What does the presenter suggest at the end of the tutorial?
-The presenter suggests that if viewers have any questions, they should comment below, and if they liked the video, they should like, subscribe, and click the bell for more content.
Outlines

Dieser Bereich ist nur für Premium-Benutzer verfügbar. Bitte führen Sie ein Upgrade durch, um auf diesen Abschnitt zuzugreifen.
Upgrade durchführenMindmap

Dieser Bereich ist nur für Premium-Benutzer verfügbar. Bitte führen Sie ein Upgrade durch, um auf diesen Abschnitt zuzugreifen.
Upgrade durchführenKeywords

Dieser Bereich ist nur für Premium-Benutzer verfügbar. Bitte führen Sie ein Upgrade durch, um auf diesen Abschnitt zuzugreifen.
Upgrade durchführenHighlights

Dieser Bereich ist nur für Premium-Benutzer verfügbar. Bitte führen Sie ein Upgrade durch, um auf diesen Abschnitt zuzugreifen.
Upgrade durchführenTranscripts

Dieser Bereich ist nur für Premium-Benutzer verfügbar. Bitte führen Sie ein Upgrade durch, um auf diesen Abschnitt zuzugreifen.
Upgrade durchführenWeitere ähnliche Videos ansehen

Module 3.1 - Essential Drawing (Autodesk Inventor 2024)
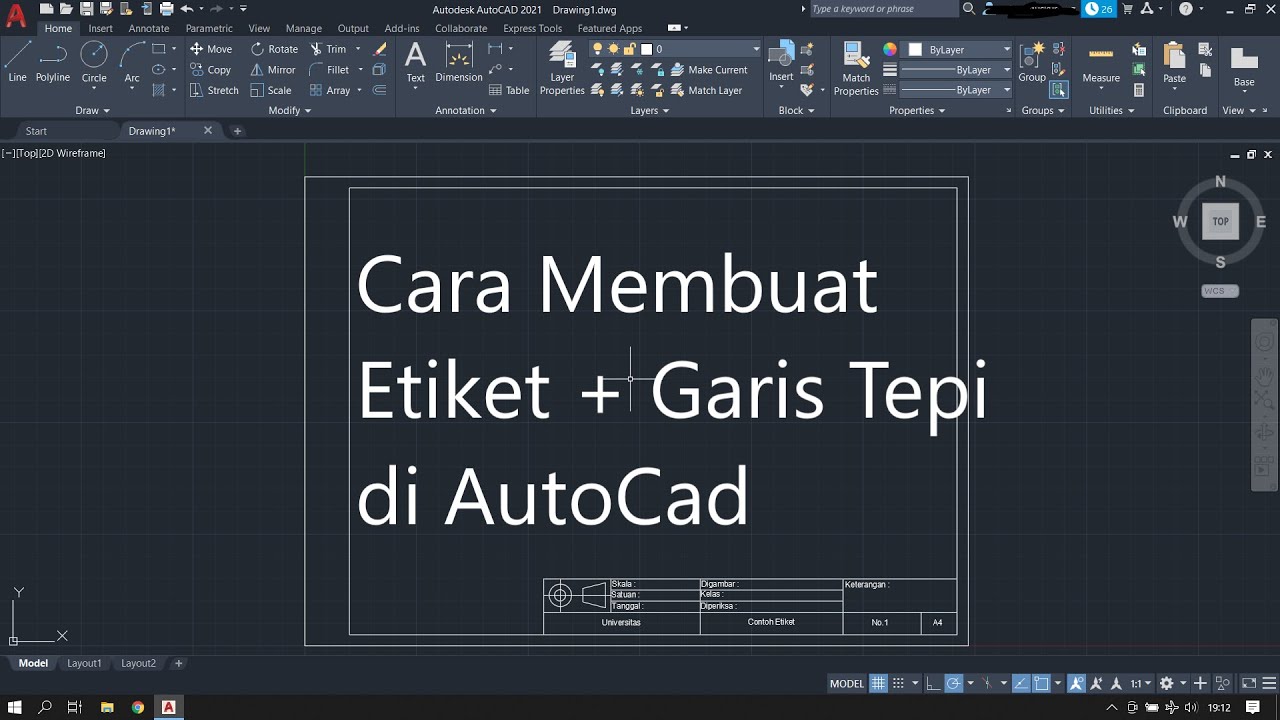
Cara Membuat Garis Tepi dan Etiket Gambar Teknik Kertas A4 di Autodesk AutoCad
PEN in | Autodesk Inventor CAD
Learn autodesk inventor 3dimensional # 13 mechanical engineering
Tutorial AutoCad Pemula | Gambar Teknik 2D 1
# 8 TUTORIAL PHOTOSHOP - Membuat Ukuran Foto (Cropping)
5.0 / 5 (0 votes)
