Easy 2D to 3D Illustration Hack for Beginners | Adobe Illustrator Tutorial
Summary
TLDRIn this tutorial, Anne demonstrates how to transform a 2D rainbow illustration into a 3D version using Adobe Illustrator 2022. She guides viewers through creating circles, manipulating paths, and using the shape builder tool to eliminate overlaps. Anne also shows how to create a fluffy cloud and apply lighting effects for a realistic 3D look. She advises on editing colors and managing render settings for efficiency. The tutorial concludes with adding a background to complete the scene, encouraging viewers to share their creations.
Takeaways
- 🌈 The tutorial is about transforming a 2D rainbow illustration into a 3D version using Adobe Illustrator's new feature.
- 🖌️ The user needs Adobe Illustrator 2022 to follow along with the tutorial.
- 🎨 The tutorial provides HEX codes for the rainbow colors, allowing viewers to match the exact shades used by the instructor.
- 🔄 The process involves creating a series of circles using the ellipse shape tool and the 'Offset path' function.
- 📏 The initial circle is set to 1000px in width and height to create a large, central circle for the rainbow.
- ✂️ The 'Shape Builder Tool' is used to remove unwanted parts of the circles and clean up the design.
- 🌀 The tutorial demonstrates how to copy and paste parts of the design to avoid losing certain colors during the editing process.
- 💨 The final step in creating the rainbow involves removing overlapping shapes to ensure a clean, layered appearance.
- ☁️ A cloud is created by duplicating and arranging circles to resemble a fluffy cloud that covers the bottom of the rainbow.
- 💡 The lighting effect is achieved with a slightly off-white color, and viewers can experiment with the settings to find what works best for them.
- 🔄 The 3D render process can be time-consuming, but it allows for changes in color and design without having to re-render each time if the real-time render is turned off.
- 🎨 The final product is a 3D rainbow icon that resembles clay, showcasing the capabilities of Adobe Illustrator's 3D feature for 2D illustrators.
Q & A
What is the main topic of Anne's tutorial?
-The main topic of Anne's tutorial is creating a 3D version of a 2D rainbow illustration using Adobe Illustrator.
Which version of Adobe Illustrator does Anne recommend for this tutorial?
-Anne recommends using Adobe Illustrator 2022 for this tutorial.
What is the standard canvas size Anne uses for her illustration?
-Anne uses a standard canvas size of 1920x1080 for her illustration.
How does Anne suggest creating a series of circles for the rainbow?
-Anne suggests using the 'Offset path' feature under 'Object > path' and repeating the process with -100px offset until all necessary elements are created.
What keyboard shortcut does Anne use to switch to the ellipse shape tool in Adobe Illustrator?
-Anne uses the 'L' key to switch to the ellipse shape tool in Adobe Illustrator.
How does Anne show the wireframe of the illustration?
-Anne shows the wireframe by pressing 'command + Y' for Mac.
What tool does Anne use to remove unwanted parts of the shapes in the rainbow?
-Anne uses the Shape Builder tool to remove unwanted parts of the shapes in the rainbow.
How does Anne handle the loss of the yellow part when removing the red circle?
-Anne copies the yellow part before deleting it, and pastes it back after cutting out the red circle.
What does Anne suggest for creating the cloud in the illustration?
-Anne suggests using a whitish color, creating a circle, duplicating and arranging it to form a fluffy cloud, and then adjusting it to cover the bottom of the rainbow.
What is the final step Anne mentions for completing the 3D rainbow icon?
-The final step Anne mentions is clicking 'render' to see the final outcome of the 3D rainbow icon.
How does Anne suggest making changes to the 3D illustration without re-rendering each time?
-Anne suggests turning off the real-time render in the 3D panel or turning off the 3D effect in the effects panel to edit its 2D form without re-rendering.
What does Anne add to the scene to complete the look of the final render?
-Anne adds a background to the scene to complete the look and appreciates the way the shadow spreads nicely.
How does Anne encourage viewers to share their creations based on the tutorial?
-Anne encourages viewers to tag her on Instagram if they create something from the tutorial, as she would love to see their work.
What does Anne invite viewers to do if they have suggestions for future tutorials?
-Anne invites viewers to write their suggestions for future tutorials or topics they want covered in the comments section.
Outlines

هذا القسم متوفر فقط للمشتركين. يرجى الترقية للوصول إلى هذه الميزة.
قم بالترقية الآنMindmap

هذا القسم متوفر فقط للمشتركين. يرجى الترقية للوصول إلى هذه الميزة.
قم بالترقية الآنKeywords

هذا القسم متوفر فقط للمشتركين. يرجى الترقية للوصول إلى هذه الميزة.
قم بالترقية الآنHighlights

هذا القسم متوفر فقط للمشتركين. يرجى الترقية للوصول إلى هذه الميزة.
قم بالترقية الآنTranscripts

هذا القسم متوفر فقط للمشتركين. يرجى الترقية للوصول إلى هذه الميزة.
قم بالترقية الآنتصفح المزيد من مقاطع الفيديو ذات الصلة

Transform Your 2D Logo into 3D in After Effects with Max Novak | Adobe Substance 3D
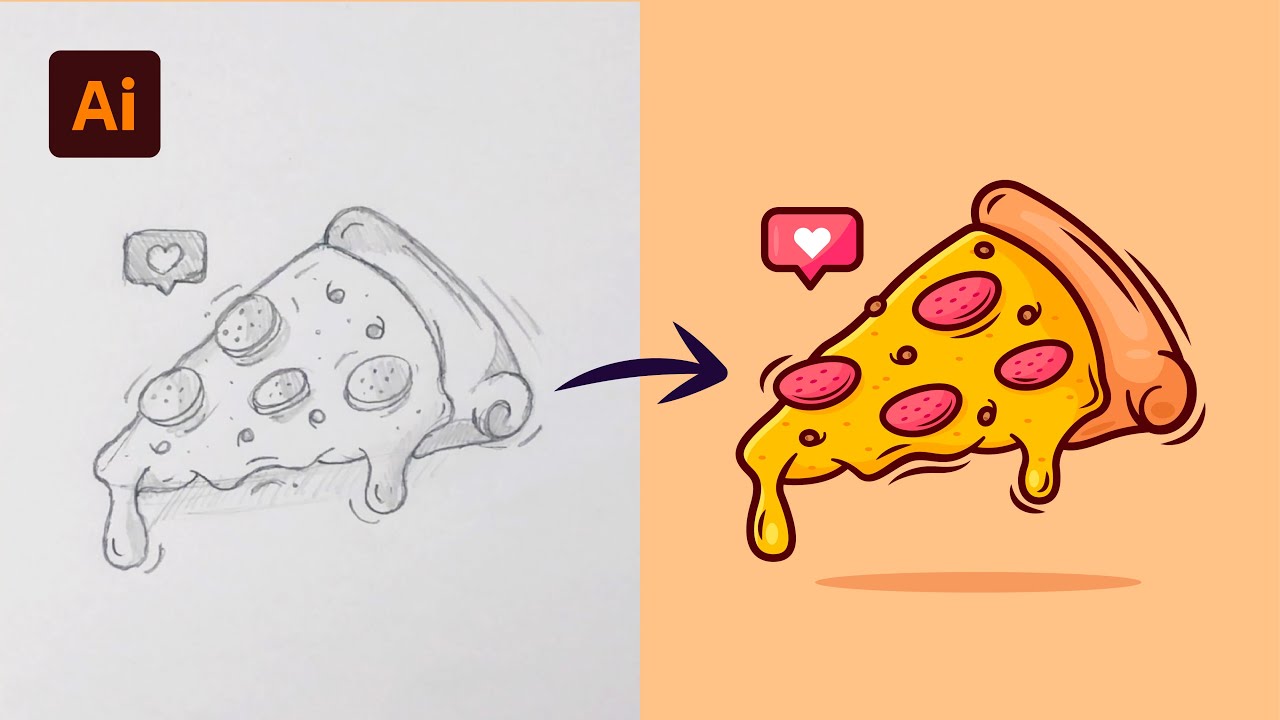
Adobe Illustrator Tutorial: Create a Vector Pizza from Sketch (HD)

Adobe Firefly V3: A Complete 3D Tutorial
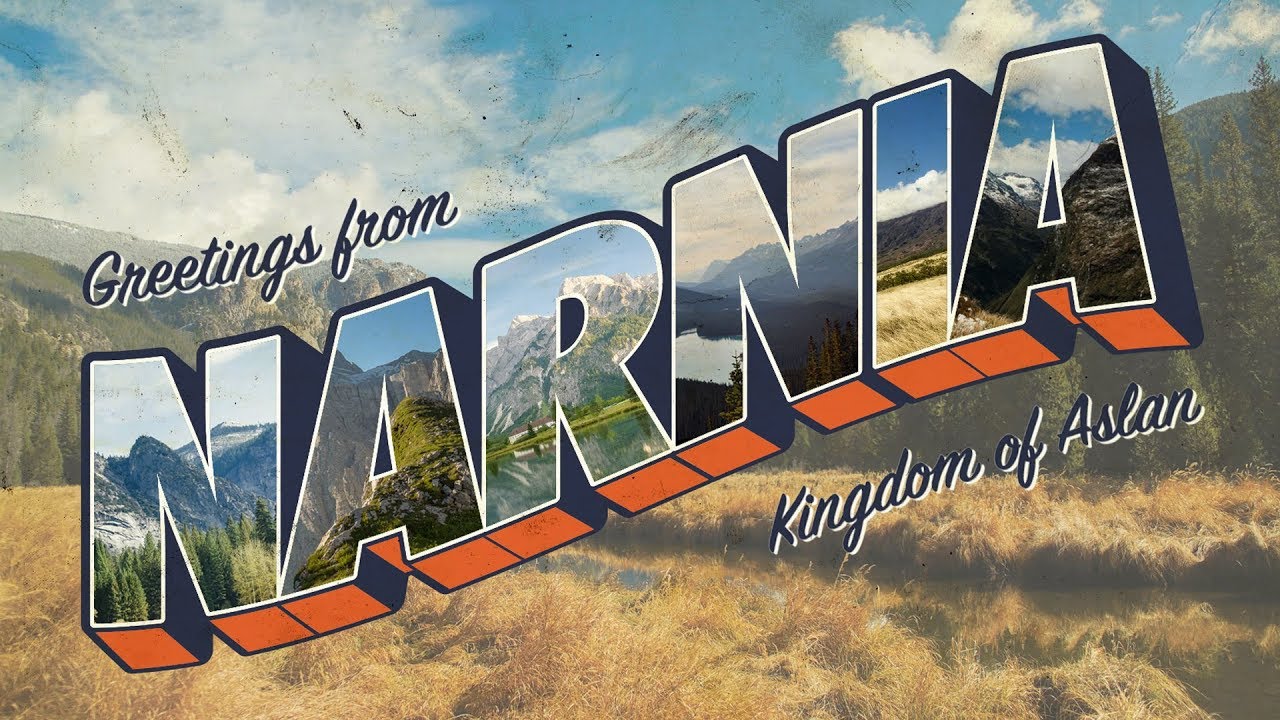
How To Create a Vintage Postcard Design (Illustrator & Photoshop Tutorial)
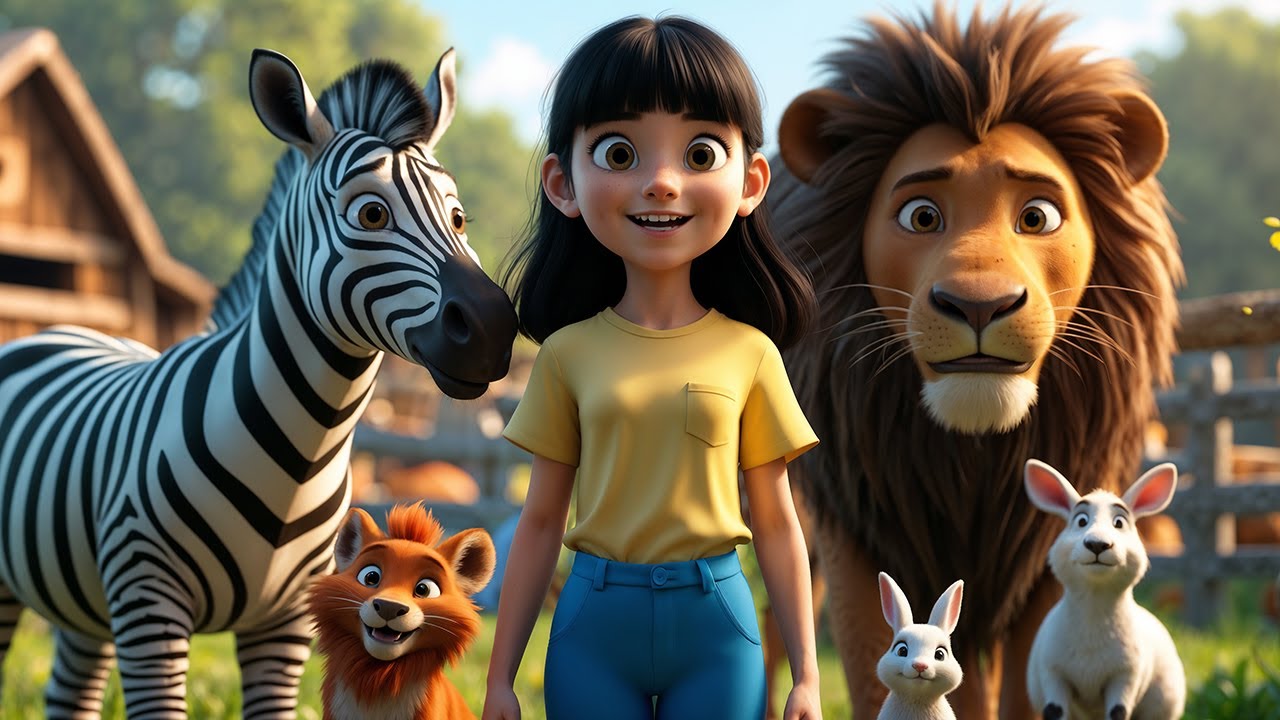
AI Video Generator: Convert Text into 3D Animated Stories | AI Animation Maker | Text-to-Video AI
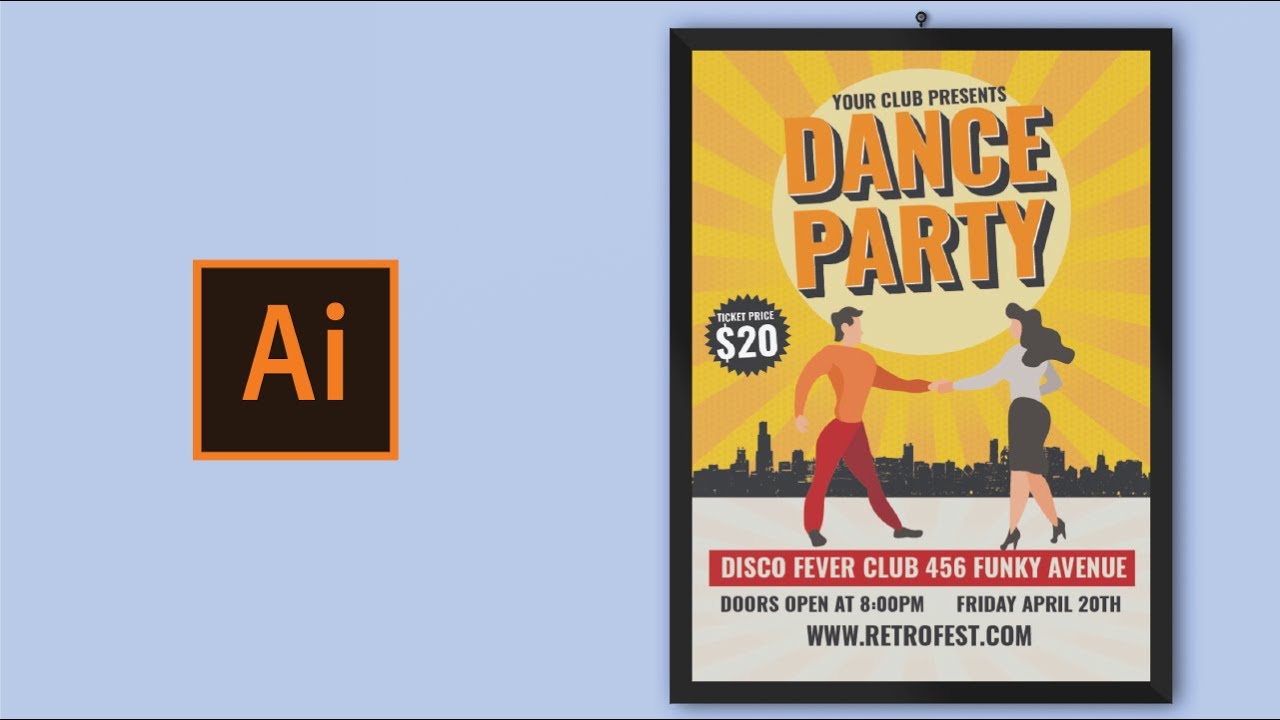
How to create poster design in adobe illustrator
5.0 / 5 (0 votes)
