7 Langkah Rigging Karakter Dengan Rigify Blender 2.79
Summary
TLDRThis tutorial demonstrates how to rig the character Deadpool using Rigify in Blender 3D, version 2.79. The video covers seven key steps, including enabling Rigify, adding an armature, editing the character’s bones for proper alignment, and applying transformations. The tutorial explains how to fine-tune the rigging for various body parts, such as hands, feet, and facial features, while also teaching how to simplify the process for efficiency. The final steps involve setting up controls, testing the rig, and preparing the character for animation. The video is aimed at beginner animators and Blender users.
Takeaways
- 😀 Rigging is the process of adding bones to a character to make it easier for animators to move or operate it.
- 😀 The tutorial demonstrates how to rig the Deadpool character using Rigify in Blender 3D, a tool that simplifies the rigging process.
- 😀 To begin, ensure that Rigify is activated in Blender by going to the User Preferences and enabling it.
- 😀 Place the character in the center of the scene, use tools like 'Z', 'G', and 'B' for positioning and selection, and align the model with the grid.
- 😀 Rigging involves adjusting bones and joints, ensuring that each part of the character is accurately aligned with the mesh.
- 😀 The tutorial covers specific adjustments for different body parts like the legs, arms, hands, and head, ensuring the bones fit the character’s geometry.
- 😀 The script provides tips on transforming bones, such as rotating and scaling them, to match the character's anatomy.
- 😀 When working on smaller parts like the fingers, it's important to adjust the bones individually and use rotation tools to ensure proper pose compatibility.
- 😀 After rigging, apply transformations (rotation, scale) and generate the rig using Rigify to create a functional armature.
- 😀 The process includes assigning the rig to the character model and accessories, and testing if the bones and joints function correctly.
- 😀 Finally, the tutorial encourages experimenting with poses and emphasizes the importance of learning from reference materials and other character rigs.
Q & A
What is Rigging in 3D animation, and why is it important?
-Rigging in 3D animation refers to the process of adding bones or armature to a character model. This enables animators to manipulate the character by moving the bones, making it easier to animate complex movements. Rigging is essential because it simplifies the animator's task, allowing for better control and movement of the 3D character.
What is Rigify, and how does it help with rigging in Blender?
-Rigify is a tool in Blender that automatically generates armatures for characters. It provides predefined rigging setups that are customizable, allowing for faster and more efficient rigging without starting from scratch. Rigify is especially useful for animators who need to quickly rig human or humanoid characters.
How do you enable Rigify in Blender?
-To enable Rigify in Blender, go to 'File' > 'User Preferences', then navigate to the 'Add-ons' tab. In the search bar, type 'Rigify', and check the box to enable it. Don't forget to click 'Save Preferences' to keep this setting.
What does the 'Exxis Mirror' option do during the rigging process?
-The 'Exxis Mirror' option enables the symmetry feature for rigging, ensuring that changes made to one side of the character (like the left leg or arm) are automatically mirrored on the other side. This saves time and ensures the character's rig is symmetric.
What is the purpose of 'Cursor to Center' in the rigging process?
-The 'Cursor to Center' command places the 3D cursor at the center of the scene. This is helpful when starting the rigging process to ensure that the character's armature is positioned correctly at the center of the scene before making adjustments.
What does the 'Generate Rig' button do in Rigify?
-The 'Generate Rig' button in Rigify generates a rig based on the predefined settings of the armature. After creating the base rig, this process applies the necessary transformations, including bones and controls, to create a fully functional rig for animation.
Why do you need to apply the 'Rotation' and 'Scale' transformations on the armature?
-Applying 'Rotation' and 'Scale' transformations ensures that all the changes made to the rig are properly registered in Blender’s system. This prevents any unexpected behavior or scaling issues when animating the character, ensuring that the rig functions correctly.
What is the importance of 'Parenting' in rigging a character?
-Parenting is crucial because it links the character's mesh and accessories to the armature. This allows the character's body and accessories to move in sync with the rig, ensuring that the entire character responds to the armature’s deformations during animation.
What should you do if you experience lag or performance issues during rigging?
-If you experience lag or performance issues, you can simplify the view by reducing the subdivision levels in the Rigify settings. This will reduce the complexity of the rig while working, without affecting the final rendered output.
How do you handle issues with the eyes not following the head after rigging?
-To solve the issue where the eyes don’t follow the head, you need to apply a mirror modifier to the eye meshes, and then separate them into individual objects. Afterward, you can parent the eyes to the rig so they move correctly with the head.
Outlines

هذا القسم متوفر فقط للمشتركين. يرجى الترقية للوصول إلى هذه الميزة.
قم بالترقية الآنMindmap

هذا القسم متوفر فقط للمشتركين. يرجى الترقية للوصول إلى هذه الميزة.
قم بالترقية الآنKeywords

هذا القسم متوفر فقط للمشتركين. يرجى الترقية للوصول إلى هذه الميزة.
قم بالترقية الآنHighlights

هذا القسم متوفر فقط للمشتركين. يرجى الترقية للوصول إلى هذه الميزة.
قم بالترقية الآنTranscripts

هذا القسم متوفر فقط للمشتركين. يرجى الترقية للوصول إلى هذه الميزة.
قم بالترقية الآنتصفح المزيد من مقاطع الفيديو ذات الصلة
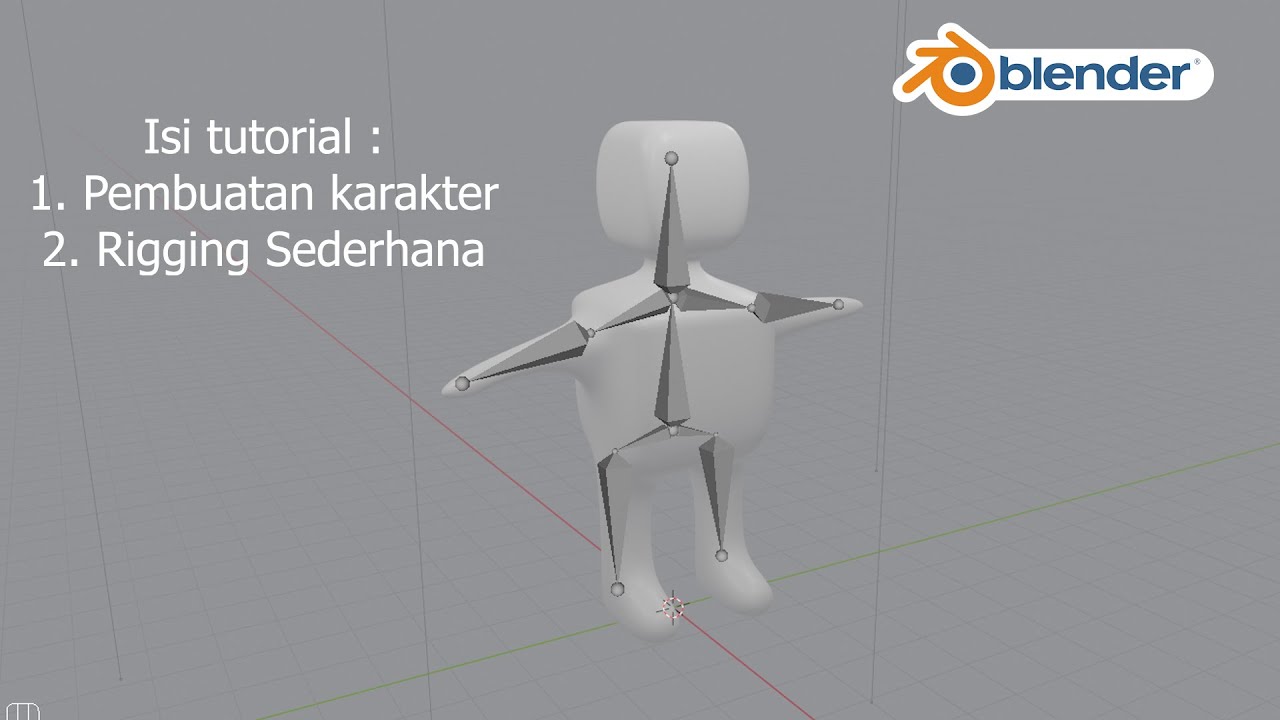
Tutorial Blender Pemula - Membuat Karakter Sederhana dan Rigging

Blender 3D Tutorial Membuat Karakter Game Amoung Us! 3D Modeling, (Pemula) Blender 2.90

How to make a Character in Blender - My Full Process in 10 Minutes

Tutorial animasi 3D dengan blender 2.8 bahasa indonesia Pt.2 - Modeling Badan

Goodbye Mixamo! This NEW Auto-Rigger is INSANE! (Offline)

Hover Car Tutorial in Blender 2.92 | Polygon Runway
5.0 / 5 (0 votes)
