Rifinitura a Secco - Scuola Ceramica Online
Summary
TLDRIn this video tutorial, the instructor shares valuable insights on refining ceramic pieces before firing them in the kiln. Emphasizing the importance of ensuring complete dryness to prevent cracking, the instructor demonstrates meticulous techniques for smoothing and finishing pieces using tools like sandpaper and sponges. With a focus on handling delicate ceramics with care, the instructor offers practical tips on gripping methods, water bowls for dust control, and rounding edges for optimal glaze application. The comprehensive guide aims to equip viewers with essential skills for successful ceramic firing and creating functional, visually appealing pieces.
Takeaways
- 👉 Ensure that ceramic pieces are completely dry before placing them in the kiln, as any remaining moisture can cause them to crack or explode during firing.
- 👐 Handle ceramic pieces with care, supporting them with both hands close to the body, as they are fragile and can easily break.
- 💦 Use a bowl of water near your work area to capture any dust or debris, which can be harmful if inhaled.
- 🧽 Refine the surface of pieces by gently rubbing with sandpaper, a sponge, or other tools to remove any imperfections or marks before firing.
- 🔄 Rotate the piece as you refine it, avoiding over-working any one area, and be careful not to soak it too much, as excess moisture can cause issues.
- 🔍 Refining serves to remove any defects, fingerprints, or unwanted textures from the surface, unless those are intentionally desired effects.
- 🍽️ For functional pieces intended for use, consider the end-use and remove any sharp edges or points that could scratch surfaces or cause injury.
- 🔘 Round off any sharp edges or rims, as glaze tends to pool or run off sharply angled surfaces, leaving them unglazed.
- 🧠 Approach refining with care, especially as a beginner, until you gain experience and confidence in handling the fragile pieces.
- 💬 Feel free to ask questions or share suggestions in the comments for further guidance and discussion.
Q & A
What is the importance of ensuring the pieces are completely dry before putting them in the kiln?
-It is crucial to ensure that the pieces are completely dry before placing them in the kiln because if any moisture is present, the pieces will crack or explode during firing. The presence of moisture can also damage nearby pieces and the kiln itself.
What does it mean to 'refine' a piece before firing?
-Refining a piece before firing refers to the process of smoothing out the surface and removing any imperfections, such as small bumps or uneven areas, using tools like sandpaper or sponges. This step is essential to achieve a polished final product.
Why is it important to handle the pieces carefully during the refining process?
-The clay pieces are very fragile before firing, so they need to be handled with great care to prevent them from breaking or cracking. The recommended approach is to hold the pieces close to the body and use both hands for support.
What are some techniques or tools suggested for refining the pieces?
-The video recommends using sandpaper or sponges, gently rubbing the surface of the piece without insisting too much on a single spot. It also suggests using a small basin of water to catch the falling clay dust, which can be harmful if inhaled.
Why is it important to round the edges of the pieces during the refining process?
-Rounding the edges of the pieces is important because when the glaze is applied, it can easily run off sharp or angled edges, resulting in an uneven coating. Rounded edges help the glaze adhere better and provide a smoother finish.
What should be considered when refining pieces intended for functional use?
-For functional pieces, such as those intended for dining or serving, it is important to consider their intended use during the refining process. Any sharp edges or protrusions that could potentially scratch surfaces or cause injury should be smoothed out.
Is it acceptable to leave fingerprints or other markings on the pieces during the refining process?
-According to the video, leaving fingerprints or markings from the refining tools on the pieces is acceptable if the artist desires those effects. These markings do not interfere with the firing process.
What safety precautions are recommended during the refining process?
-Safety precautions recommended in the video include using a basin of water to catch falling clay dust, which can be harmful if inhaled, and wearing a mask if necessary.
Can the refining process be skipped, or is it an essential step before firing?
-The refining process is described as the final step before firing, implying that it is an essential step that should not be skipped. Refining ensures a polished and refined final product.
How does the refining process differ for larger or smaller pieces?
-The video does not explicitly address differences in refining techniques for larger or smaller pieces. However, it does suggest being extra careful when handling very large or very small pieces due to their increased fragility.
Outlines

هذا القسم متوفر فقط للمشتركين. يرجى الترقية للوصول إلى هذه الميزة.
قم بالترقية الآنMindmap

هذا القسم متوفر فقط للمشتركين. يرجى الترقية للوصول إلى هذه الميزة.
قم بالترقية الآنKeywords

هذا القسم متوفر فقط للمشتركين. يرجى الترقية للوصول إلى هذه الميزة.
قم بالترقية الآنHighlights

هذا القسم متوفر فقط للمشتركين. يرجى الترقية للوصول إلى هذه الميزة.
قم بالترقية الآنTranscripts

هذا القسم متوفر فقط للمشتركين. يرجى الترقية للوصول إلى هذه الميزة.
قم بالترقية الآنتصفح المزيد من مقاطع الفيديو ذات الصلة
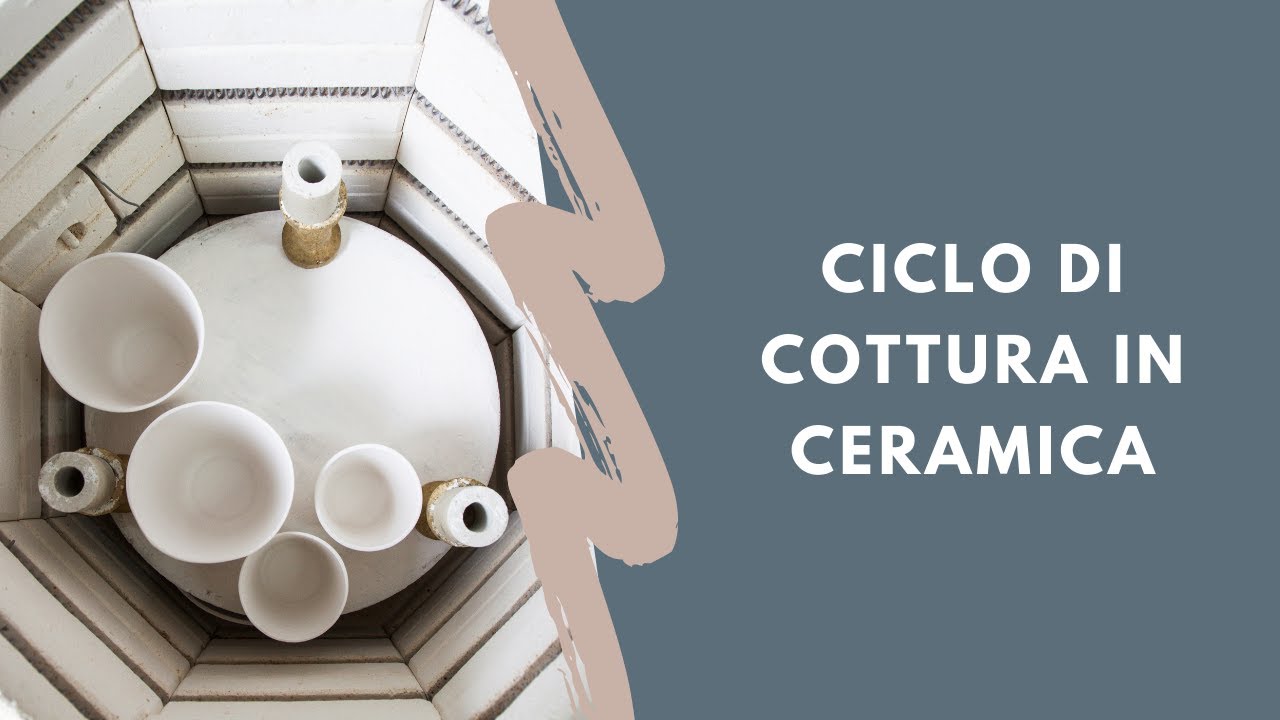
Il ciclo di cottura della ceramica oggi iniziamo alle 17:30
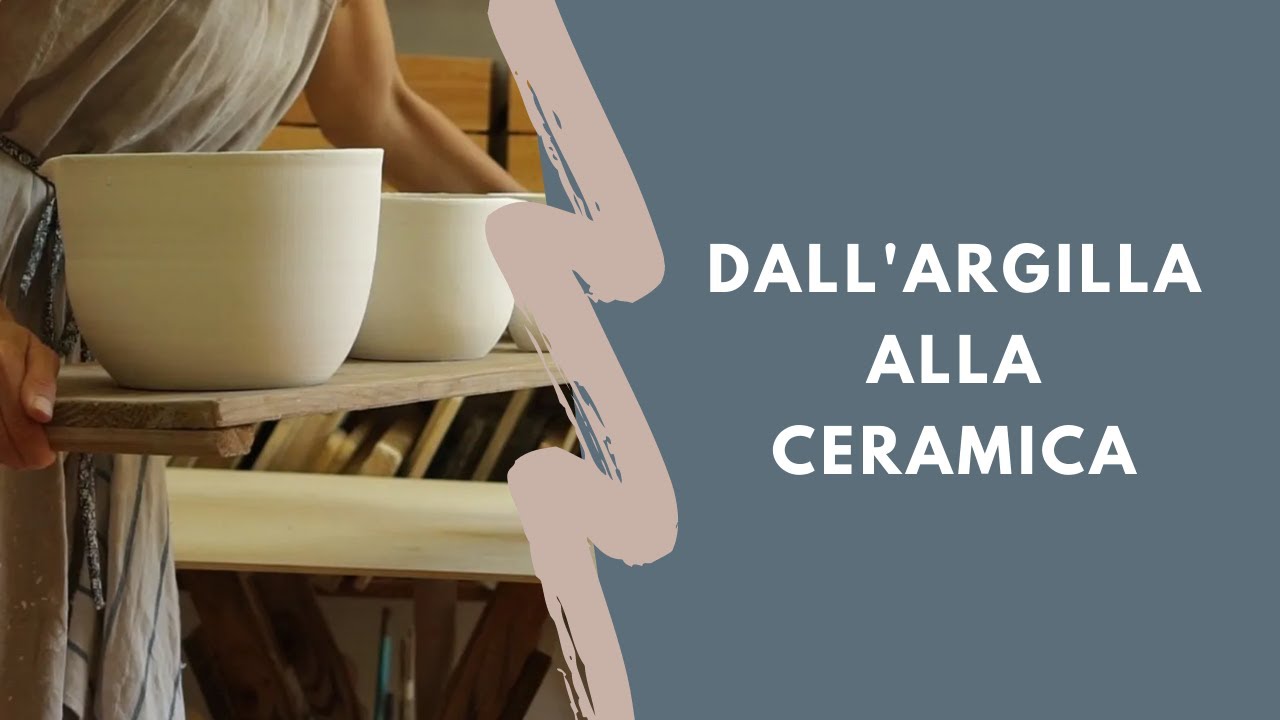
Da argilla a ceramica - La trasformazione in cottura

Ceramic tiles manufacturing process by Ceratec - How it's made?
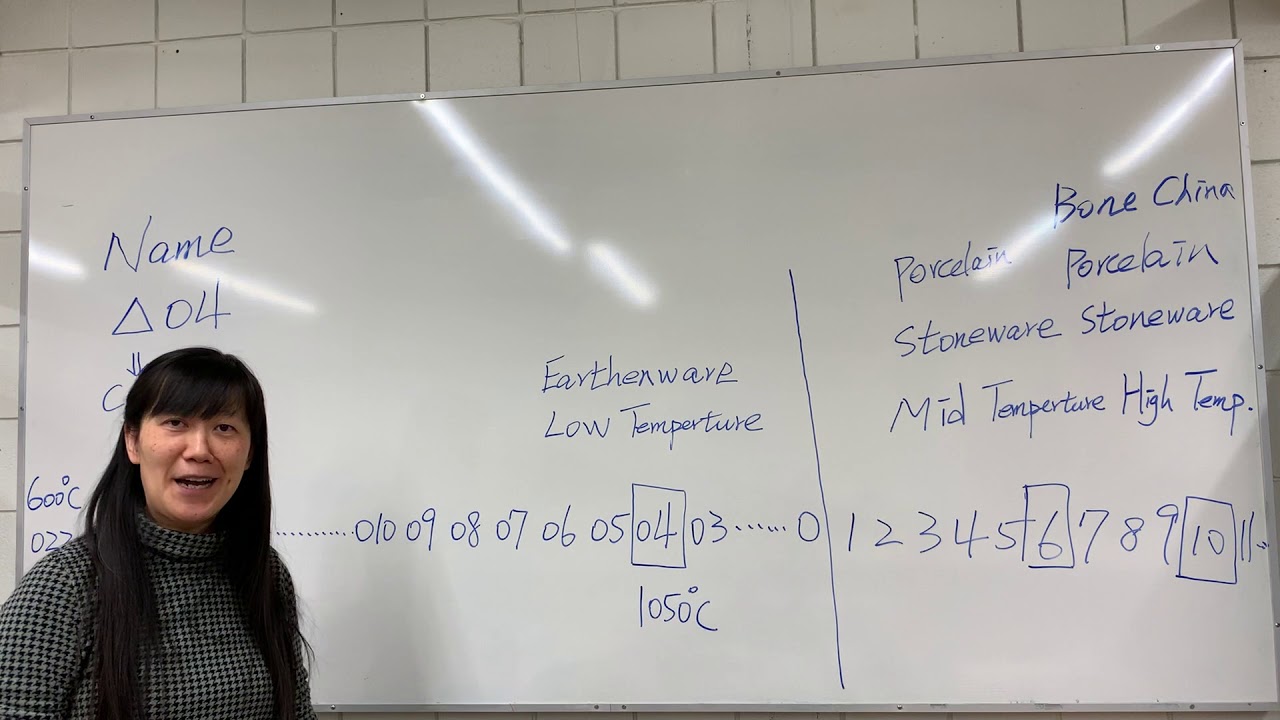
23.13 Name clay and tools, and Information for clay types and temperatures
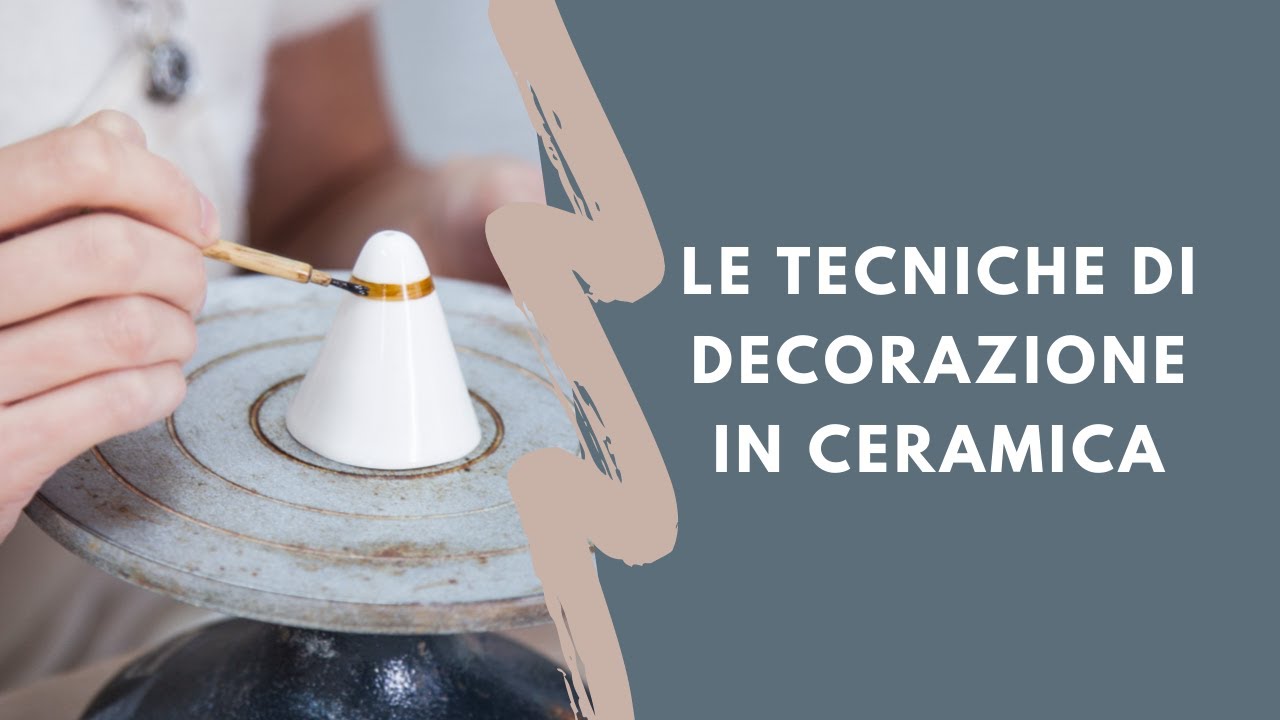
Panoramica delle tecniche di decorazione principali in ceramica
Primitive Technology: Mud Bricks
5.0 / 5 (0 votes)
