Portrait Magic: Retain Faces in MidJourney Rendering
Vladimir Chopine [GeekatPlay]
21 Jun 202325:53
Summary
TLDR本视频教程介绍如何使用Midjourney AI工具,根据照片重新生成人像,包括上传参考照片,调整生成的参数,融合不同风格的图像元素,迭代多次渲染以使结果更接近原图,从而创作出颇具 cyberpunk气息的数字艺术肖像。
The video is abnormal, and we are working hard to fix it.
Please replace the link and try again.
Please replace the link and try again.
The video is abnormal, and we are working hard to fix it.
Please replace the link and try again.
Please replace the link and try again.
Outlines

此内容仅限付费用户访问。 请升级后访问。
立即升级Mindmap

此内容仅限付费用户访问。 请升级后访问。
立即升级Keywords

此内容仅限付费用户访问。 请升级后访问。
立即升级Highlights

此内容仅限付费用户访问。 请升级后访问。
立即升级Transcripts

此内容仅限付费用户访问。 请升级后访问。
立即升级浏览更多相关视频

AI Face Studioを使って、DeepFake画像を生成する方法!ディープフェイク以外にも、ステッカーやドット絵に変換できる素敵なサイト😆
Stylar AI Tutorial - New AI for Text to Image & Image to Image
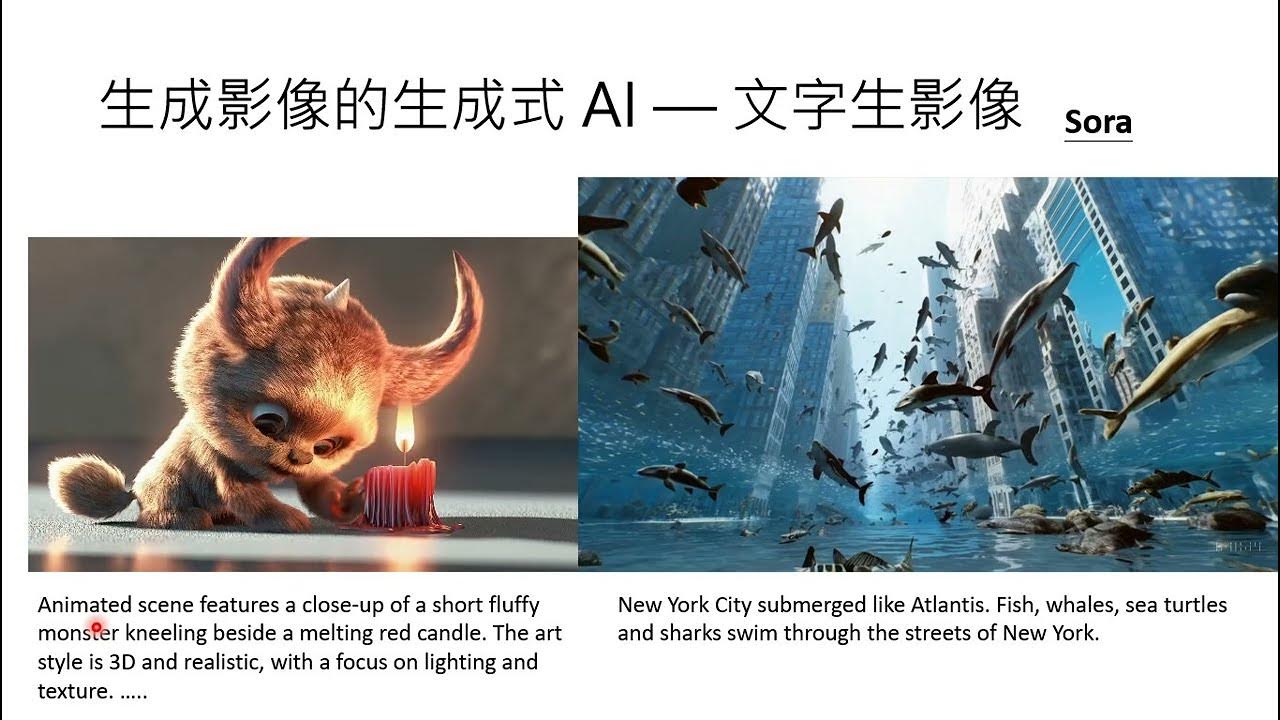
【生成式AI導論 2024】第17講:有關影像的生成式AI (上) — AI 如何產生圖片和影片 (Sora 背後可能用的原理)
10 AI TOOLS - You Must Know in 2024!!!
FOoOcus - The Best Tool to Get Started with Stable Diffusion and AI Art! 🎨✨🍆
【AI】2024年最强AI视频生成工具TOP 5,其中三款完全免费
ExcaliAI Enhanced: More Visual Thinking Power
Rate This
★
★
★
★
★
5.0 / 5 (0 votes)