Smooth Text Animation in After Effects
Summary
TLDRIn this tutorial, you’ll learn how to create smooth text animations in After Effects. The process begins by selecting the type tool to add and adjust your text. You’ll then animate the text's position and opacity using keyframes. The tutorial walks you through adjusting the text's starting values, animating from the bottom, and fine-tuning the offset with range selectors. Advanced settings, such as adjusting ease values and enabling motion blur, are covered to achieve a smooth and polished animation. By the end, you'll have a dynamic and professional-looking text animation.
Takeaways
- 😀 Select the type tool in After Effects to create text.
- 😀 Adjust the text as needed before animating it.
- 😀 Expand the text settings and click the animate button to select the position property.
- 😀 Add opacity to the animation by clicking the add button in the text settings.
- 😀 Set the starting values for the animation by increasing the position value to 100 and opacity to 0%.
- 😀 Use the range selector to create keyframes for the offset property.
- 😀 Set the initial offset value to -100% and create a keyframe at the beginning of the layer.
- 😀 Move a second forward in time and set the offset value to +100%.
- 😀 In the advanced settings, set the shape to 'Ramp Up' for smooth animation.
- 😀 Adjust the ease high to 25% and ease low to 100% for smoother transitions.
- 😀 Enable motion blur by toggling the corresponding icon for a smoother final effect.
Q & A
What is the first step to creating a smooth text animation in After Effects?
-The first step is to select the Text Tool and add your desired text to the composition.
What should you do after adding text to your composition?
-After adding text, make any necessary adjustments to the text's style, size, and positioning.
How do you access the text layer's animation settings in After Effects?
-To access the animation settings, expand the text layer's properties and click the 'Animate' button, then select 'Position' and add 'Opacity' from the options.
Why is the opacity set to 0% at the start of the animation?
-The opacity is set to 0% at the start to make the text invisible initially, allowing for a smooth fade-in effect during the animation.
How do you animate the text to move from the bottom in this tutorial?
-To animate the text from the bottom, you increase the second position value to 100, which moves the text down, and set the opacity to 0% to start from being invisible.
What is the purpose of using the 'Range Selector 1' in the animation?
-The 'Range Selector 1' is used to control how the animation affects the text over time, allowing you to animate specific portions of the text by adjusting the offset.
How do you set keyframes for the animation?
-To set keyframes, click the stopwatch icon next to the 'Offset' property at the start of the animation, and then adjust the value at different points in the timeline to create a smooth animation.
What does the 'Ease High' and 'Ease Low' setting do in the animation?
-The 'Ease High' and 'Ease Low' settings control the speed and smoothness of the animation. Increasing 'Ease High' to 25% and 'Ease Low' to 100% creates a more fluid and natural motion.
Why should you enable motion blur for the animation?
-Enabling motion blur adds a realistic blur effect to the text as it moves, making the animation appear smoother and more professional.
What should you do if the motion blur icon is not visible in your timeline?
-If the motion blur icon is not visible, click on 'Toggle Switches/Modes' to reveal the motion blur option and then enable it.
Outlines

此内容仅限付费用户访问。 请升级后访问。
立即升级Mindmap

此内容仅限付费用户访问。 请升级后访问。
立即升级Keywords

此内容仅限付费用户访问。 请升级后访问。
立即升级Highlights

此内容仅限付费用户访问。 请升级后访问。
立即升级Transcripts

此内容仅限付费用户访问。 请升级后访问。
立即升级浏览更多相关视频

10 Viral CapCut Text Effects - CapCut Tutorial

5 Title Animations in After Effects | After Effects Tutorial
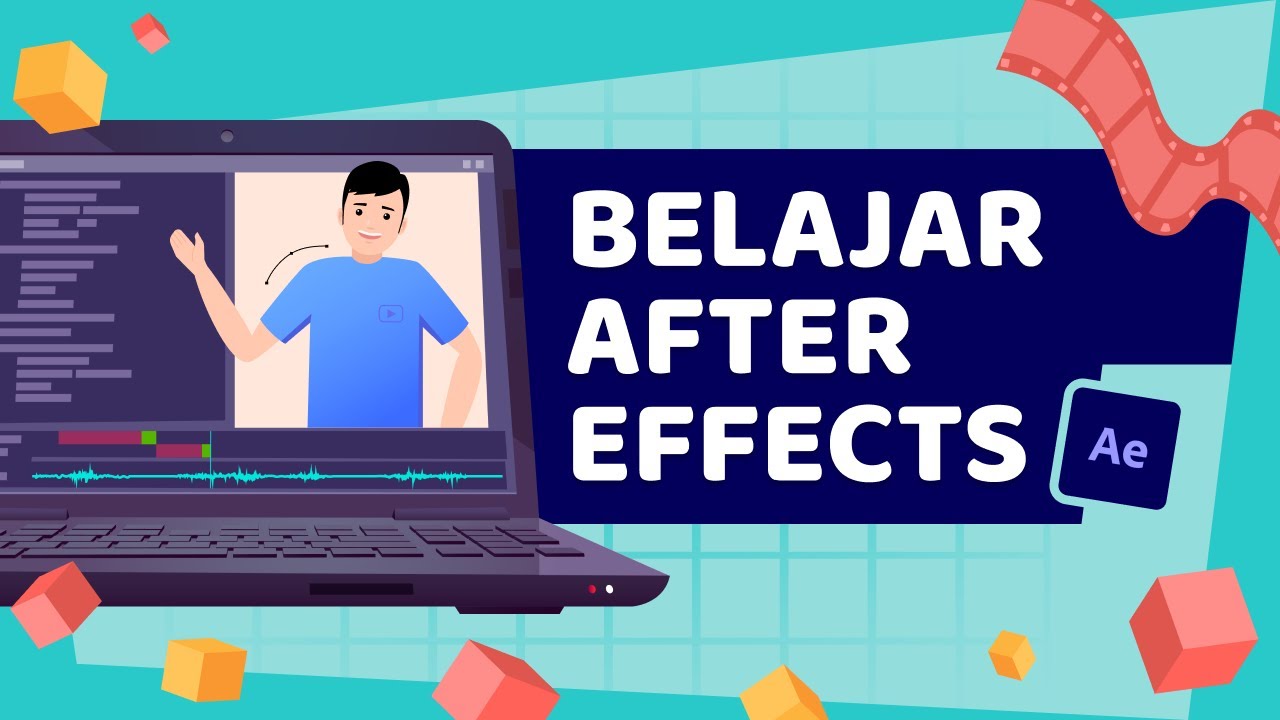
Tutorial Lengkap Belajar Dasar Adobe After Effects untuk Pemula - Skill Basic
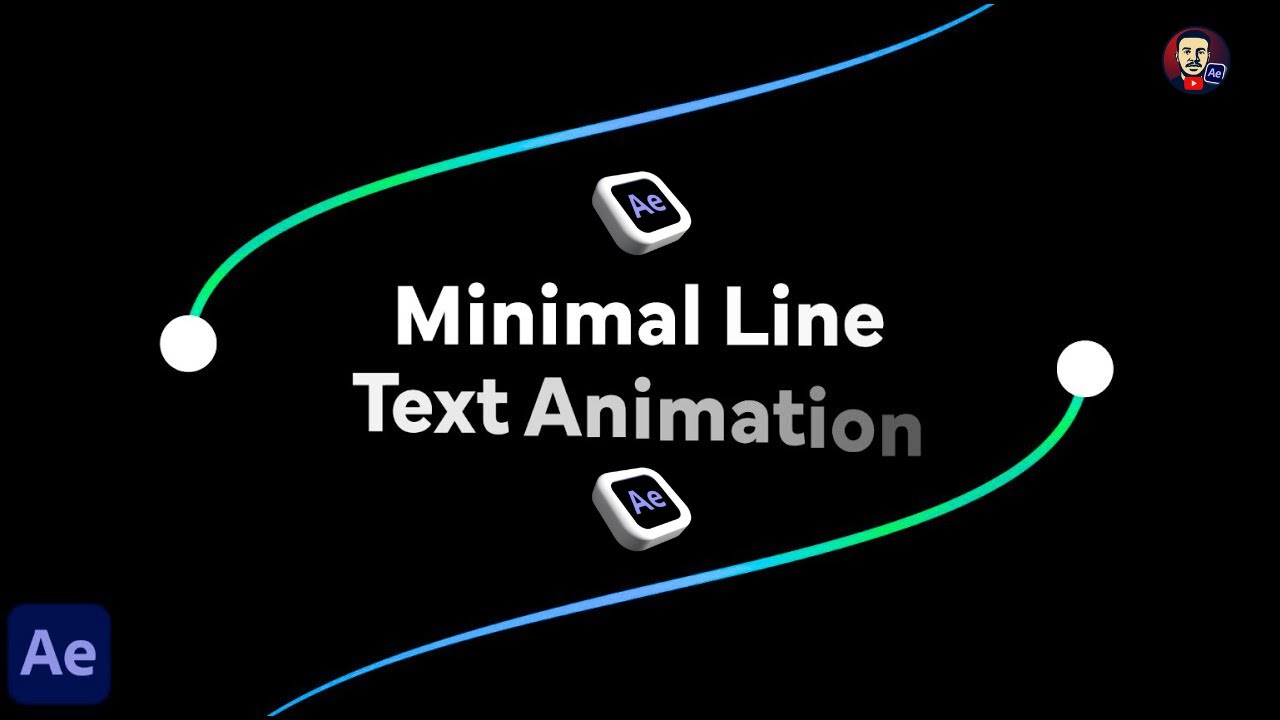
Minimal Line Text Animation | After Effects Tutorial
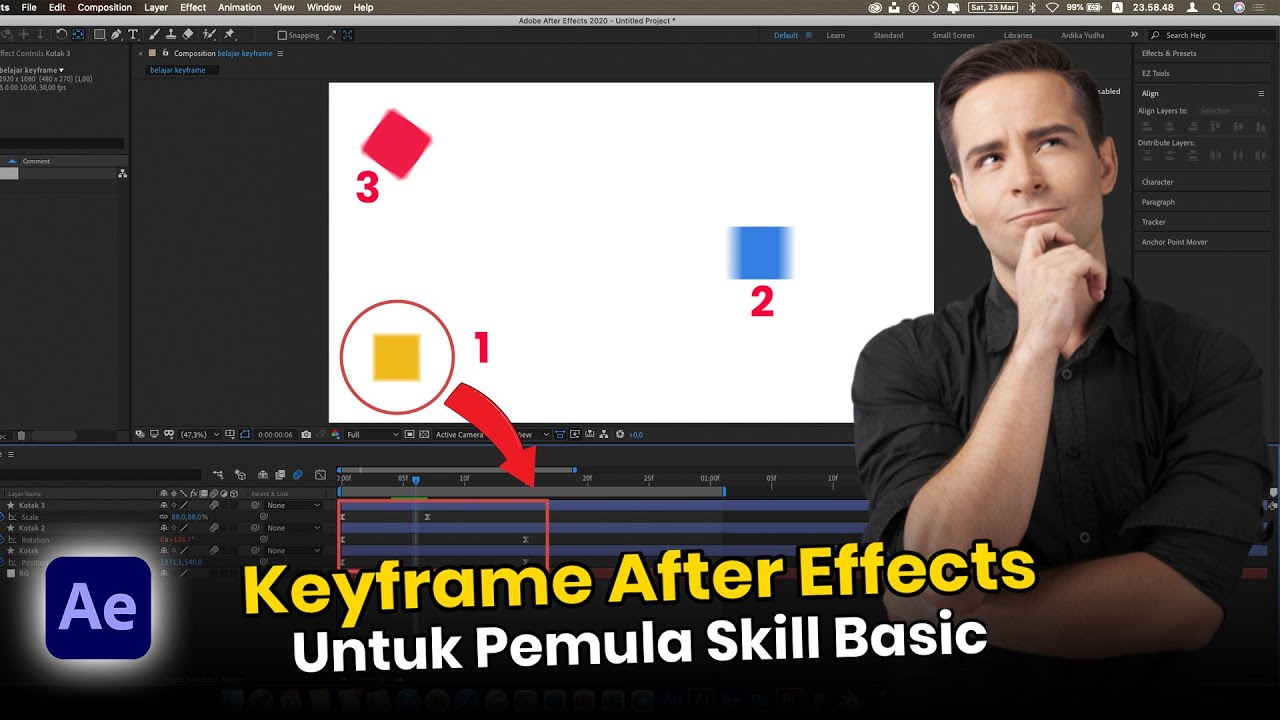
How to KEYFRAME in Adobe After Effects (Tutorial)

Using the Appear Effect in Framer (Animation Lesson 6)
5.0 / 5 (0 votes)
