Control Water Pump From Mobile | IOT Projects | Home Automation
Summary
TLDRIn this video, the process of controlling a DC water pump via a mobile app is demonstrated using a NodeMCU board, relay, and a 9V battery. The tutorial covers the necessary components and step-by-step instructions, from connecting the battery and relay to wiring the pump and configuring the Blink app. Viewers are guided on how to upload the program to the NodeMCU, linking it to Wi-Fi and the mobile app. The result is a water pump that can be turned on and off remotely via the app, making it a simple and practical IoT project for beginners.
Takeaways
- 😀 The video demonstrates how to control a DC water pump using a mobile device.
- 😀 The required components for the experiment include a NodeMCU board, a DC water pump, a relay, a 9V battery, connecting cables, and a tube to connect to the pump.
- 😀 The 9V battery is connected to the breadboard to power the circuit, with careful attention to proper positive and negative connections.
- 😀 The relay module has three pins: signal, positive, and negative. The positive and negative pins are connected to the battery, while the signal pin connects to the D4 pin of the NodeMCU board.
- 😀 The signal pin can be connected to any pin on the NodeMCU, but the Blink app needs to be configured accordingly to match the chosen pin.
- 😀 The VIN pin of the NodeMCU board is connected to the positive rail of the breadboard, and the ground pin is connected to the negative rail.
- 😀 The DC water pump has two wires: red for positive and black for negative, which are connected to the relay to control the water flow.
- 😀 The negative wire of the pump is connected to the battery's negative, while the positive wire is connected to two pins on the relay.
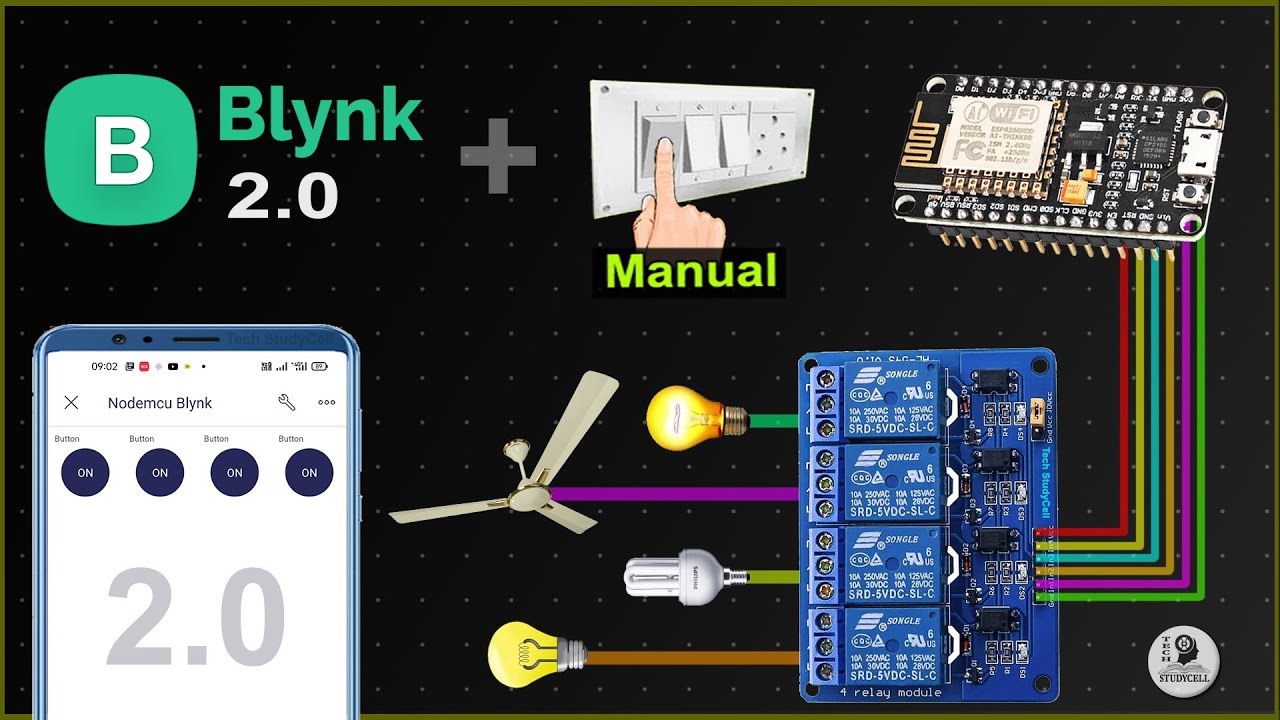
- 😀 The Blink app is used to control the water pump from a mobile device by creating a project, configuring it with ESP8266, and linking it with an authentication code.
- 😀 In the Blink app, a button widget is created and assigned to a pin (D2), which acts as a switch to turn the pump on and off.
- 😀 Once the code is uploaded to the NodeMCU board, pressing the button in the Blink app triggers the pump, allowing water to flow or stop based on the user's input.
Q & A
What are the main components needed for controlling a DC water pump from a mobile device?
-The main components required are a NodeMCU board, a DC water pump, a relay, a 9V battery, connecting cables, a breadboard, and a tube to connect with the pump.
How do you connect the 9V battery to the breadboard?
-Connect the positive wire from the 9V battery to the positive rail on the breadboard and the negative wire to the negative rail.
What is the purpose of the relay in this setup?
-The relay acts as a switch that allows the NodeMCU to control the DC water pump by opening or closing the circuit based on the signal received from the mobile device.
Which pin on the NodeMCU board is connected to the relay's signal pin?
-The signal pin of the relay is connected to pin D4 on the NodeMCU board, but any available pin can be used as long as it is reflected in the Blink app configuration.
How do you connect the pump to the relay?
-The negative wire from the pump is connected to the negative rail of the breadboard, while the positive wire from the pump is connected to the first pin of the relay. The second pin of the relay is also connected to the positive rail of the breadboard.
What is the role of the Blink app in this project?
-The Blink app is used to create a control interface on the mobile device, allowing users to send signals to the NodeMCU to turn the pump on or off remotely.
What steps should be followed to set up the Blink app for this project?
-First, create a new project in the Blink app, select the device as ESP8266, and configure a button to control the pump. The button pin should be set to digital D2, and the mode should be set to 'switch.' Then, input the authentication code sent to your email and configure the Wi-Fi credentials.
What programming environment is used to upload the code to the NodeMCU board?
-The code is uploaded to the NodeMCU board using the Arduino IDE. In the IDE, you need to select the correct board (NodeMCU) and port before uploading the program.
What happens when the button in the Blink app is pressed?
-When the button is pressed in the Blink app, the signal is sent to the NodeMCU, which triggers the relay to turn the pump on, causing the water to start flowing. Pressing the button again turns the pump off and stops the water flow.
What is the importance of configuring the Wi-Fi credentials and authentication code in the code?
-Configuring the Wi-Fi credentials allows the NodeMCU to connect to the internet and communicate with the Blink app. The authentication code ensures that the Blink app can securely control the NodeMCU board by verifying the user's identity.
Outlines

此内容仅限付费用户访问。 请升级后访问。
立即升级Mindmap

此内容仅限付费用户访问。 请升级后访问。
立即升级Keywords

此内容仅限付费用户访问。 请升级后访问。
立即升级Highlights

此内容仅限付费用户访问。 请升级后访问。
立即升级Transcripts

此内容仅限付费用户访问。 请升级后访问。
立即升级浏览更多相关视频
Home Automation using NodeMCU ESP8266 and Blynk 2.0 with real-time feedback | IoT Projects 2021

Sistem Penyiraman Tanaman Otomatis dengan Arduino Uno & Sensor Kelembapan Tanah | Easy Solution !!!

Fire Fighting Robot, Fire Fighting Robotic Car, New Electronics Project #science #shorts

IoT Monitoring Kelembaban Tanah & Temperatur Udara Penyiram Tanaman Otomatis Smart Garden BLYNK
Penyiraman tanaman otomatis berbasis IOT(Internet Of Things) graph chart blynk nodemcu esp8266

New Blynk IOT Smart Plant Monitoring System
5.0 / 5 (0 votes)
