Lab 6 - Node Sensor Publisher, Broker dan Subscriber
Summary
TLDRThis video guides viewers through the process of implementing MQTT with the Mosquitto broker, using sensors like the DHT11 and LDR. The tutorial covers the hardware setup, including the connection of the sensors, and walks through writing Arduino code to read data. It then explains how to use MQTT for transmitting sensor data to a Mosquitto broker and how to monitor the data using an MQTT subscriber. The video also provides steps for configuring Wi-Fi, uploading code, and verifying the successful transmission of temperature, humidity, and light data over the network.
Takeaways
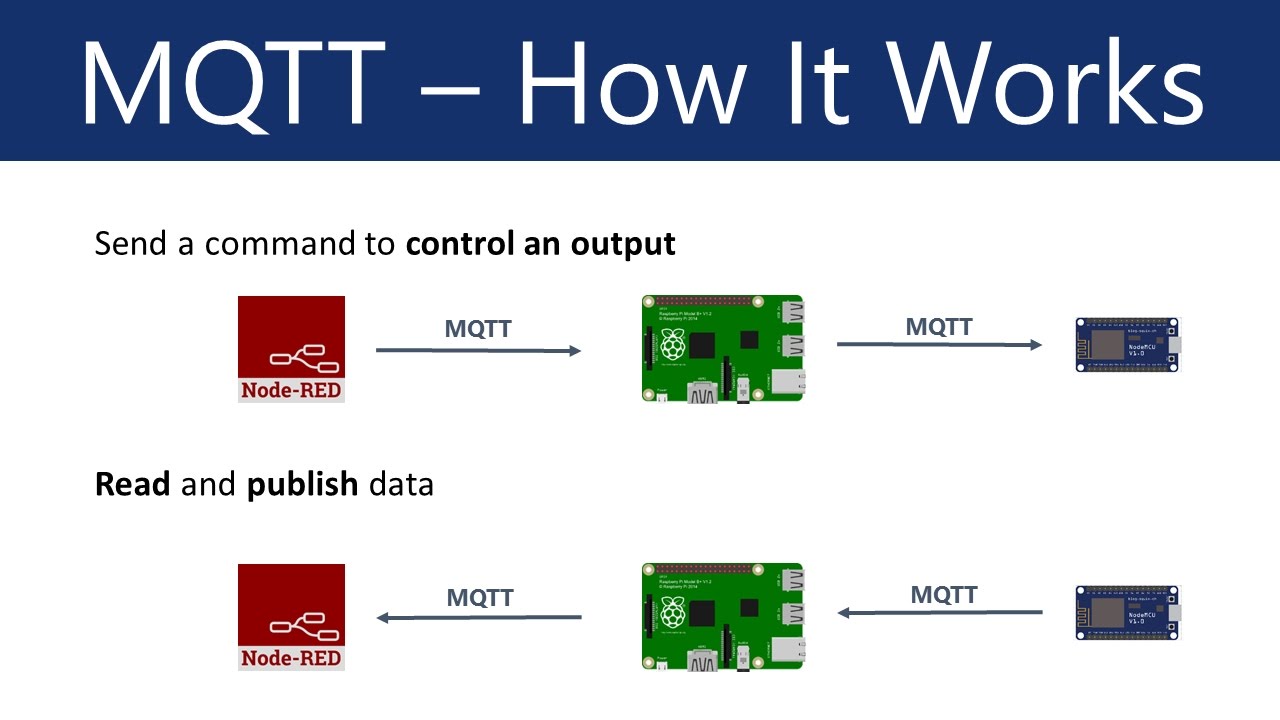
- 😀 The tutorial explains how to use MQTT with the Mosquitto broker to send data from sensors to a computer server.
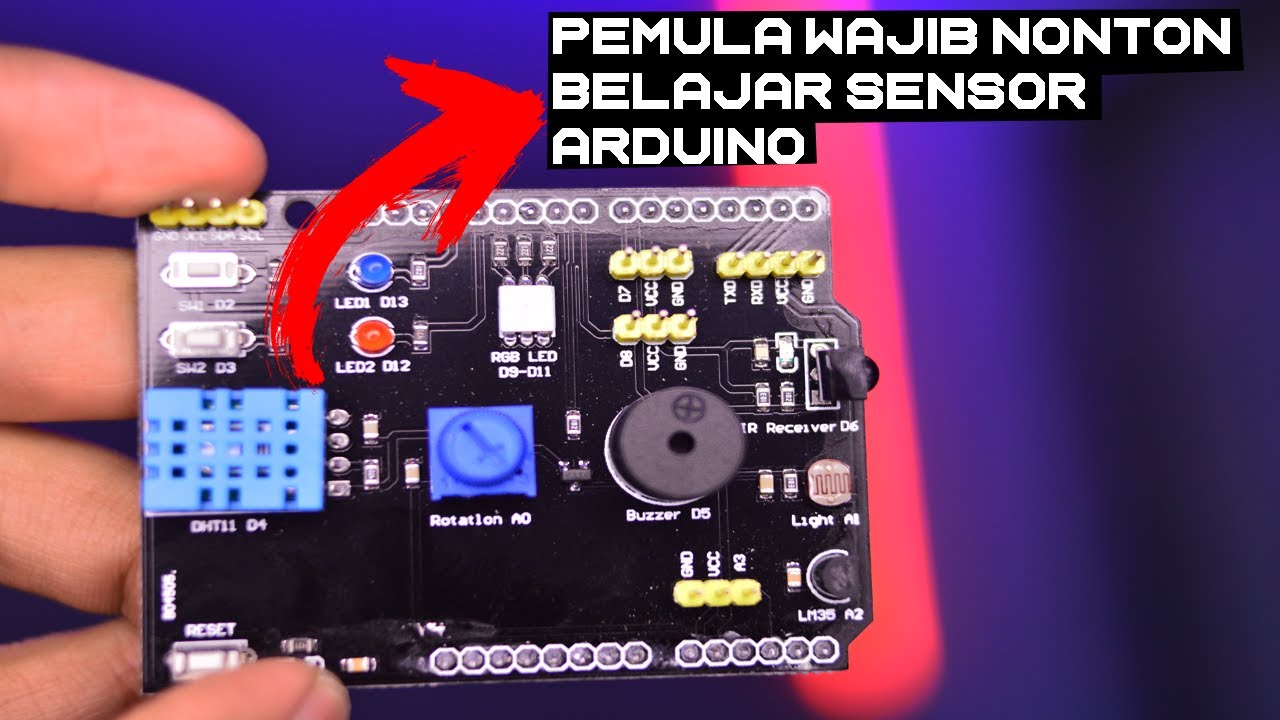
- 😀 The hardware setup involves connecting a DHT11 sensor for temperature and humidity, and an LDR for light intensity to a microcontroller.
- 😀 Proper wiring is essential, with VCC and GND connections correctly configured for stable sensor operation.
- 😀 A voltage divider circuit is used with the LDR to ensure correct sensor readings.
- 😀 The Arduino IDE is used to write and upload code for reading sensor data and sending it over MQTT.
- 😀 The code structure includes 'setup()' and 'loop()' functions, along with declarations for sensor variables like temperature and humidity.
- 😀 The microcontroller is connected to an MQTT broker running on a local computer via WiFi, using an IP address for the broker.
- 😀 The tutorial emphasizes the importance of ensuring the microcontroller connects to the correct WiFi network for MQTT communication.
- 😀 The code uses MQTT libraries to publish data, and the serial monitor is used to verify that sensor readings are correct.
- 😀 Data sent from the sensors (temperature, humidity, light) is successfully transmitted to the MQTT broker and received by subscribers.
- 😀 The tutorial concludes with the successful transmission of sensor data from the microcontroller to the MQTT broker, showcasing a working IoT setup.
Q & A
What is the purpose of using MQTT in this setup?
-MQTT is used to facilitate the communication between the Arduino and the local server, allowing the sensor data (such as temperature, humidity, and light levels) to be transmitted over a WiFi network to an MQTT broker and then received by subscribers.
What sensors are used in this project and what do they measure?
-The project uses the DHT11 sensor, which measures temperature and humidity, and an LDR (Light Dependent Resistor), which measures light intensity.
How is the LDR sensor wired in this setup?
-The LDR is part of a voltage divider circuit. One side of the LDR is connected to 3V, and the other side is connected to a resistor, which then leads to ground. The voltage at the junction between the LDR and resistor is read by the analog input of the Arduino.
How do you test if the sensors and circuit are working correctly?
-The Arduino IDE is used to upload a test code. If the sensors are wired correctly, values from the sensors (temperature, humidity, and light) should appear in the Serial Monitor, indicating the system is functioning as expected.
What steps are involved in setting up the MQTT broker?
-The MQTT broker, such as Mosquitto, should be installed on a local server or computer. The IP address of this server must be specified in the Arduino code to allow communication with the broker. The broker receives messages from the Arduino and makes them available for subscribers.
How do you configure the Arduino to connect to the WiFi network?
-A WiFi Manager library is used to configure the Arduino to connect to the WiFi network. The device can either connect to a preset WiFi or be configured manually using an access point (AP) mode to enter the network credentials.
What is the significance of the device name and IP address in the MQTT configuration?
-The device name helps identify the publisher, and the IP address is used to connect to the correct MQTT broker. These values must be set in the Arduino code to ensure that the publisher connects to the correct network and broker.
How does the Arduino send data to the MQTT broker?
-The Arduino collects data from the sensors (such as temperature and light) and uses the MQTT client library to publish this data to specific topics on the broker. The data is sent in the form of messages associated with those topics.
What happens after the Arduino successfully connects to the MQTT broker?
-Once connected, the Arduino starts sending sensor data (like temperature and light levels) to the MQTT broker. Subscribers on the same network can then receive this data by subscribing to the corresponding topics.
How can you verify if the data is successfully being sent and received by the MQTT broker?
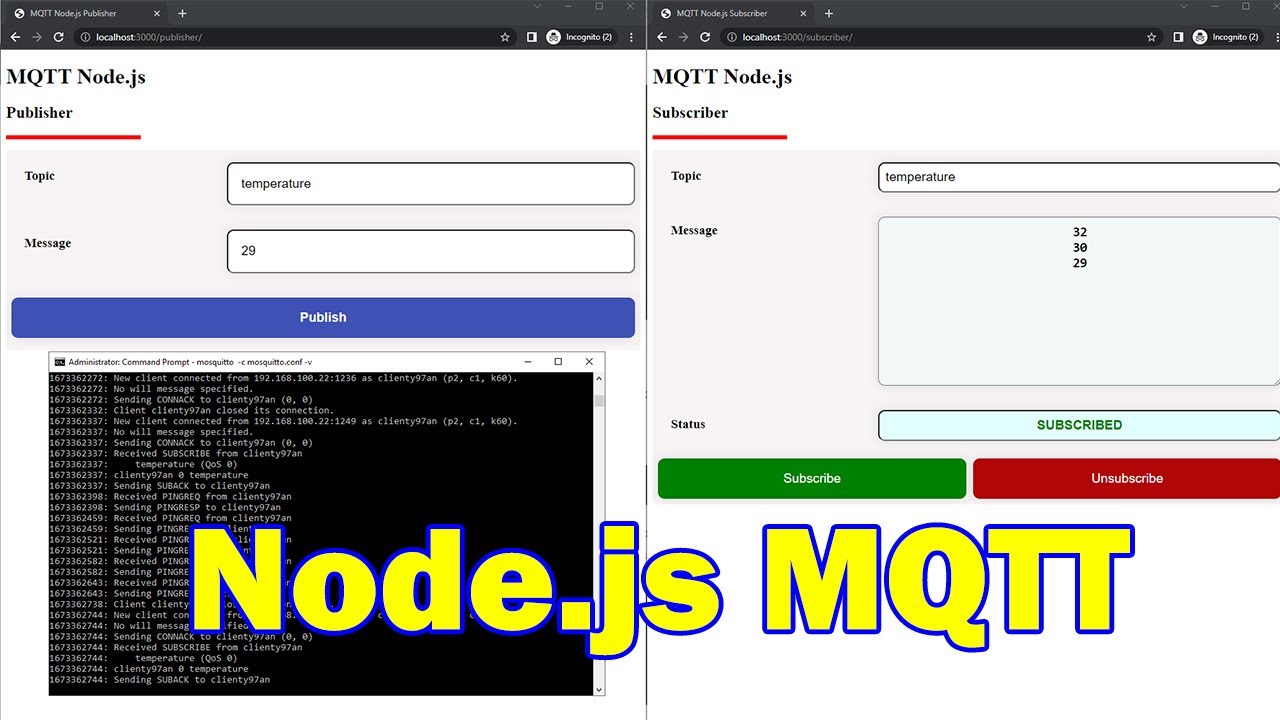
-By using an MQTT subscriber client, such as MQTT.fx, you can subscribe to the topics being published by the Arduino. If the data appears in the subscriber's interface, it indicates that the data is being successfully sent and received.
Outlines

此内容仅限付费用户访问。 请升级后访问。
立即升级Mindmap

此内容仅限付费用户访问。 请升级后访问。
立即升级Keywords

此内容仅限付费用户访问。 请升级后访问。
立即升级Highlights

此内容仅限付费用户访问。 请升级后访问。
立即升级Transcripts

此内容仅限付费用户访问。 请升级后访问。
立即升级浏览更多相关视频

Publish and consume data to a controller via MQTT message broker

SIMULASI KONEKTIVITAS ANTARA MOSQUITTO DENGAN MQTT DASH
MQTT using Node.js with practical examples
What is MQTT and How It Works
Basic Sensor Arduino yang Kalian Wajib Tau - Shield Arduino 9 in 1

Analog vs Digital Sensor suhu, LM35 Dht11 mana yang terbaik? Arduino tutorial
5.0 / 5 (0 votes)
