SIMULASI KONEKTIVITAS ANTARA MOSQUITTO DENGAN MQTT DASH
Summary
TLDRThis tutorial demonstrates how to connect an MQTT Mosquitto broker on a PC to an Android device using the mtt Dust app. The process involves setting up the broker and subscriber on the PC, then configuring the app on Android to send and receive messages. The tutorial also includes tests for sending text messages and toggling a switch button between 'On' and 'Off'. The video guides users through each step with clear instructions, making it easy for beginners to understand how MQTT communication works between different devices.
Takeaways
- 😀 The tutorial demonstrates how to connect the MQTT Mosquitto broker as a subscriber on a PC and link it with the Mqtt Dashboard app on Android.
- 😀 Both the PC and Android devices need to be connected to the internet, but they can be on different networks.
- 😀 The first step is to activate the Mosquitto broker on the PC by navigating to the correct directory and running the command prompt.
- 😀 The broker's host address should be set to 'broker.dashboard.com', with a unique topic name to avoid conflicts with other users.
- 😀 The subscriber waits for incoming data or information once the setup is complete and the system is online.
- 😀 On the Android side, users need to download the Mqtt Dashboard app from the Play Store and configure it to connect to the broker with the same host address.
- 😀 In the Android app, users can add a connection with a custom name, then enter the same host address as the broker for connectivity.
- 😀 Once connected, users can publish data to a topic using the app. The same topic should be used in both the publisher and subscriber to ensure data is received.
- 😀 The tutorial shows sending text data (e.g., 'MVP') and demonstrates how it appears on the subscriber side.
- 😀 Users can also test the on/off button functionality in the app, with the state reflected on the subscriber side (on/off toggle).
- 😀 The video concludes by confirming that the publisher and subscriber are successfully connected and exchanging data, with minor delays observed during communication.
Q & A
What is the main focus of this tutorial?
-The main focus of the tutorial is connecting MQTT Mosquitto as a subscriber and broker to an Android device using the MQT T Dust app, demonstrating the setup and communication between the systems.
What is required for the setup to work between the PC and the Android device?
-Both the PC and the Android device must be connected to the internet, but they can be on different networks, as long as both are online.
How do you activate the Mosquitto broker on the PC?
-To activate the Mosquitto broker, open the folder where the Mosquitto files are located and use the command prompt to navigate to the directory. Then, run the 'mosquito_sub.exe' file with the appropriate host and topic settings.
What are the key parameters needed to configure the Mosquitto subscriber?
-The key parameters are the host (which is the broker address), the topic (which should be unique to avoid conflicts with other users), and the command to run the subscriber.
How do you set up the MQTT Dust app on an Android device?
-To set up the MQTT Dust app, first download it from the Play Store. After installing, click the '+' button, give it a name, and input the broker address (same as the Mosquitto subscriber). Then save the configuration.
What should you do after connecting the MQTT Dust app to the broker?
-After connecting the app to the broker, you can start adding activities such as publishing messages to specific topics. For example, you can add text or switch button activities with the corresponding topics.
What is the significance of the topic in this tutorial?
-The topic is crucial because it allows the subscriber and publisher to communicate. Both the publisher and subscriber must use the same topic name to ensure successful message transmission.
How do you test the connection between the publisher and the subscriber?
-You can test the connection by sending a message from the publisher, for example, writing a test message or activating a switch button. If the message appears on the subscriber's end, the connection is successful.
What is demonstrated by using the switch button activity in the tutorial?
-The switch button activity demonstrates how to send on/off signals between the publisher and subscriber. The subscriber reacts to the 'on' or 'off' signals sent by the publisher, showing a real-time exchange of data.
Was there any delay in the communication between the publisher and subscriber?
-Yes, there was a slight delay observed in the communication between the publisher and the subscriber, but the messages did eventually appear successfully on the subscriber's end.
Outlines

This section is available to paid users only. Please upgrade to access this part.
Upgrade NowMindmap

This section is available to paid users only. Please upgrade to access this part.
Upgrade NowKeywords

This section is available to paid users only. Please upgrade to access this part.
Upgrade NowHighlights

This section is available to paid users only. Please upgrade to access this part.
Upgrade NowTranscripts

This section is available to paid users only. Please upgrade to access this part.
Upgrade NowBrowse More Related Video
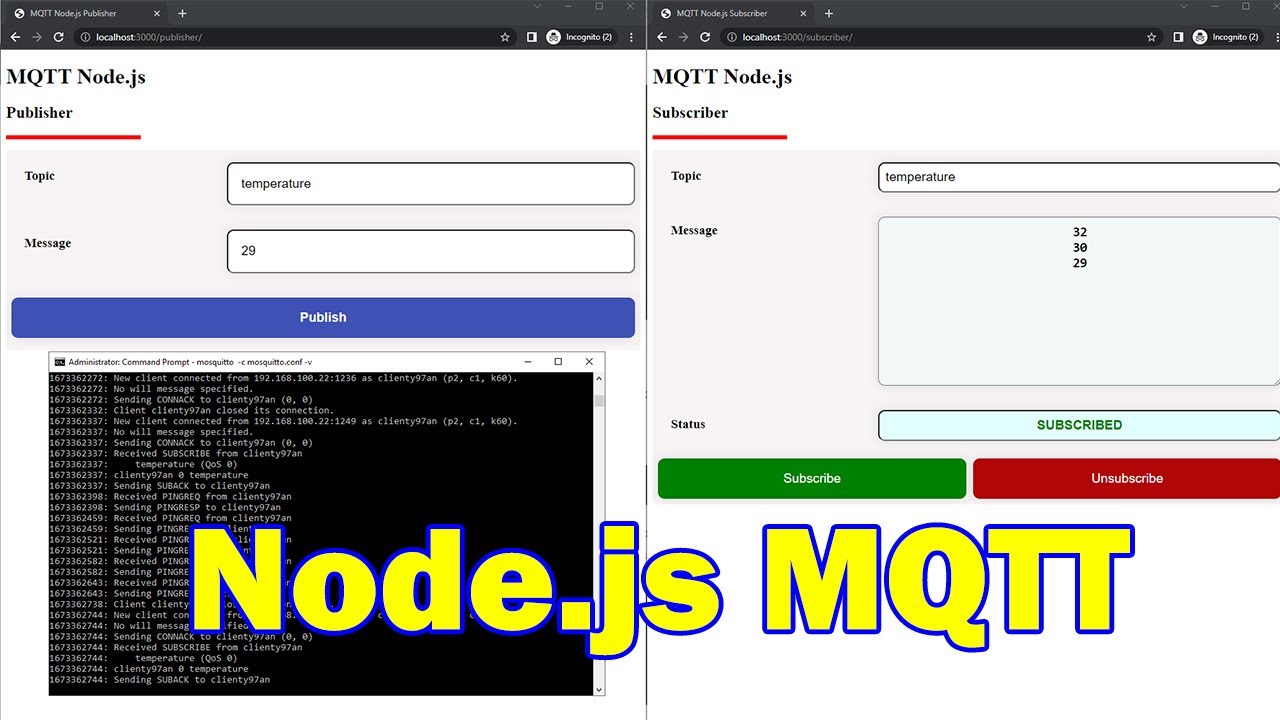
MQTT using Node.js with practical examples
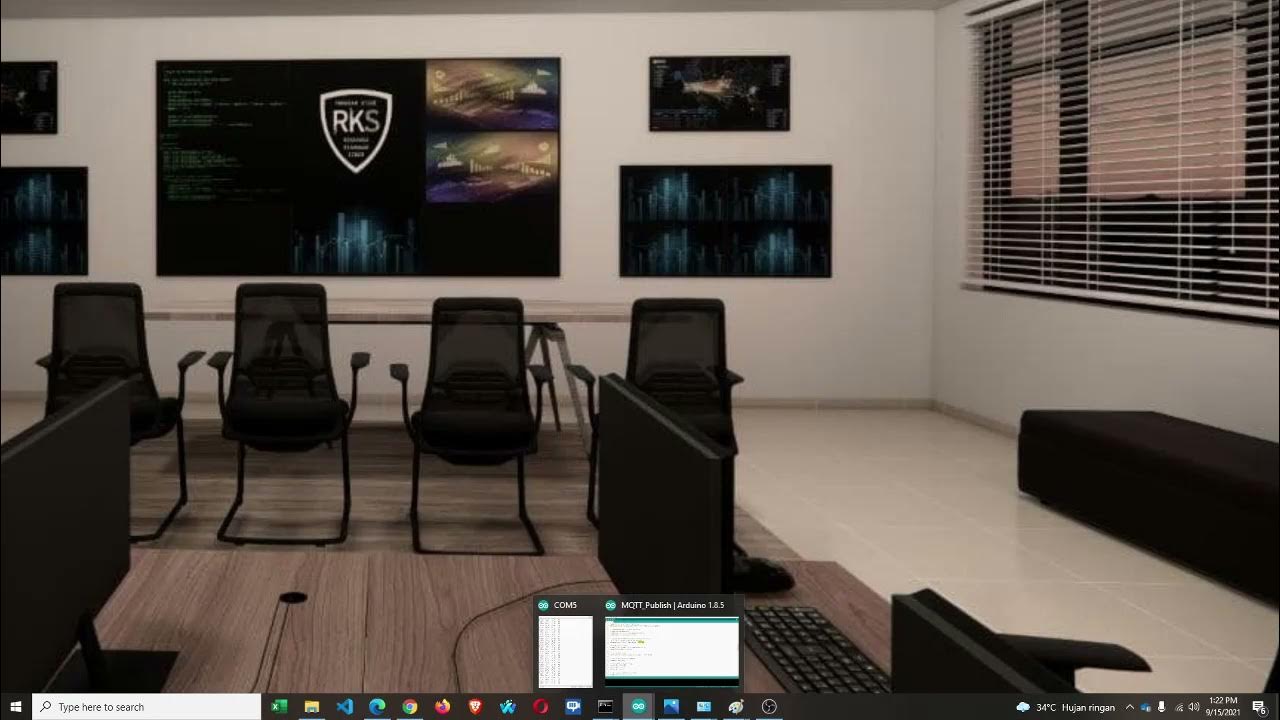
Lab 6 - Node Sensor Publisher, Broker dan Subscriber

Publish and consume data to a controller via MQTT message broker
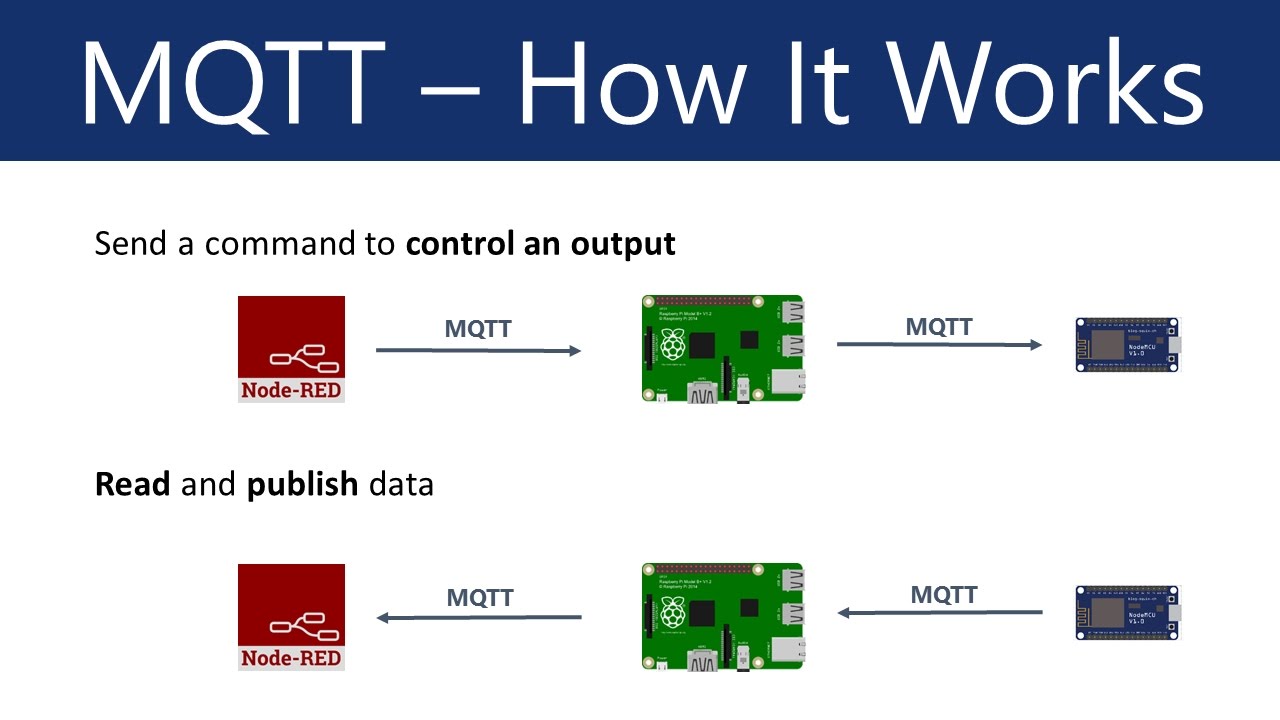
What is MQTT and How It Works
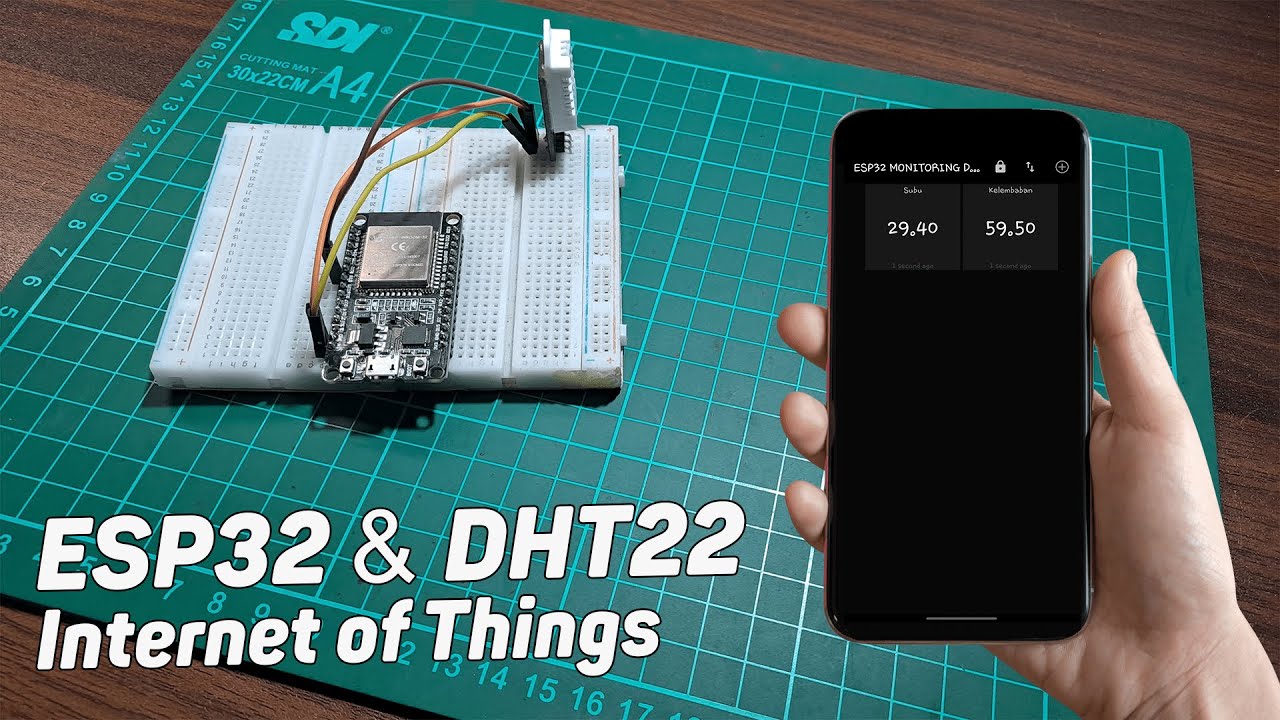
Monitoring Suhu Dan Kelembaban Menggunakan ESP32 + DHT22 Dengan Protokol MQTT
Connect Android Device to Visual Studio 2022 using WiFi
5.0 / 5 (0 votes)