CARA MENGGUNAKAN MULTITESTER ANALOG BAGI PEMULA
Summary
TLDRThis tutorial demonstrates how to use an analog multitester for beginners, specifically the Jackman JK 110 model. The presenter explains the basic components, including the battery installation, probes, and selector switch. The tutorial covers how to measure resistance (Ohm), check diodes, and test resistors with the device. It also shows how to measure DC and AC voltages, with examples using a 9V battery and household electricity. The video emphasizes the utility of this affordable multitester for electronics enthusiasts and hints at a future tutorial on digital multitesters.
Takeaways
- 😀 The tutorial explains how to use an analog multitester, specifically the Jackman JK 110 model, which is ideal for beginners.
- 😀 The multitester used in the tutorial requires a 1.5V battery, which is not included with the device.
- 😀 The multitester comes with two probes: one for the positive terminal and one for the negative terminal, each with a short 0.5-meter cable.
- 😀 The multitester has two main parts: a selector switch for choosing the type of measurement and a scale panel to display results.
- 😀 Before starting measurements, the needle on the multitester should be calibrated to zero using a small screw.
- 😀 For resistance (Ohm) measurements, the multitester can check if cables are intact, measure diodes, and test resistors.
- 😀 The accuracy of the multitester is limited, but it can still provide useful readings for component checks, such as measuring a 560 Ohm resistor.
- 😀 For DC voltage measurements, the multitester can check the voltage of a 9V battery, but the reading can be lower if the battery is old or weak.
- 😀 For higher DC voltages, the multitester can be set to higher scales such as 50 or 250 volts, depending on the voltage being measured.
- 😀 The tutorial also demonstrates measuring AC voltage, like the 220V voltage from a wall outlet, and explains the importance of using the right scale to avoid damage to the multitester.
- 😀 The tutorial briefly mentions DC amperage measurements but doesn’t go into detail; it suggests using the multitester with appropriate settings for current measurement.
- 😀 The video concludes by comparing analog and digital multitesters, with a promise to create a separate tutorial for using a digital multitester in the future.
Q & A
What type of multitester is used in this tutorial?
-The multitester used in this tutorial is the Jackman JK 110 Mini Analog Multitester.
How much did the multitester cost?
-The multitester was purchased online for IDR 25,000.
Why is the Jackman JK 110 multitester recommended for beginners?
-The Jackman JK 110 multitester is recommended for beginners because it is simple to use and suitable for learning how to measure with an analog multitester.
Does the multitester come with a battery?
-No, the multitester does not come with a battery. You need to install a 1.5V battery before using it.
How is the battery installed in the multitester?
-To install the battery, place a 1.5V battery in the back of the multitester and secure the cover with screws.
What are the two main parts of the multitester mentioned in the video?
-The two main parts of the multitester mentioned are the selector switch (for choosing the measurement type) and the scale plate (which displays the measurement results).
How can you calibrate the multitester before taking measurements?
-To calibrate the multitester, use the zero adjustment knob to set the needle to zero before taking measurements.
What scale is used to measure resistance in the multitester?
-For measuring resistance, the x10 scale is used on the multitester.
How do you measure DC voltage using the multitester?
-To measure DC voltage, connect the probes to the battery or DC power source, with the negative probe on the negative terminal and the positive probe on the positive terminal. Use the appropriate scale, such as 10V for lower voltages.
What should you do when measuring high voltages, such as household AC power, with the multitester?
-When measuring high voltages like household AC (220V), use the 250V or 1000V scale to avoid damaging the multitester.
Outlines

此内容仅限付费用户访问。 请升级后访问。
立即升级Mindmap

此内容仅限付费用户访问。 请升级后访问。
立即升级Keywords

此内容仅限付费用户访问。 请升级后访问。
立即升级Highlights

此内容仅限付费用户访问。 请升级后访问。
立即升级Transcripts

此内容仅限付费用户访问。 请升级后访问。
立即升级浏览更多相关视频

CARA MENGUKUR TEGANGAN LISTRIK AC & DC menggunakan AVO METER DIGITAL
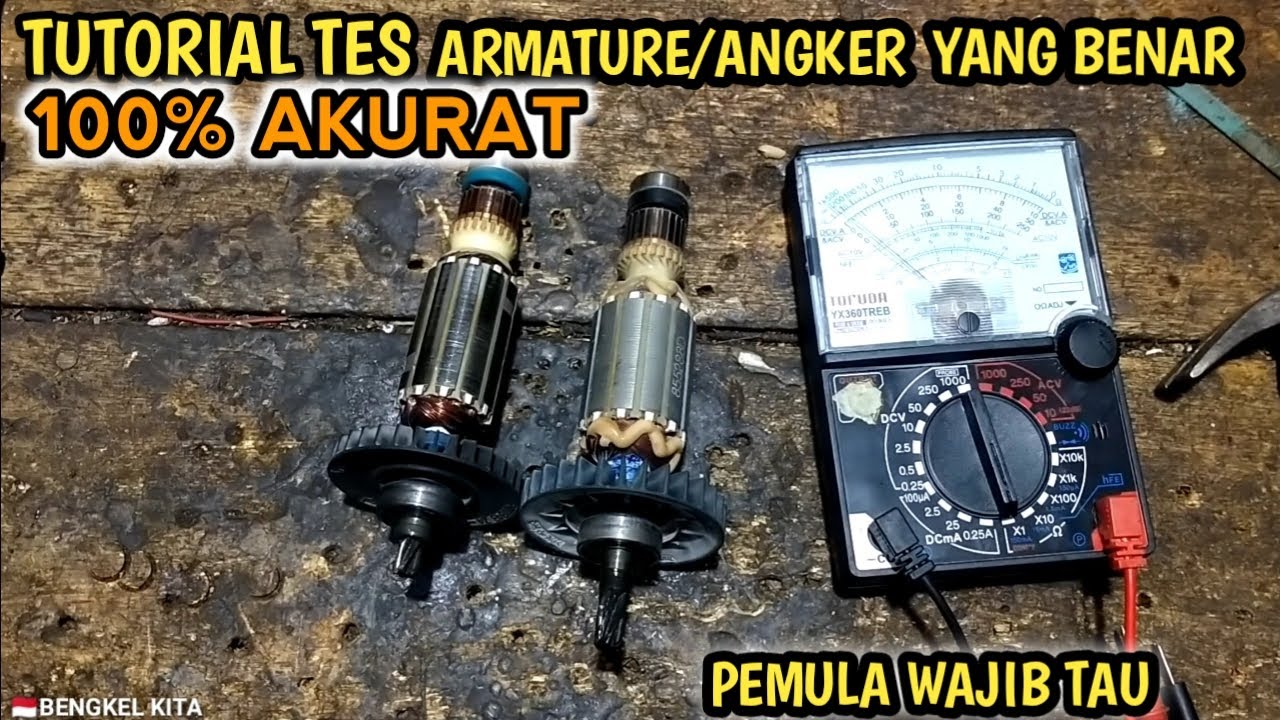
CARA MENGETES ARMATURE/ANGKER YANG BENAR DAN AKURAT.
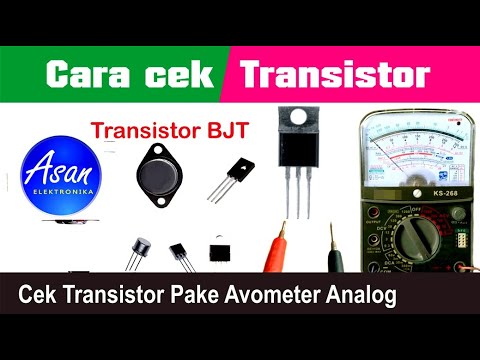
CEK KOMPONEN PART 2 , MENGUKUR TRANSISTOR BJT

Potentiometer Analog Input With Arduino in Tinkercad

Parts of an Analog Multimeter and How to Use
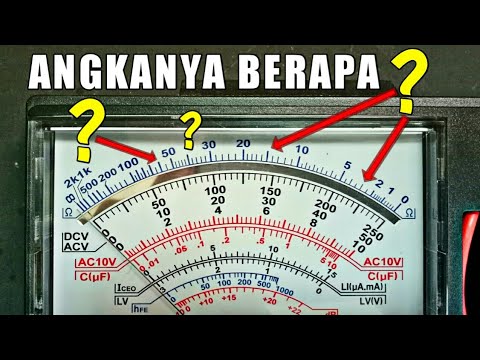
Cara membaca skala multimeter analog, angka berapa di setiap strip multitester skala ohm?
5.0 / 5 (0 votes)
