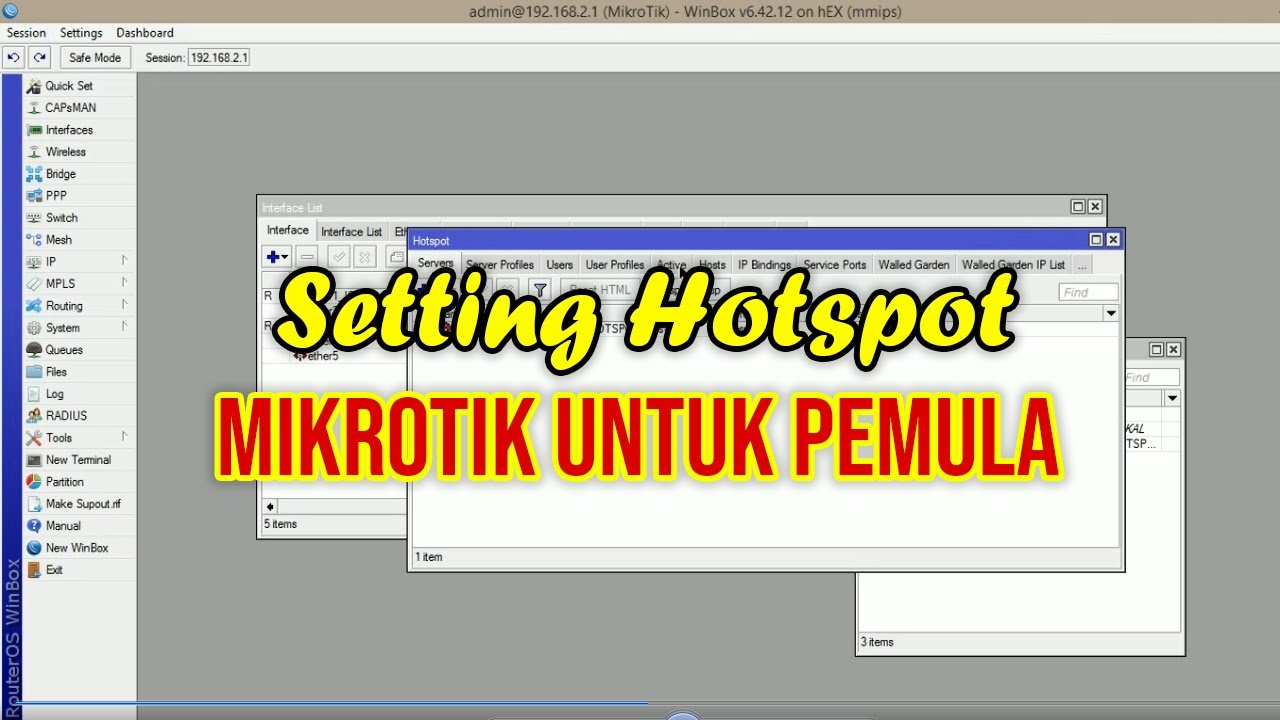
CARA SETTING HOTSPOT MIKROTIK PALING LENGKAP (part 1/5) - BASIC CONFIGURATION
Summary
TLDRThis video tutorial provides a comprehensive guide to configuring a Mikrotik hotspot. It covers the entire process from setting up the network topology, configuring IP addresses, gateways, and DNS, to using Winbox for router management. The tutorial emphasizes the creation of a robust hotspot network, detailing the steps to authenticate users, ensure internet connectivity, and extend the network with access points. The guide also highlights best practices for backup and security, ensuring a stable and efficient hotspot setup for public access.
Takeaways
- 😀 The script explains how to set up a Mikrotik router to create a hotspot network for public access, providing both basic and advanced configurations.
- 😀 The first step in configuration is to design the network topology, showing how the router connects to a switch and external access points for wireless distribution.
- 😀 It's essential to configure IP addresses, including gateway and DNS settings, based on the ISP’s provided details to enable the router to connect to the internet.
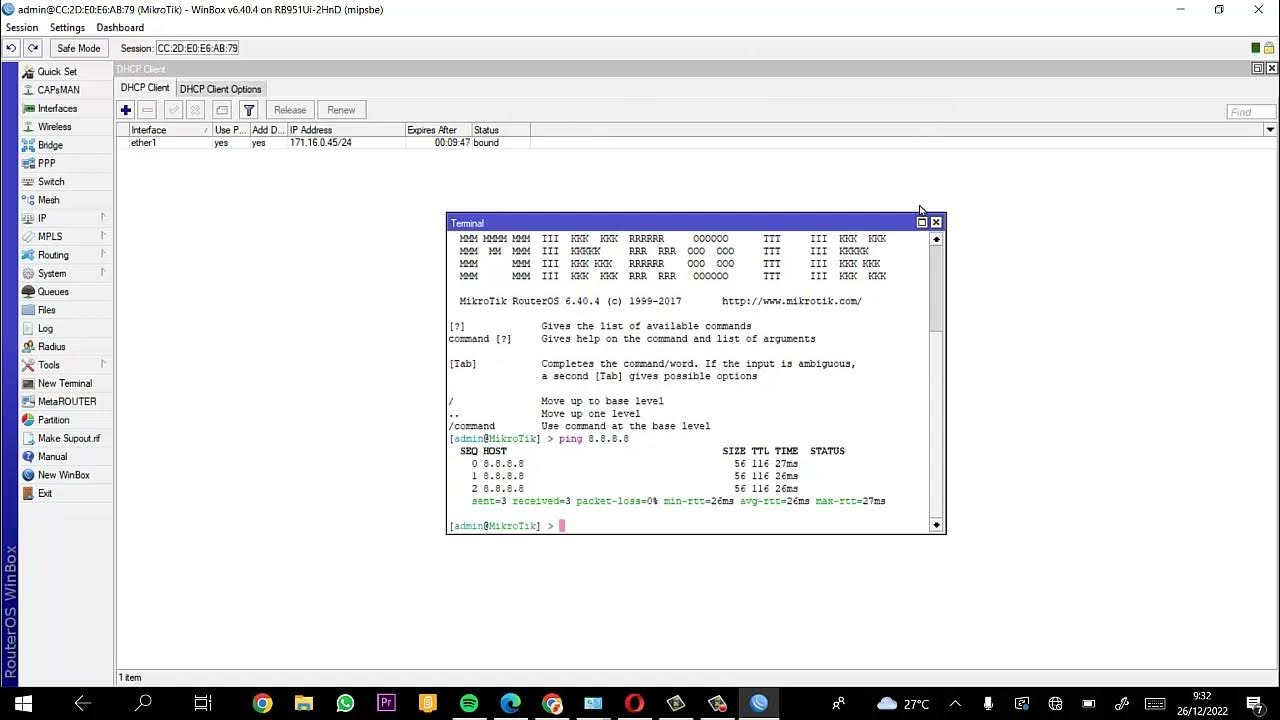
- 😀 Winbox, Mikrotik's configuration tool, is used to connect to the router and configure its settings. It’s important to use the latest version of Winbox for newer router models.
- 😀 The router must be cleaned of any default configurations before starting the setup process for flexibility and error-free configuration.
- 😀 Mikrotik routers typically use a default IP address (192.168.88.1) on the ether1 port, which can be accessed using the router's MAC address if the IP is different.
- 😀 After cleaning the router's configuration, interfaces should be set up, including designating specific ports for WAN (internet) and LAN (local network).
- 😀 Wireless interfaces can be set as access points to extend wireless coverage, and the router's wireless settings, like frequency and mode, must be configured.
- 😀 The router should be configured with a bridge interface to connect the LAN and wireless interfaces, ensuring seamless distribution of internet access.
- 😀 A basic NAT configuration (source NAT with masquerading) is added to allow clients connected to the hotspot to access the internet through the router.
- 😀 The router's configuration should be backed up once internet access is confirmed, to ensure recovery in case of configuration issues in the future.
Q & A
What is the main purpose of the video?
-The video is focused on providing a tutorial on configuring a Mikrotik hotspot, including both basic setup and more advanced management techniques. It aims to help users set up a hotspot for public areas.
Why is Mikrotik hotspot configuration important?
-Mikrotik hotspot configuration is important because it allows easy, plug-and-go access for clients, where regardless of the client's IP address (dynamic or static), they can connect to the network as long as they have the correct username and password.
What is the first step in setting up the hotspot?
-The first step in setting up the hotspot is to prepare the network topology. This includes mapping out how the internet will connect to the Mikrotik router and how the router will distribute the signal to clients.
What hardware is used in the video for the setup?
-In the video, the hardware used is the Mikrotik RB951UI router, which acts as the main router in the setup. The router is connected to a switch for distributing the signal, and wireless access points are used to extend coverage.
What is the significance of the wireless LAN interface on Mikrotik RB951UI?
-The wireless LAN interface (WLAN1) on the Mikrotik RB951UI is used to handle wireless connections. It can be configured as an access point to allow clients to connect wirelessly in areas where the physical network cable cannot reach.
How does one configure a bridge on the Mikrotik router?
-To configure a bridge on the Mikrotik router, you need to go to the Bridge menu and add a new bridge. Then, assign interfaces (like WLAN1 and Ether2) to this bridge, which allows them to function as part of the same network segment for hotspot distribution.
What IP addresses need to be configured for the network?
-The router’s WAN interface (Ether1) needs to have an IP address assigned, which is provided by the ISP. The LAN interface (Ether2 or the bridge) will have a different IP address, typically in the 192.168.x.x range, for the local network and hotspot.
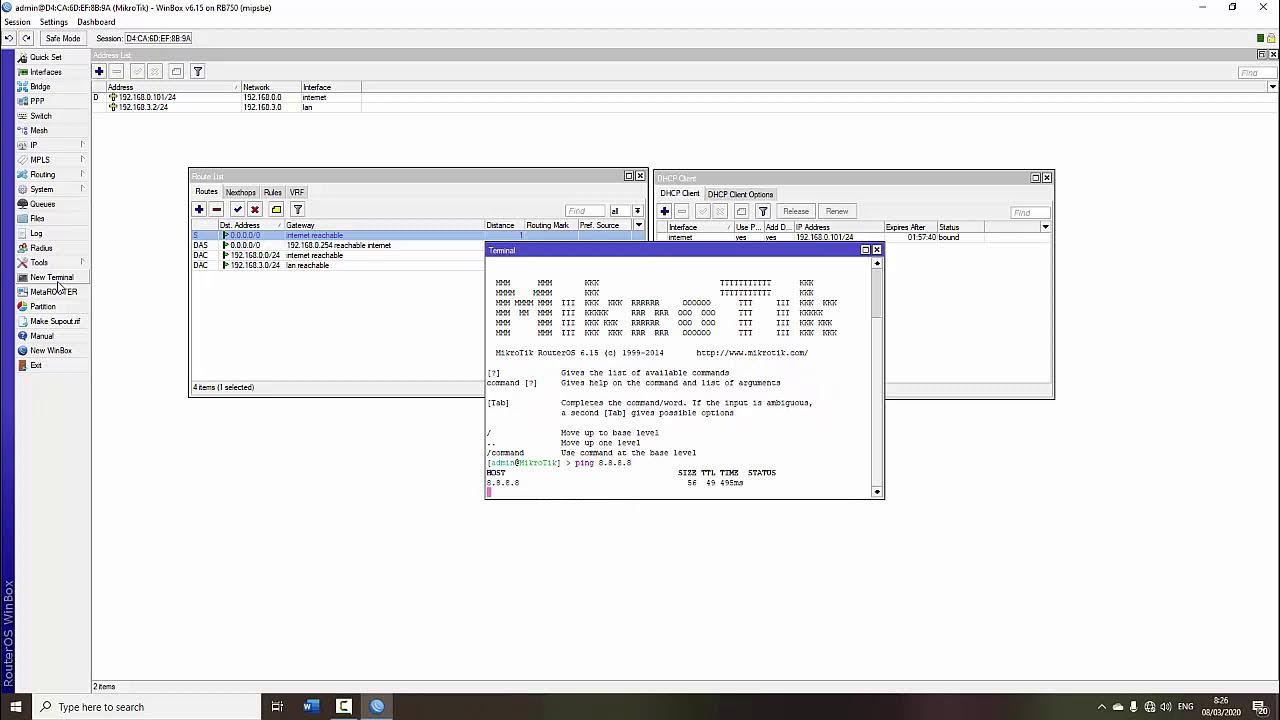
What is the purpose of adding a default gateway in the configuration?
-Adding a default gateway ensures that the router can access external networks, like the internet. The gateway IP address is typically provided by the ISP and allows the router to route traffic outside the local network.
What is NAT, and why is it necessary for this setup?
-NAT (Network Address Translation) is used to allow multiple devices on the local network to share a single public IP address when accessing the internet. It is necessary in this setup to enable devices on the local network to connect to the internet via the router.
What is the final step in configuring the Mikrotik hotspot?
-The final step in configuring the Mikrotik hotspot is to set up the hotspot login page and authentication process. This ensures that users can only access the internet after successfully logging in with a valid username and password.
Outlines

此内容仅限付费用户访问。 请升级后访问。
立即升级Mindmap

此内容仅限付费用户访问。 请升级后访问。
立即升级Keywords

此内容仅限付费用户访问。 请升级后访问。
立即升级Highlights

此内容仅限付费用户访问。 请升级后访问。
立即升级Transcripts

此内容仅限付费用户访问。 请升级后访问。
立即升级


5.0 / 5 (0 votes)
