Arduino - Aula 23 - Experimento 9 - Motor com potenciômetro
Summary
TLDRThis Arduino tutorial focuses on controlling the speed of a DC motor using a potentiometer. The video guides viewers through the process of setting up the circuit, explaining how the potentiometer adjusts the motor's speed by varying resistance. It also covers key concepts such as PWM (Pulse Width Modulation) and analog input/output in Arduino. The tutorial walks through both the hardware setup and coding steps, demonstrating how the potentiometer affects the motor's speed, from maximum to zero, and provides troubleshooting tips. Perfect for beginners interested in hands-on Arduino projects involving motor control.
Takeaways
- 😀 The lesson teaches how to control the speed of a 12V DC motor using a potentiometer.
- 😀 A potentiometer is a variable resistor that changes resistance based on its rotation, which impacts the motor's speed.
- 😀 The motor's speed is controlled by adjusting the resistance of the potentiometer, affecting the voltage sent to the motor.
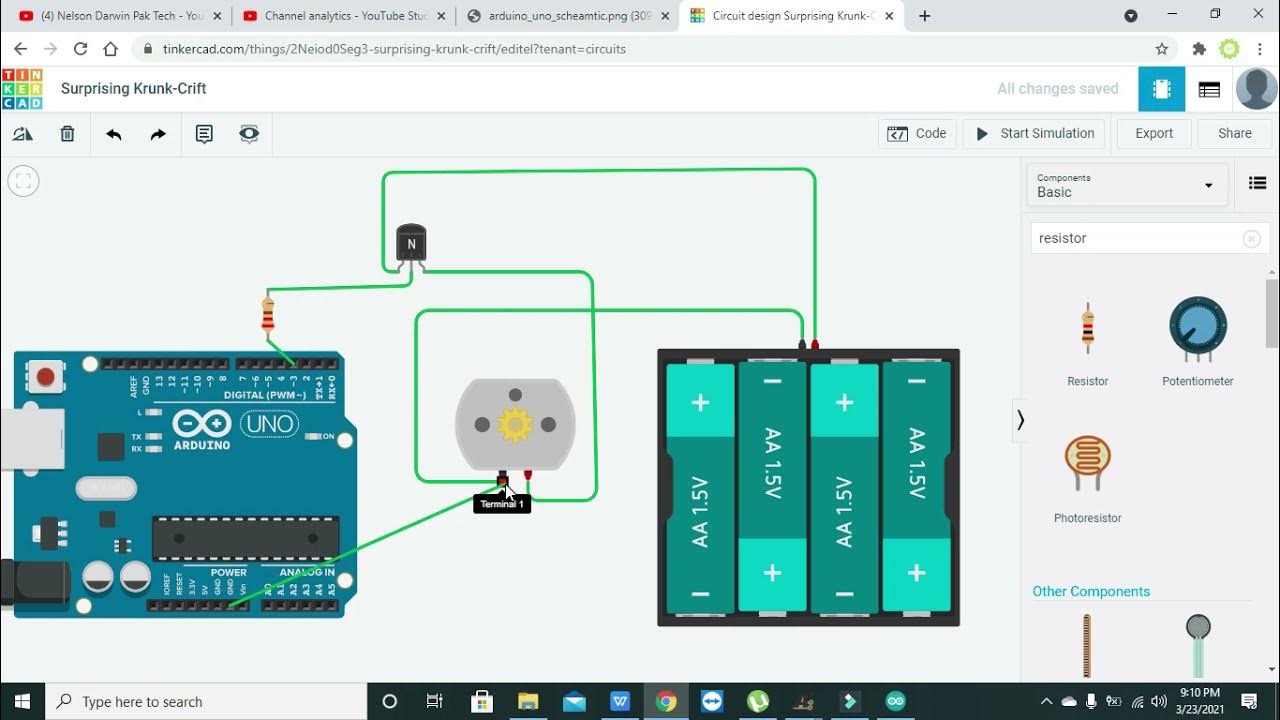
- 😀 The circuit uses an Arduino board (Hino board) to control the motor through a PWM signal.
- 😀 The potentiometer is connected to 5V and ground on the Arduino, with the middle pin connected to an analog input (A5).
- 😀 The motor's ground is connected to the Arduino's ground, and its other terminal is connected to a PWM output pin (pin 6).
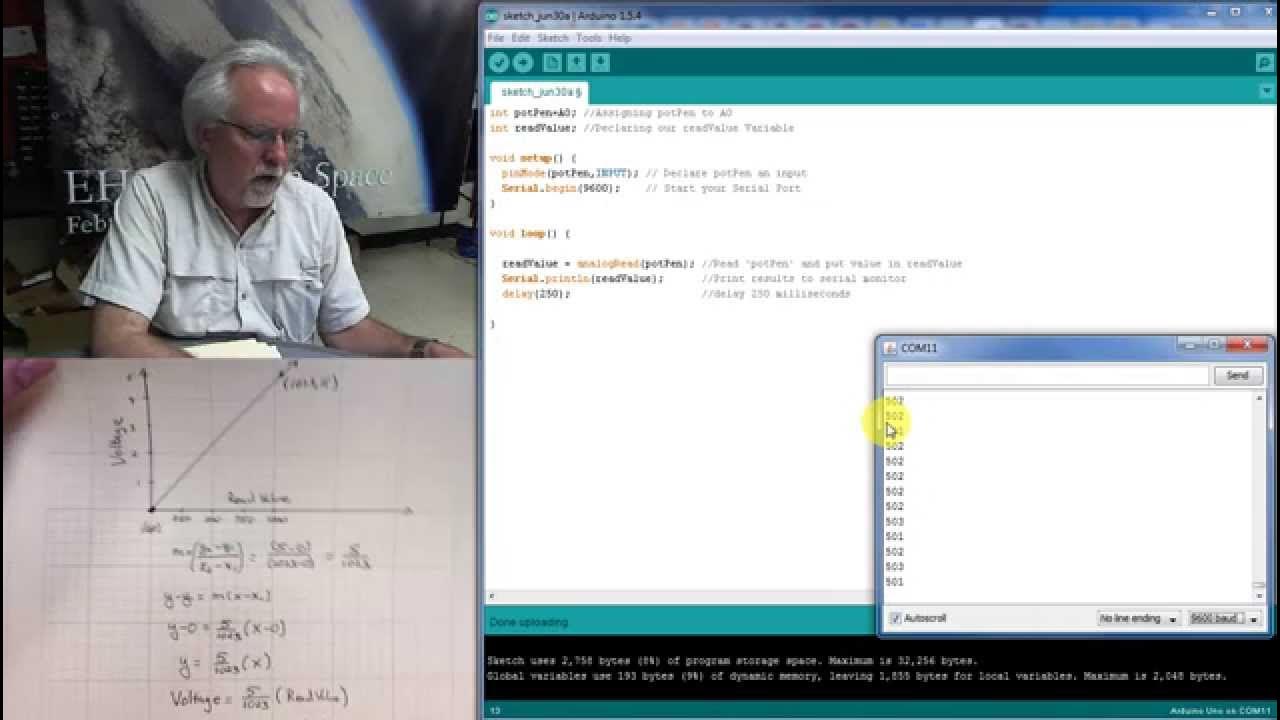
- 😀 The analog value from the potentiometer is read via `analogRead(A5)` and stored in a variable called 'valor'.
- 😀 The analog value is mapped from a range of 0-1024 to 0-255 using the `map()` function to fit the PWM output range.
- 😀 The motor's speed is adjusted based on the mapped value using the `analogWrite()` function on pin 6.
- 😀 As the potentiometer is turned, the motor’s speed increases or decreases, providing a real-time demonstration of the effect of resistance on motor performance.
- 😀 The lesson concludes by encouraging students to review previous lessons for further understanding of electronics and software principles.
Q & A
What is the main purpose of the project in the video?
-The main purpose of the project is to control the speed of a 12V DC motor using a potentiometer with an Arduino board.
Why is a 12V external power supply needed for the motor?
-A 12V external power supply is required for the motor because the Arduino can only supply 5V, which is insufficient for the 12V motor.
What is a potentiometer, and how is it used in this project?
-A potentiometer is a variable resistor that changes its resistance when turned. In this project, it adjusts the voltage sent to the motor, allowing for speed control based on its resistance.
What is the difference between a digital pin and a PWM pin on the Arduino?
-A digital pin on the Arduino can either output 0V or 5V (ON or OFF), whereas a PWM pin allows for outputting varying voltage levels between 0V and 5V, enabling finer control of devices like motors.
Why is the 'map()' function used in the code?
-The 'map()' function is used to convert the potentiometer's output range (0 to 1023) into a suitable range for PWM (0 to 255) so that it can control the motor's speed effectively.
What happens when the potentiometer is turned fully in one direction?
-When the potentiometer is turned fully in one direction, the motor runs at maximum speed because the resistance is at its lowest, allowing the full 5V to be sent to the motor.
What is the significance of the 'analogWrite()' function in the code?
-'analogWrite()' is used to send the mapped PWM value to the motor, controlling its speed based on the potentiometer's position.
How does the motor speed change when the potentiometer's resistance is increased?
-When the resistance of the potentiometer is increased, the voltage sent to the motor decreases, causing the motor's speed to reduce until it eventually stops if the resistance reaches its maximum.
What is the role of the 'analogRead()' function in the program?
-The 'analogRead()' function is used to read the value from the potentiometer, which varies between 0 and 1023 depending on the potentiometer's position.
What is the reason the motor doesn't reach its maximum speed even though it is a 12V motor?
-The motor doesn't reach its maximum speed because the Arduino board only provides 5V, which is much lower than the motor's 12V rating, limiting the motor's speed despite it being a 12V motor.
Outlines

此内容仅限付费用户访问。 请升级后访问。
立即升级Mindmap

此内容仅限付费用户访问。 请升级后访问。
立即升级Keywords

此内容仅限付费用户访问。 请升级后访问。
立即升级Highlights

此内容仅限付费用户访问。 请升级后访问。
立即升级Transcripts

此内容仅限付费用户访问。 请升级后访问。
立即升级浏览更多相关视频

شرح طريقة تحكم step motor من خلال الاردوينو Arduino

motor speed controller with arduino in tinkercad | motor speed controller with PWM in tinkercad

SIMULASI WOKWI MENGUANKAN BLYNK ARDUINO

DC motor PID speed control

LESSON 10: Reading Analog Voltages with Arduino

Basic Sensor Arduino yang Kalian Wajib Tau - Shield Arduino 9 in 1
5.0 / 5 (0 votes)
