SIMULASI WOKWI MENGUANKAN BLYNK ARDUINO
Summary
TLDRIn this tutorial, the creator demonstrates how to use the ESP32 for a simulation involving Arduino, controlling lights and monitoring temperature and humidity. The setup includes four colored LEDs, a potentiometer, and virtual pins in a Blink app interface. The creator walks through wiring, coding, and configuring virtual switches for controlling the LEDs and monitoring sensor data. Additionally, the tutorial covers using the Blink app on Android to manage the system, offering a comprehensive guide on creating an IoT-based simulation with Arduino and ESP32. The video aims to help beginners learn simulation and control techniques using these technologies.
Takeaways
- 😀 The video tutorial demonstrates using Arduino with ESP32 for light and temperature simulations.
- 😀 The setup involves using four LEDs with different colors: blue, green, yellow, and red.
- 😀 The components used in the simulation include a potentiometer (pot), ground, and various pins for the LEDs.
- 😀 The ESP32 board is connected via Wi-Fi to a Blink app, allowing control and monitoring.
- 😀 The tutorial includes both manual control of LEDs and automatic mode using temperature and humidity data.
- 😀 The code for controlling the LEDs and other devices is shared in the video description for viewers to use.
- 😀 Users are instructed to configure the Blink app, create virtual pins for controlling LEDs and sensors, and name the devices appropriately.
- 😀 The automatic mode is configured to work with a temperature sensor and humidity sensor, with pins set for temperature and humidity data.
- 😀 The video demonstrates how to set up the Blink app on Android, adding switches for each light and temperature control features.
- 😀 The simulation is shown to work well with real-time updates of temperature, humidity, and LED control, including switching between manual and automatic modes.
Q & A
What is the purpose of the tutorial in the video?
-The tutorial aims to demonstrate how to set up and simulate an ESP32-based system to control LED lights and monitor temperature and humidity using Arduino and the Blink app.
What hardware components are used in this tutorial?
-The tutorial uses an ESP32 microcontroller, four LEDs (red, green, yellow, and blue), a temperature sensor, a humidity sensor, and a potentiometer for adjusting the temperature.
How are the LEDs controlled in the simulation?
-The LEDs are controlled by connecting them to specific virtual pins on the ESP32 and controlling their states through the Blink app, which allows for switching between different colors.
What is the role of the Blink app in the tutorial?
-The Blink app is used to control the LEDs, monitor the temperature and humidity sensors, and set up a dashboard for managing the system remotely. It also helps in linking the ESP32 to the user's mobile device.
How are the LEDs connected to the ESP32 in the simulation?
-The LEDs are connected to the ESP32 microcontroller's pins, with the ground of the circuit also connected to the appropriate pin. The virtual pins in the Blink app correspond to these physical pins.
What are the key steps involved in coding the ESP32 for this project?
-The coding involves defining virtual pins for each LED and sensor, configuring the pins for temperature and humidity monitoring, and ensuring the code handles the input/output operations correctly for the LED control and sensor readings.
How is the temperature and humidity data displayed in the Blink app?
-The temperature and humidity data are displayed on the app's dashboard using specific virtual pins that reflect real-time sensor readings. These can be adjusted or monitored on the app interface.
What does the 'automatic mode' feature do for the LEDs?
-The 'automatic mode' allows the LEDs to change based on sensor data or predefined conditions, enabling automatic control without manual intervention.
How does the user connect their mobile device to the system?
-The user downloads the Blink app from the Play Store, registers an account, and connects the app to the ESP32 by inputting the appropriate credentials and setting up the dashboard for controlling the LEDs and sensors.
What is the purpose of using a potentiometer in the setup?
-The potentiometer is used to adjust the temperature in the simulation, allowing the user to test how the system responds to varying temperature conditions.
Outlines

This section is available to paid users only. Please upgrade to access this part.
Upgrade NowMindmap

This section is available to paid users only. Please upgrade to access this part.
Upgrade NowKeywords

This section is available to paid users only. Please upgrade to access this part.
Upgrade NowHighlights

This section is available to paid users only. Please upgrade to access this part.
Upgrade NowTranscripts

This section is available to paid users only. Please upgrade to access this part.
Upgrade NowBrowse More Related Video
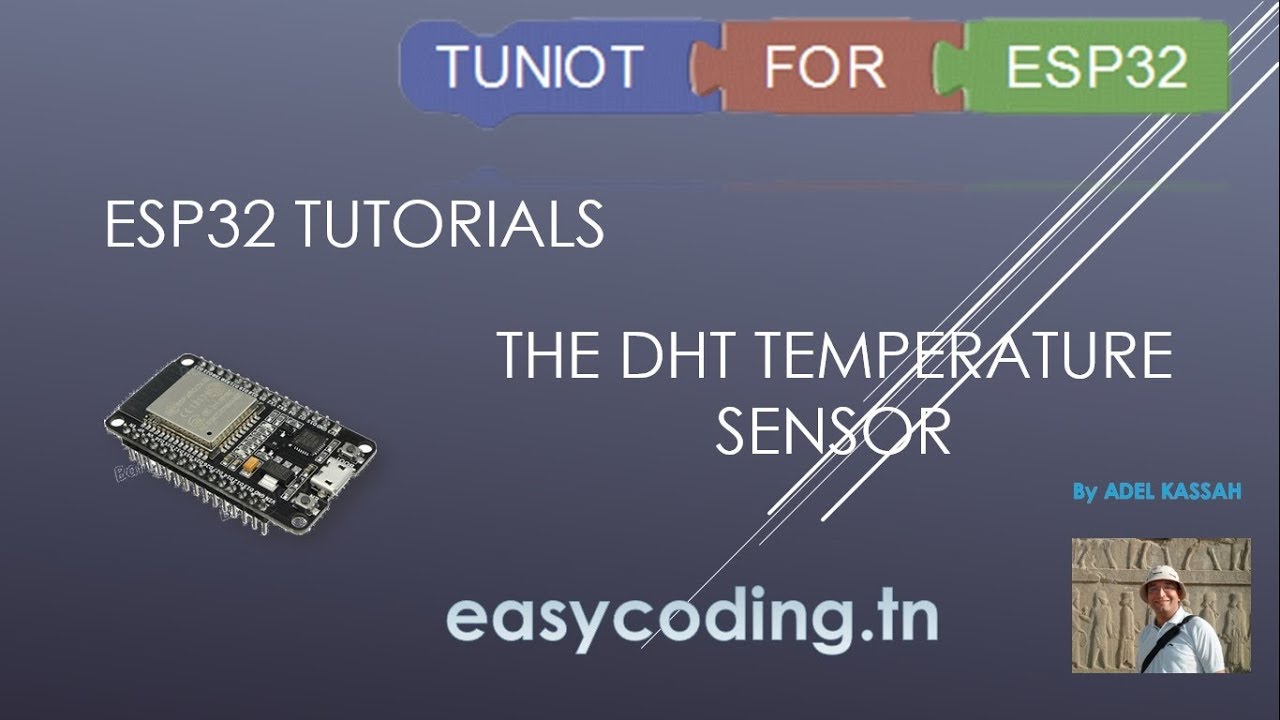
ESP32 tutorial A-04: The DHT temperature and humidity sensor
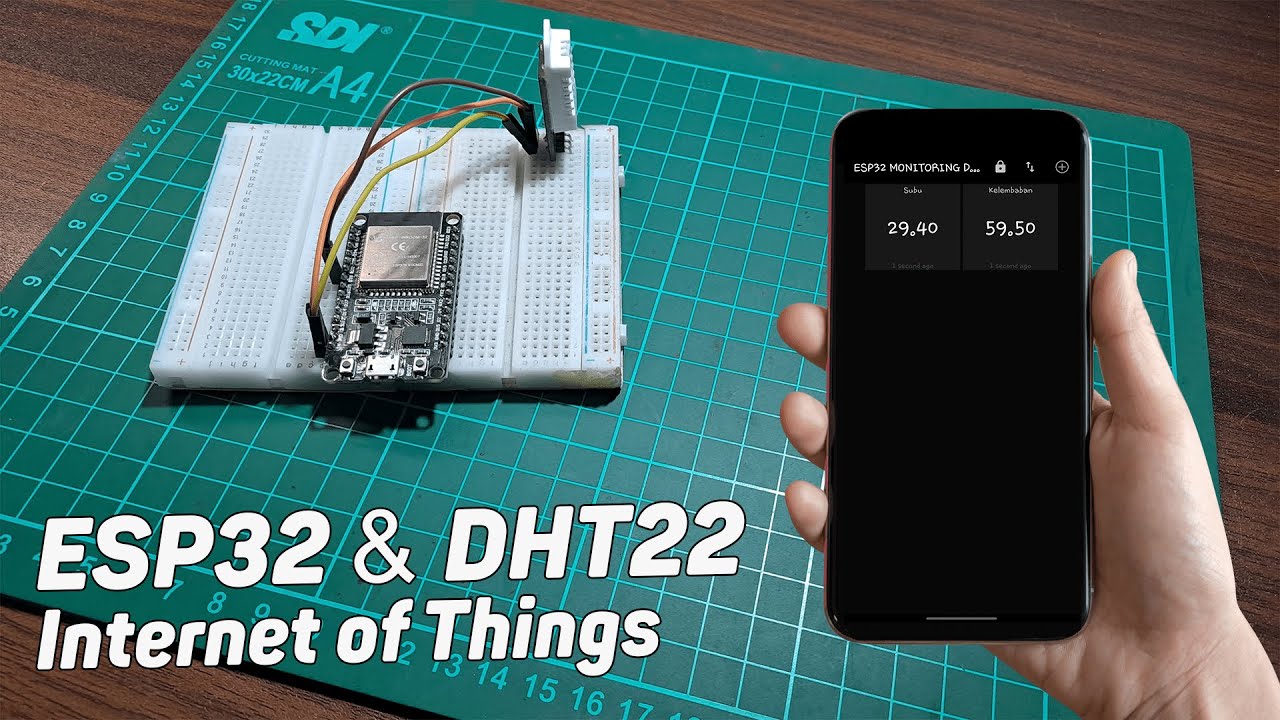
Monitoring Suhu Dan Kelembaban Menggunakan ESP32 + DHT22 Dengan Protokol MQTT
penjelasan keterhubungan antara ESP32 dengan Blnyk web

Monitoring Data Suhu dan Kelembapan Sensor DHT11 Menggunakan ESP32 dan BLYNK IOT 2.0

Belajar Pemrograman Arduino Menampilkan Data Suhu dan Kelembapan di LCD I2C dengan Simulator WOKWI
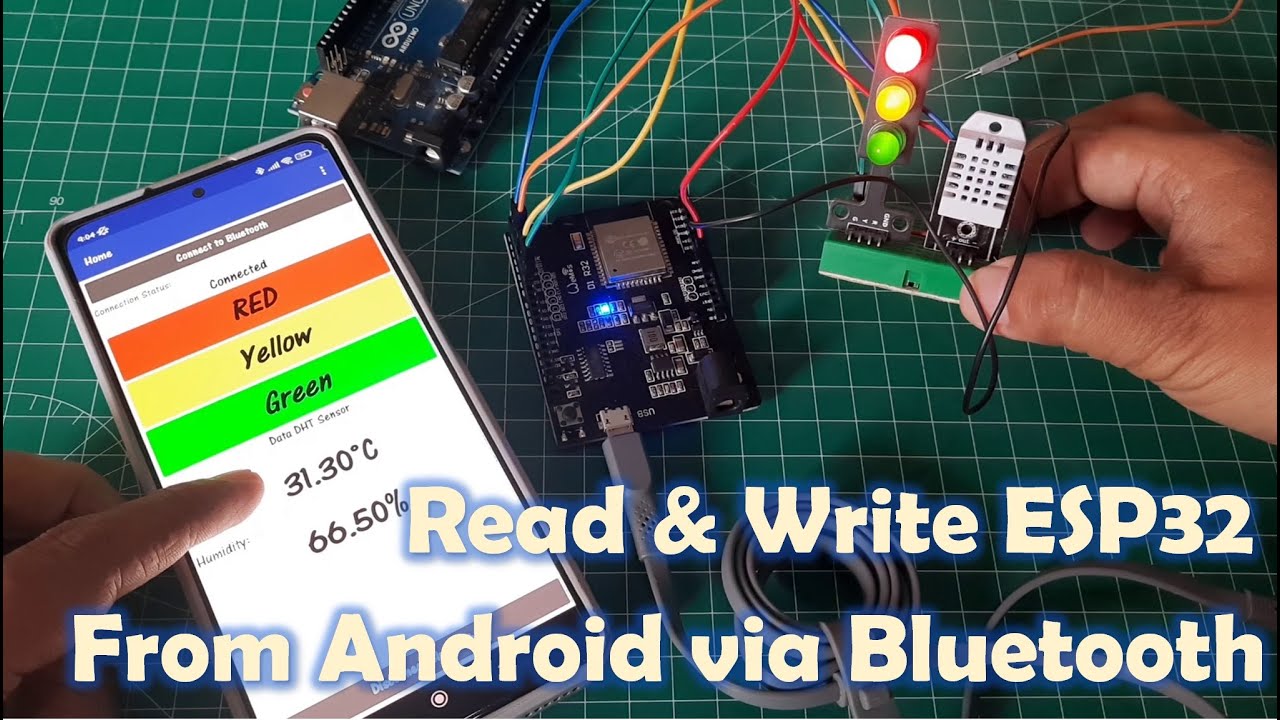
Read & Write ESP32 From Android using Kodular Via Bluetooth Serial
5.0 / 5 (0 votes)