Detail setting L2TP/IPSec VPN di Mikrotik menggunakan GNS3
Summary
TLDRThis tutorial demonstrates how to set up a secure VPN connection using L2TP with IPSec on MikroTik routers. The video covers both server and client configurations, including enabling the L2TP server on the MikroTik router, configuring VPN credentials, and ensuring proper IPSec settings. It also addresses common troubleshooting steps such as adding routing paths to ensure communication between the client and server. The guide further explains how to configure a Windows 10 client and test the VPN connection, ensuring a seamless and secure connection for remote access.
Takeaways
- 😀 The script provides a detailed guide for setting up L2TP VPN with IPSec on MikroTik routers, starting with server-side configuration.
- 😀 MikroTik routers support multiple VPN types, including PPTP, SSTP, and L2TP with IPSec encryption for secure connections.
- 😀 The server-side configuration involves enabling the L2TP server, setting IPSec as required, and configuring the pre-shared key (PSK).
- 😀 To enable IPSec, the script instructs users to check the 'Use IPSec' option and enter a secret key to ensure encryption between client and server.
- 😀 The client-side configuration is done by creating an L2TP client interface, specifying the server's public IP address and entering matching credentials (username and password).
- 😀 It's important to add static routes on both the client and server sides to ensure proper routing between networks over the VPN tunnel.
- 😀 The VPN connection status should be monitored in the PPP section of MikroTik's WinBox interface, where 'Dynamic running' will appear when active.
- 😀 Routing issues can be resolved by adding manual routes on the client and server MikroTik routers to ensure communication through the VPN tunnel.
- 😀 After successful client-server configuration, the script shows testing steps like pinging the server to verify the VPN connection is active.
- 😀 The Windows 10 external client configuration involves setting up the VPN with the L2TP/IPSec type, entering the correct pre-shared key and credentials.
- 😀 Once connected, users can verify the VPN’s routing and connectivity with tools like tracert to ensure data is flowing through the VPN tunnel and not the internet.
Q & A
What is the purpose of this video?
-The video explains how to set up an L2TP VPN with IPSec on MikroTik routers, including the server and client configuration, testing, and troubleshooting steps.
What is L2TP VPN, and why is it being used in this setup?
-L2TP (Layer 2 Tunneling Protocol) is a VPN protocol used to create a secure tunnel between a client and server. It is being used here with IPSec for added security to protect the data transmission.
What is the first step in setting up the MikroTik server for L2TP?
-The first step is to open Winbox, connect to the MikroTik server, and ensure that the basic settings, such as internet access and DHCP client configuration, are in place.
How do you enable the L2TP server on MikroTik?
-To enable the L2TP server, go to the 'PPP' section in Winbox, click on 'L2TP Server,' and then check the 'Enable' box. You also need to configure IPSec settings to 'Required.'
What must be configured on the MikroTik client for L2TP VPN?
-On the MikroTik client, you must configure a new L2TP client interface under 'PPP,' input the public IP address of the server, and enter the correct username, password, and IPSec settings.
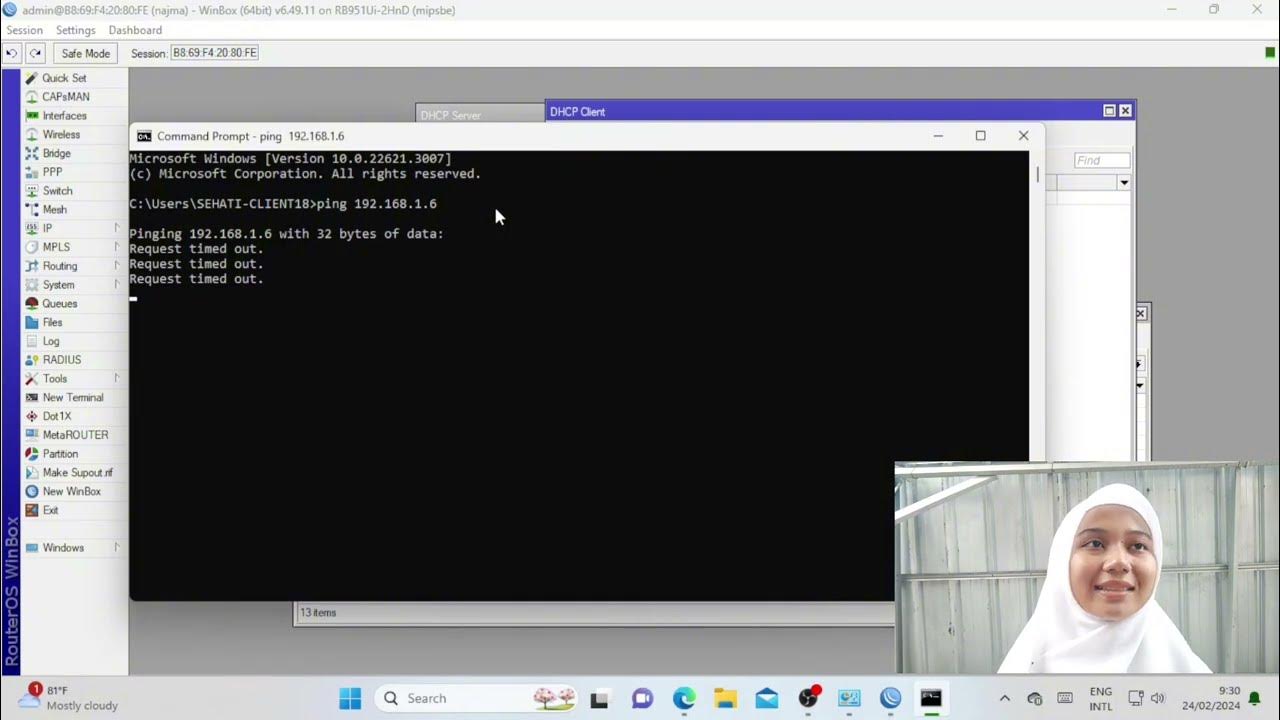
What should be done if a ping test between the client and server times out?
-If the ping test times out, you need to verify and add the necessary routing settings on both the client and server sides to ensure proper packet forwarding.
What is the significance of IPSec in this setup?
-IPSec provides encryption and authentication, enhancing the security of the VPN tunnel. It is configured as 'Required' on both the server and client to secure the data traffic.
How do you check if the L2TP VPN connection is working properly?
-You can check the connection status in the 'PPP' section on both the server and client. The status should show 'Dynamic Running' for the connection to be active.
What are the routing steps to ensure proper communication between the client and server?
-You need to manually add routes on both the client and server. On the client, you add a route to the server's network, and similarly, the server must have a route to the client's network for bidirectional communication.
How can you confirm that the VPN traffic is going through the tunnel and not the public internet?
-You can perform a traceroute from the client to the server to ensure that the traffic is routed through the VPN tunnel. The trace should show the VPN gateway as the first hop, not the internet gateway.
Outlines

此内容仅限付费用户访问。 请升级后访问。
立即升级Mindmap

此内容仅限付费用户访问。 请升级后访问。
立即升级Keywords

此内容仅限付费用户访问。 请升级后访问。
立即升级Highlights

此内容仅限付费用户访问。 请升级后访问。
立即升级Transcripts

此内容仅限付费用户访问。 请升级后访问。
立即升级浏览更多相关视频

Membangun Jaringan Tunneling VPN dengan L2TP dan IPSec pada Mikrotik dengan GNS3

Implementasi Static Routing pada Jaringan VPN

Anypoint VPC DLB and VPN - Part VII | MuleSoft | VPN Architecture | IPSec Tunneling and VPC Peering

Troubleshooting Keamanan Jaringan Pada Jaringan WAN ( UJIKOM TKJ PKET 4 )

Belajar Mikrotik untuk pemula - Part 11/26

Configurações Básicas - Mikrotik RouterOS - P1
5.0 / 5 (0 votes)
