Cara Konfigurasi DNS Server Di Cisco Packet Tracer
Summary
TLDRIn this tutorial, the process of configuring a DNS server in Cisco Packet Tracer is explained step by step. The video walks viewers through setting up a server, configuring IP settings, and connecting it to PCs and switches. The tutorial also covers enabling DNS service, creating a domain, and testing DNS functionality by accessing the domain via a browser. Additionally, the tutorial shows how to modify the web page hosted on the server for customization. This video provides a comprehensive guide for beginners to configure DNS servers and troubleshoot them in a network environment.
Takeaways
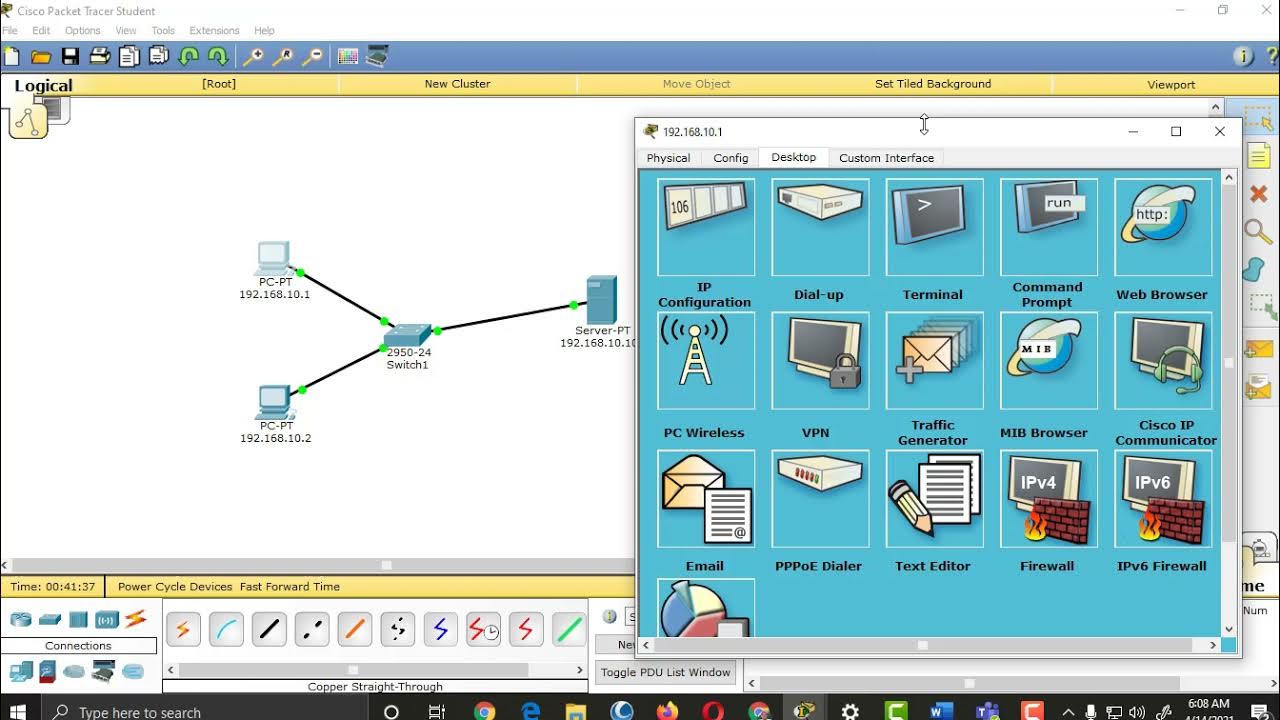
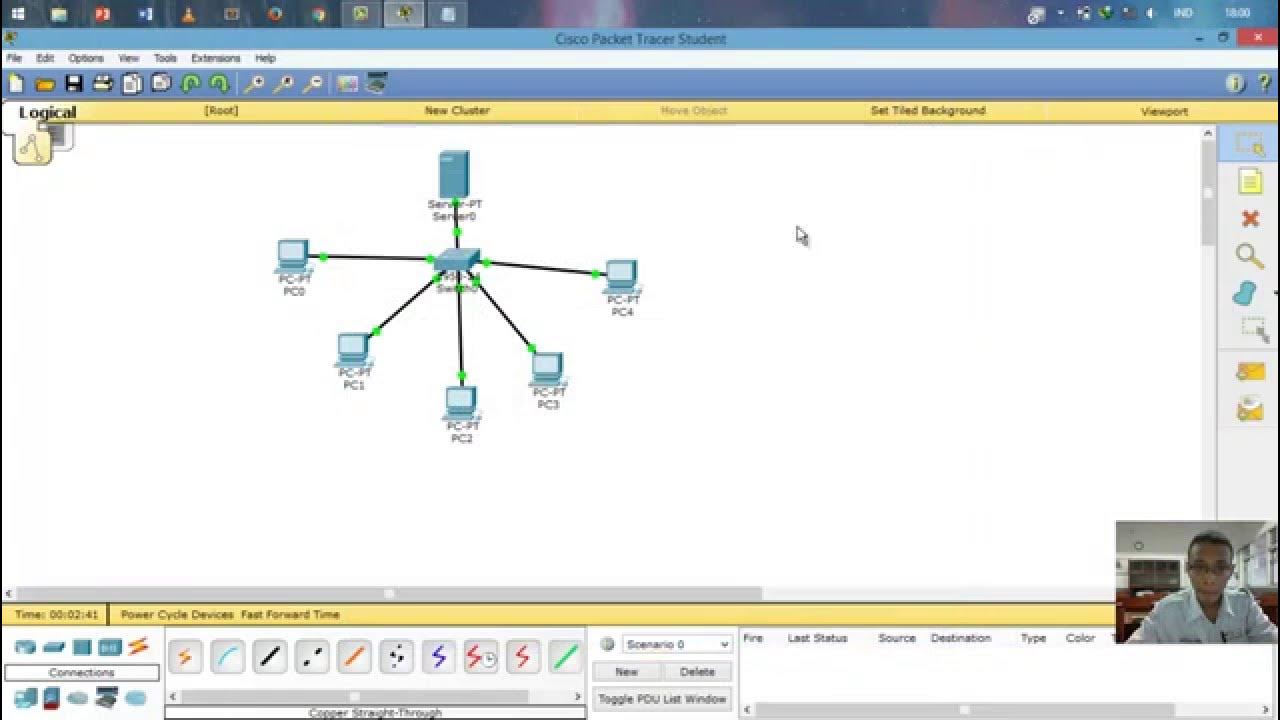
- 😀 Add a server, PC, and switch in Cisco Packet Tracer to begin the setup process.
- 😀 Use appropriate cables to connect the devices and ensure the connections are green (indicating successful connection).
- 😀 Configure the server's IP address (e.g., 192.168.1.1) with the subnet mask 255.255.255.0 (slash 24).
- 😀 Leave the default gateway and DNS fields empty on the server for now during the IP configuration.
- 😀 Enable the DNS service on the server and set the domain name (e.g., sobattekno.com).
- 😀 For the DNS A record, link the server’s IP address (e.g., 192.168.1.1) to the domain.
- 😀 On each PC, configure the IP address and DNS settings to match the server’s (e.g., 192.168.1.2 for PC1).
- 😀 Set the default gateway to the server’s IP address (e.g., 192.168.1.1) on all PCs for proper routing.
- 😀 Test connectivity by sending PDUs or using ping commands between devices to ensure proper configuration.
- 😀 Use a web browser on the PCs to access the DNS and verify the domain (e.g., sobattekno.com) loads correctly.
- 😀 Modify the web page's appearance by editing the `index.html` file on the server and refreshing the browser to view changes.
Q & A
What is the first step in configuring a DNS server in Cisco Packet Tracer?
-The first step is to add a server, a PC, and a switch to the workspace in Cisco Packet Tracer.
What IP address is assigned to the server in this tutorial?
-The server is assigned the IP address 192.168.1.1, with a subnet mask of 255.255.255.0 (slash 24).
What is the purpose of the 'Default Gateway' and 'DNS' fields when configuring the server?
-In this tutorial, the 'Default Gateway' and 'DNS' fields are left empty or set to default as the focus is on DNS server configuration and internal network communication.
How is the DNS service configured on the server?
-To configure the DNS service, you need to go to the 'Services' tab on the server, enable DNS, and then configure the domain name (e.g., sobattekno.com) along with an A record pointing to the server's IP address (192.168.1.1).
What is the domain name set up for the DNS in this tutorial?
-The domain name set up for the DNS server in the tutorial is 'sobattekno.com'.
How is the DNS server tested after configuration?
-The DNS server is tested by sending PDU packets between the devices (server, PC) to ensure communication is successful, and by accessing the DNS server through a web browser using the domain name.
What happens when the DNS server is accessed through the web browser?
-When the DNS server is accessed through the web browser and the domain name 'sobattekno.com' is entered, it resolves to the server's IP address, and the website hosted on the server can be accessed.
What changes are made to the web page on the server?
-To change the web page, the 'index.html' file is edited on the server. The tutorial shows how to modify the content of this file, such as adding text, and then saving the changes.
How can you verify that the changes to the web page have been successfully applied?
-After editing the 'index.html' file on the server, the changes can be verified by refreshing the web browser, where the updated page should be displayed with the new content.
What additional information is provided for users who wish to further customize the web page?
-The tutorial encourages users to explore further by editing the 'index.html' file themselves to modify the content and appearance of the webpage, offering flexibility in customization.
Outlines

此内容仅限付费用户访问。 请升级后访问。
立即升级Mindmap

此内容仅限付费用户访问。 请升级后访问。
立即升级Keywords

此内容仅限付费用户访问。 请升级后访问。
立即升级Highlights

此内容仅限付费用户访问。 请升级后访问。
立即升级Transcripts

此内容仅限付费用户访问。 请升级后访问。
立即升级浏览更多相关视频

Setting up HTTP, DNS, FTP and DHCP Server Services in Packet Tracer

How to Configure DHCP in CISCO router in Packet Tracer | DHCP Server in CCNA | DHCP Configuration

Administrasi Sistem Jaringan

Cara Setting IP Dinamis menggunakan Cisco Packet Tracer #SMKTELKOMPWT

Konfigurasi Mudah DHCP SERVER di Cisco Packet Tracert dengan 1 Server 1 Switch 3 Client

Cara Membuat Jaringan LAN Sederhana Cisco Packet Tracer
5.0 / 5 (0 votes)
