Variable power supply | DIY | Homemade
Summary
TLDRIn this tutorial, viewers learn to design a variable power supply using LM317, BD139, and TP3055 transistors, capable of delivering adjustable voltage from 1.2 to 21 volts and current up to 5 amperes. The video outlines the assembly process step-by-step, including the necessary components, wiring, and PCB setup. Key features such as LED indicators and multi-turn potentiometers for precise calibration are highlighted. The final setup demonstrates the circuit's functionality with various loads, showcasing its versatility and efficiency. This engaging guide encourages viewers to subscribe for more informative videos.
Takeaways
- 🔌 This video demonstrates how to design a variable power supply with adjustable voltage and current using LM317 IC, BD139, and TP3055 transistors.
- ⚡ The circuit can provide a variable voltage range of 1.2 to 21 volts and a variable current range of 0 to 5 amperes.
- 🔧 By adding more TP3055 power transistors, you can increase the output current capacity of the circuit.
- 📐 A schematic diagram of the variable power supply is provided for users to follow during assembly.
- 🛠️ Begin the circuit assembly by attaching LM317, BD139, and TP3055 to a heat sink for proper cooling.
- 🧩 Components should be mounted on a PCB, with excess leads cut off after soldering.
- 🔗 A two-pin block connector is added for the input connection to the PCB.
- 💡 A 10k ohm resistor and an LED are included for power indication near the input side.
- 🔄 Diodes and resistors are integrated as specified in the schematic to ensure proper functionality.
- 🔍 Potentiometers are utilized for precise tuning of voltage and current, making adjustments easier during testing.
Q & A
What components are used to design the variable power supply?
-The variable power supply is designed using the LM317 IC, BD139, and TP3055 transistors.
What is the voltage and current range of the power supply?
-The power supply can provide a variable voltage of 1.2 to 21 volts and a variable current of 0 to 5 amperes.
How can the output current of the circuit be increased?
-By increasing the number of TP3055 power transistors used in the circuit, you can increase the output current.
What is the purpose of the heat sink in the circuit design?
-The heat sink is used to dissipate heat generated by the components, ensuring they operate efficiently and do not overheat.
What additional component is used for power indication?
-A 10 kOhm resistor is used along with an LED for power indication near the input side of the circuit.
Which diode is used in the circuit, and where is it connected?
-A 1N4007 diode is connected between the output of the LM317 and the base of the BD139.
Why are multi-turn potentiometers used in this design?
-Multi-turn potentiometers are used because they provide more precise calibration for tuning the voltage and current.
What should be considered when designing the PCB traces?
-The PCB traces need to be thick enough to allow the passage of high current safely.
What is demonstrated as a load in the testing process?
-During testing, a light bulb and a 12 volts DC fan are used as loads to demonstrate the adjustable voltage and current.
What is the significance of subscribing to the YouTube channel mentioned in the video?
-Subscribing to the YouTube channel allows viewers to receive updates on more interesting videos related to electronics and DIY projects.
Outlines

此内容仅限付费用户访问。 请升级后访问。
立即升级Mindmap

此内容仅限付费用户访问。 请升级后访问。
立即升级Keywords

此内容仅限付费用户访问。 请升级后访问。
立即升级Highlights

此内容仅限付费用户访问。 请升级后访问。
立即升级Transcripts

此内容仅限付费用户访问。 请升级后访问。
立即升级浏览更多相关视频

Constant Current Regulator using LM317 | CCR | LM317 as a current regulator

cara membaca skema elektronika

Video Pembelajaran Mengoperasikan Sistem Elektronik

AC to DC Power Supply Design #E04 | Vaibhav Sugandhi
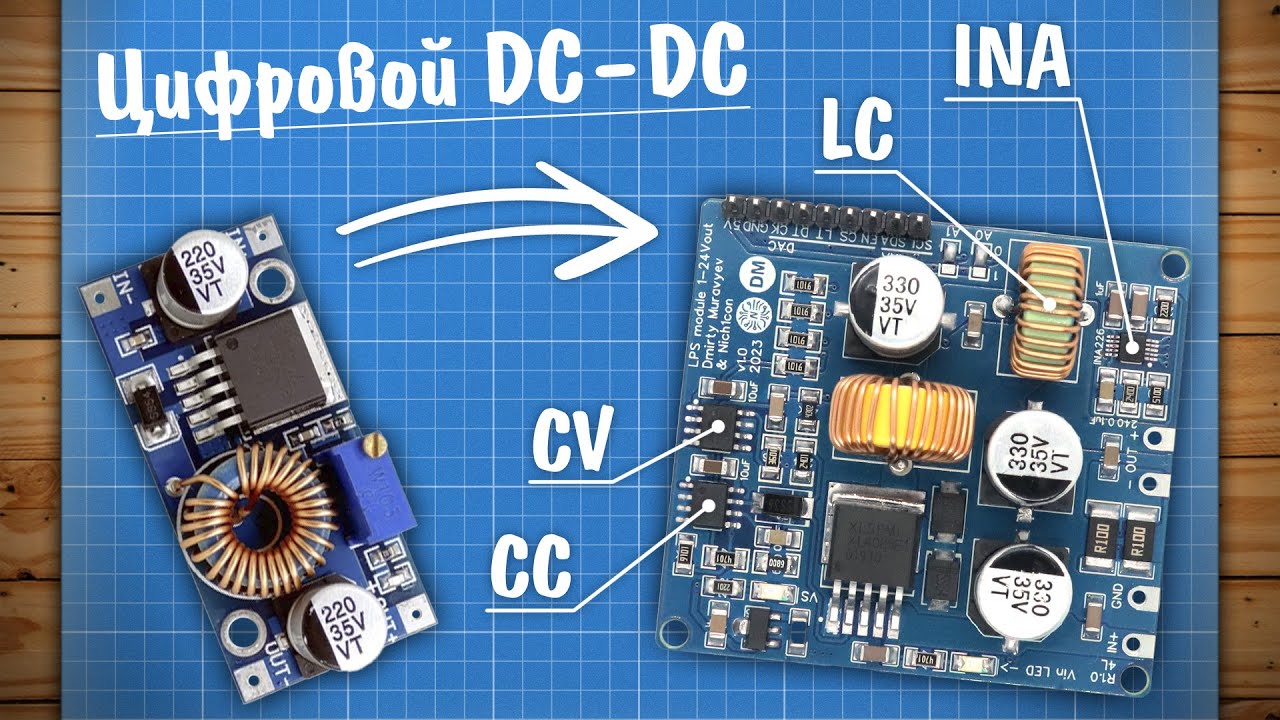
Проектируем цифровой DC-DC с контролем тока и напряжения!

Cara Manfaatkan Power Supply Computer | PSU komputer Variable
5.0 / 5 (0 votes)
