Blender Tutorial: How to Make an Object Follow a Path/Curve
Summary
TLDRThis Blender tutorial offers a comprehensive guide to creating objects that follow a path's shape, using an array and curve modifier. It covers moving the object's origin, adjusting the curve's properties for smoothness and length, and applying modifiers for thickness. The tutorial also demonstrates attaching smaller objects to the main geometry using a simple geometry node setup, including distributing points on faces and adjusting particle settings. Finally, it shows how to edit the curve's shape for a more interesting path and dynamically adjust the object's orientation along it.
Takeaways
- 🎨 Start by creating a main object in Blender and adjust its size and origin to fit the project's needs.
- 🛠️ Utilize the array modifier to extend the object and adjust its orientation with the factor settings.
- 🔧 Ensure a good number of loop cuts for the object to accurately follow a curve's shape.
- 🌐 Enable high-quality normals in render properties to resolve wireframe display issues on some AMD graphics cards.
- 📐 Add a curve to the scene, adjusting its properties such as steps, type, and turns for the desired spiral effect.
- 🔗 Align the object's origin with the curve's vertex to ensure proper deformation along the path.
- 🛡️ Apply modifiers like solidify and bevel to give the object thickness and smooth edges.
- 🔄 Use the curve modifier to make the object conform to the curve's shape, adjusting the deformation axis as necessary.
- 🔄 Increase the object's resolution for a smoother path following effect.
- 🎲 Attach additional objects to the main geometry using a geometry node setup, including distributing points on faces and using vertex groups for targeted attachment.
Q & A
What is the first step in creating an object that takes the shape of a path in Blender?
-The first step is to create the main object in the scene by selecting everything and then deleting it, switching to the top orthographic view, adding a plane, and reducing its size to 0.5.
How do you move the plane's origin to an edge in Blender?
-To move the plane's origin to an edge, select the edge, then use Shift+S to move the 3D cursor to the selected location, and finally, in object mode, set the origin to the 3D cursor.
What is the purpose of adding an array modifier to the plane in Blender?
-An array modifier is added to the plane to move the array to the opposite side by changing the Factor on X to negative one, which also helps in making the object longer by increasing the count.
Why is it necessary to have a good number of loop cuts on the object that will take the shape of a curve?
-A good number of loop cuts are necessary to ensure the object can accurately follow and take the shape of a curve, providing a smooth and detailed transformation along the path.
How do you enable high-quality normals in Blender for AMD graphics cards?
-To enable high-quality normals for AMD graphics cards in Blender, go to render properties, expand the performance tab, and then enable the high-quality normals option.
What add-on should you enable in Blender to access additional curve options?
-You should enable the 'Curve Extra Objects' add-on in Blender to access a variety of additional curve options.
How do you adjust the curve to have smooth edges instead of sharp ones in Blender?
-To adjust a curve to have smooth edges, change the output curve type to NURBS in the curve settings.
What modifier is used to give thickness to the plane in Blender?
-A solidify modifier is used to give thickness to the plane in Blender.
How do you ensure that the object follows the path correctly with the curve modifier?
-To ensure the object follows the path correctly, use the curve modifier and select the curve object created earlier. Then, adjust the deformation axis and the Y location to make the object conform to the curve's shape.
What is the process for attaching small objects to the main object along the path in Blender?
-To attach small objects to the main object, create a new collection for particles, add primitive shapes, and use a geometry node setup with 'Distribute Points on Faces' and 'Instance on Points' nodes to attach them to the desired geometry.
How can you control the number of particles attached to the main object in Blender?
-You can control the number of particles by using a Poisson Disk distribution method in the 'Instance on Points' node, adjusting the distance factor to reduce intersections.
Outlines

此内容仅限付费用户访问。 请升级后访问。
立即升级Mindmap

此内容仅限付费用户访问。 请升级后访问。
立即升级Keywords

此内容仅限付费用户访问。 请升级后访问。
立即升级Highlights

此内容仅限付费用户访问。 请升级后访问。
立即升级Transcripts

此内容仅限付费用户访问。 请升级后访问。
立即升级浏览更多相关视频

Array Modifier - Blender 3.0 Tutorial

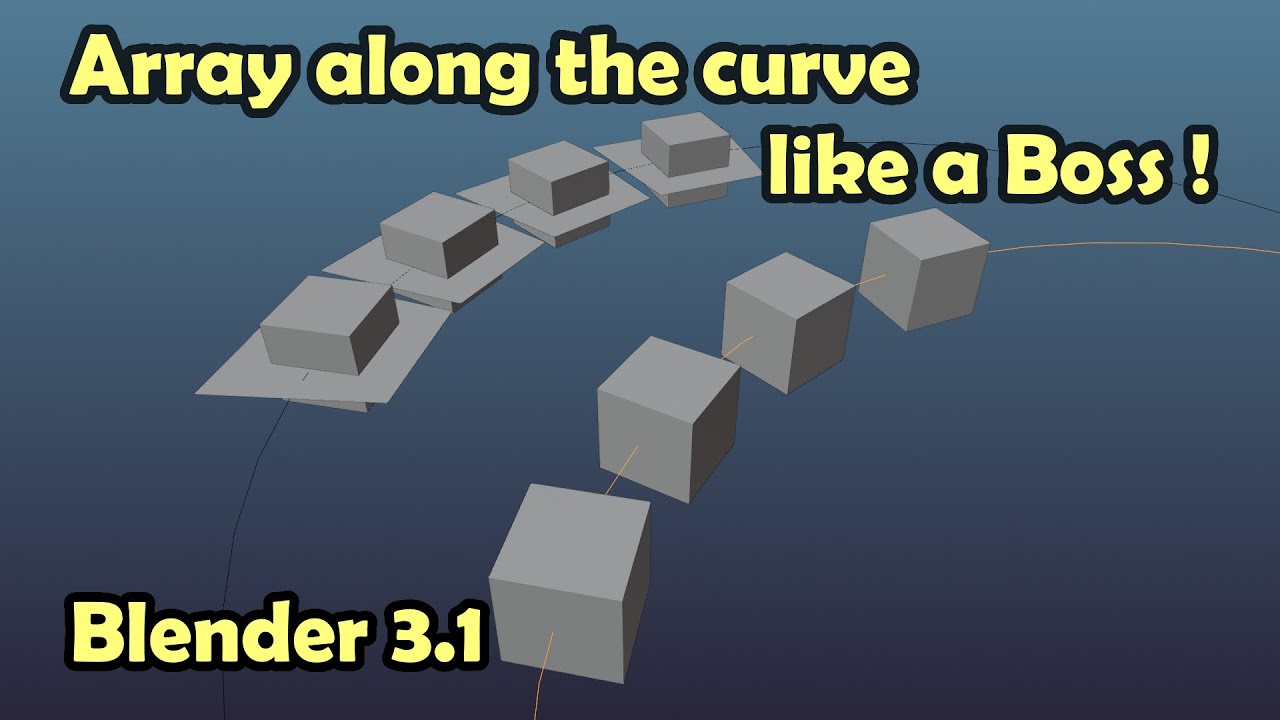
Array objects along the curve without distortion Like a Boss in Blender 3.1

Create butterfly animation with Blender

Dasar dasar Mengatur Objek 3 Dimensi di Aplikasi Blender

Blender 3D Modeling software: Glass Perfume Bottle Tutorial

Realistic destruction effects in blender
5.0 / 5 (0 votes)
