MS Word | Mail Merge
Summary
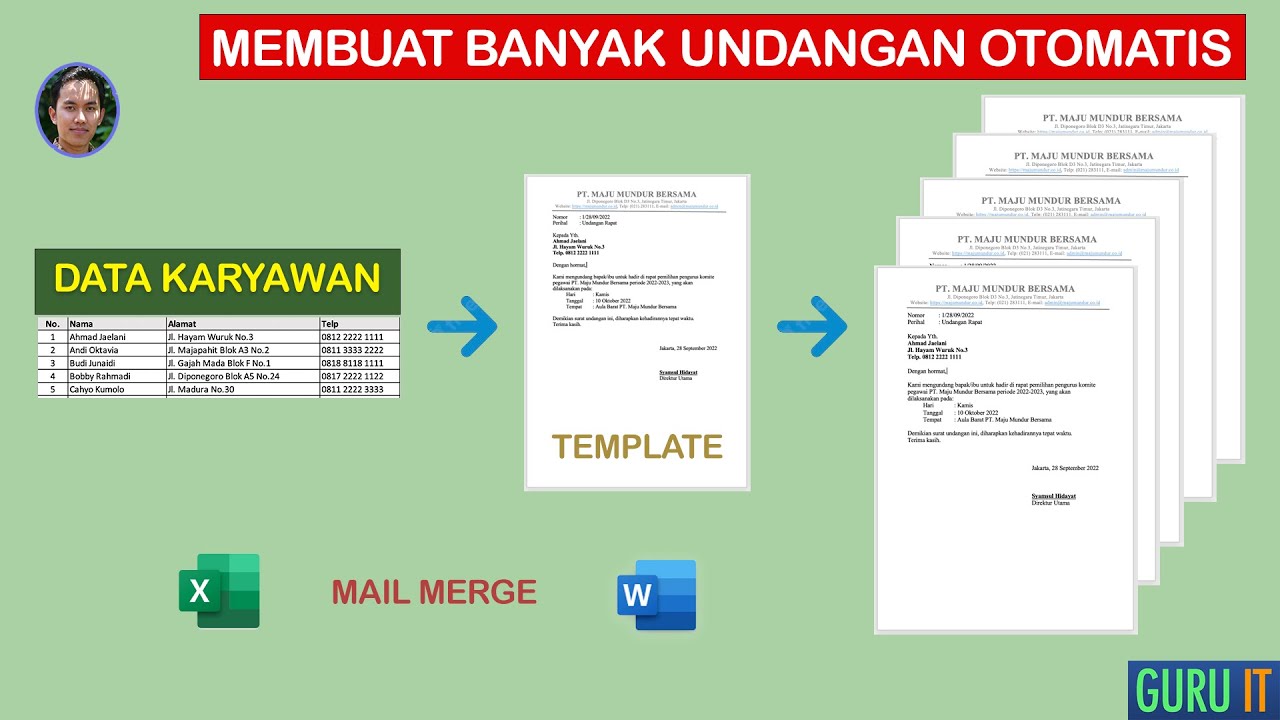
TLDRThis video tutorial explains the process of using Mail Merge in Microsoft Word. It guides users through merging data from sources like spreadsheets or databases into Word documents to personalize letters for multiple recipients. The video covers key steps such as starting a mail merge, selecting recipients, inserting data fields, previewing the results, and completing the merge. Practical examples are provided, including how to edit recipient lists, filter data, and customize fields. The tutorial aims to save time by automating document creation rather than manually editing each letter.
Takeaways
- ✉️ **Mail Merge Introduction:** Mail merge is a process used to customize a single document, like a letter, with individual details for multiple recipients, such as names and addresses.
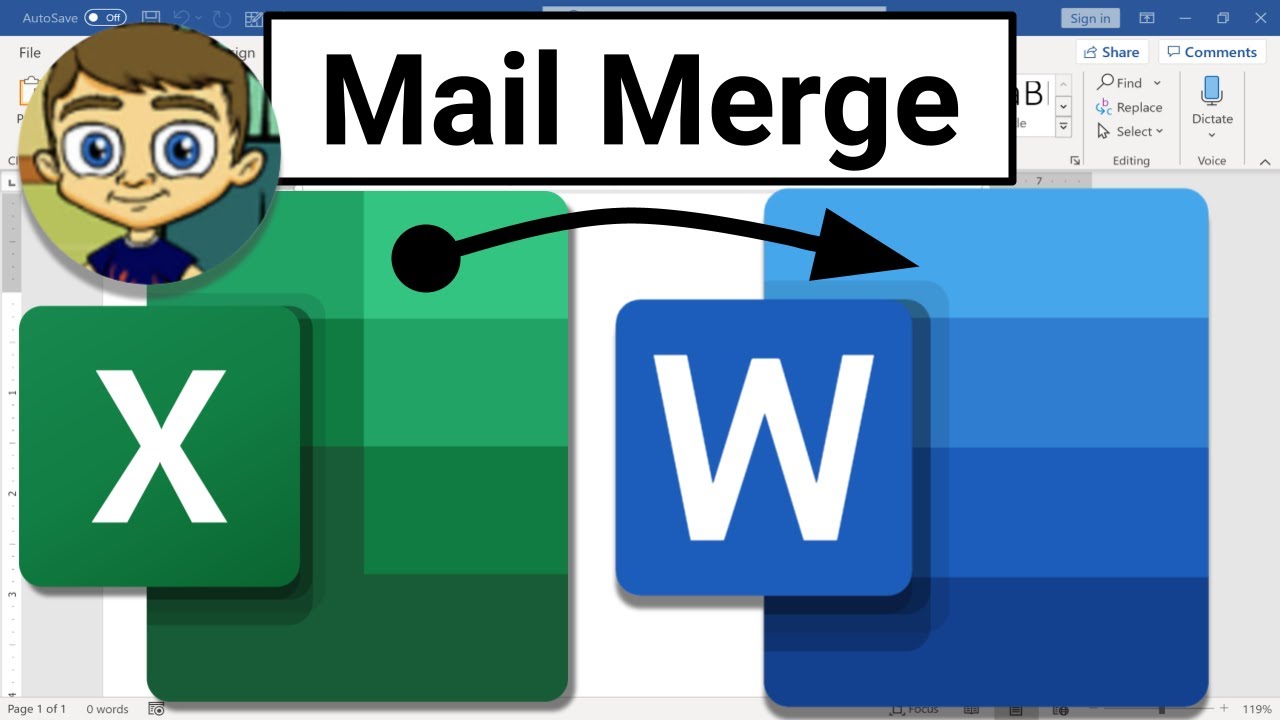
- 📋 **Data Source Integration:** The document can be merged with data stored in a spreadsheet, database, or text file to automatically generate personalized documents.
- 🔄 **Starting the Mail Merge:** Begin the process by telling the word processor that the document will be merged with another data source.
- 👥 **Selecting Recipients:** Choose the data source where recipient information is stored, such as a spreadsheet or database, and filter the recipient list if necessary.
- 📄 **Inserting Fields:** Insert merge fields into the document, which will be replaced with actual data from the source, like recipient names, addresses, or other details.
- 👁️ **Previewing Results:** Preview the document to ensure that all fields are correctly merged and that the format is as desired.
- ✅ **Final Merge:** After confirming the preview, complete the mail merge to generate a new document containing all the customized letters or labels.
- 🛠️ **Customization Options:** Options include editing the recipient list, filtering data, and formatting fields to ensure the document meets specific requirements.
- 📇 **Creating Multiple Records:** If creating multiple records on a single page, use the 'Next Record' rule to advance to the next set of recipient details.
- 💾 **Saving and Editing:** Save the final merged document separately from the original, and make any additional edits if needed before printing or sending.
Q & A
What is mail merge in Microsoft Word?
-Mail merge is a feature in Microsoft Word that allows users to create personalized documents, such as letters or labels, by merging data from a separate source, like a spreadsheet or database, into a Word document.
Why would someone use mail merge instead of manually creating individual letters?
-Mail merge saves time and reduces errors by automating the process of creating personalized letters or documents. Instead of manually copying and pasting data for each recipient, mail merge automatically fills in the details for each person, making the process faster and more efficient.
What are the steps involved in setting up a mail merge?
-The steps to set up a mail merge include: starting the mail merge, selecting the recipients (where the data is coming from), inserting the necessary fields into the document, previewing the results to ensure accuracy, and finally, finishing the merge to create the personalized documents.
How do you select the data source for a mail merge in Word?
-To select the data source, go to the 'Mailings' tab, click 'Select Recipients,' and choose 'Use an existing list' if you have a spreadsheet or database ready. You can then navigate to the file, select it, and Word will connect to it, allowing you to use its data for the mail merge.
Can you edit the list of recipients before completing a mail merge?
-Yes, you can edit the recipient list by clicking 'Edit Recipient List' in the 'Mailings' tab. This allows you to filter, sort, or deselect recipients so that only certain people receive the document.
What is the purpose of inserting merge fields in a mail merge?
-Merge fields are placeholders in the Word document that correspond to data in your data source. When you insert a merge field, it will be replaced with the actual data from the source during the merge, such as a recipient's name, address, or other personalized information.
How can you preview the results of a mail merge before completing it?
-You can preview the results by clicking 'Preview Results' in the 'Mailings' tab. This shows you how the first document will look with the actual data merged in, allowing you to make any necessary adjustments before completing the merge.
What options are available after you finish a mail merge?
-After finishing a mail merge, you can choose to send the documents via email, print them, or save them as individual files. You can also edit the documents individually if further customization is needed.
How do you handle multiple letters or cards on the same page using mail merge?
-To handle multiple letters or cards on the same page, you need to use the 'Next Record' rule after each set of fields. This tells Word to move to the next record in the data source, ensuring that each section of the page has data for a different recipient.
What are some common issues to watch out for when setting up a mail merge?
-Common issues include ensuring that your data source is properly formatted with headers in the first row, making sure the correct fields are inserted in the Word document, and checking that the preview matches your expectations. It's also important to ensure the merge fields are correctly linked to the data source.
Outlines

This section is available to paid users only. Please upgrade to access this part.
Upgrade NowMindmap

This section is available to paid users only. Please upgrade to access this part.
Upgrade NowKeywords

This section is available to paid users only. Please upgrade to access this part.
Upgrade NowHighlights

This section is available to paid users only. Please upgrade to access this part.
Upgrade NowTranscripts

This section is available to paid users only. Please upgrade to access this part.
Upgrade Now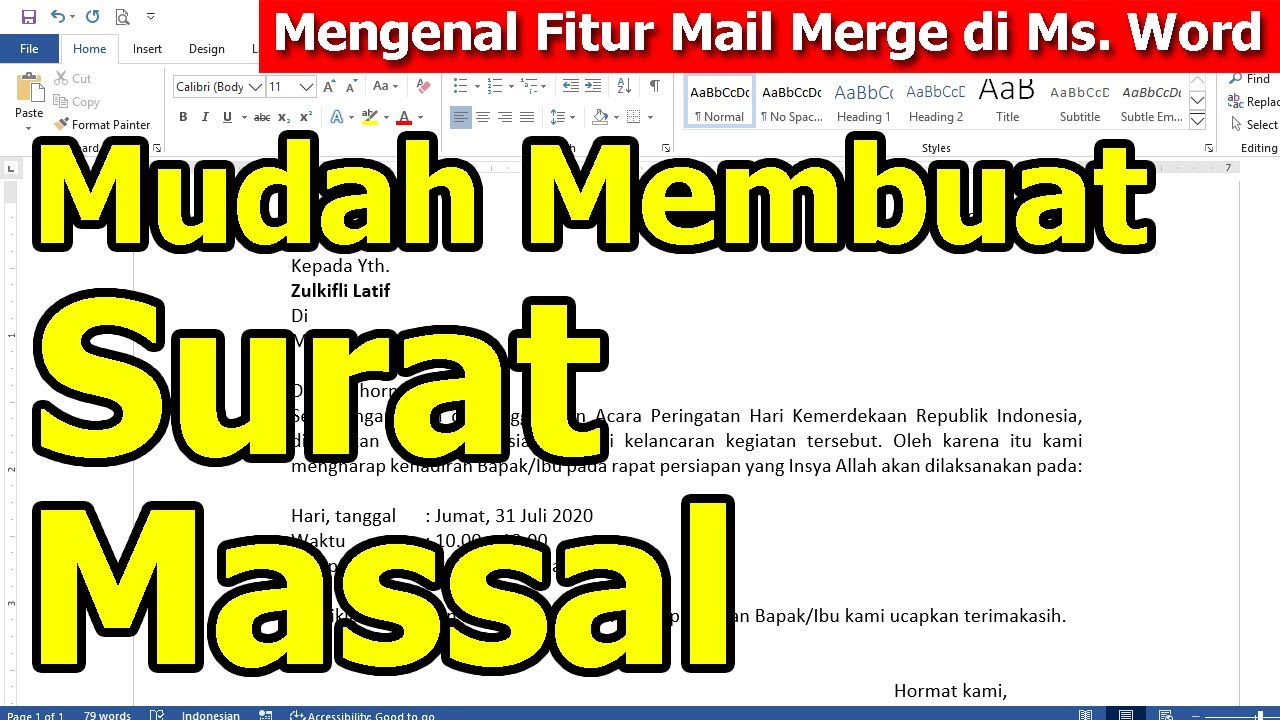

5.0 / 5 (0 votes)