Cara pasang outlet/soket LAN data internet Panasonic cat5e WEJ2488 di dinding menggunakan tang Krone
Summary
TLDRThis instructional video offers a step-by-step guide on how to install a Cat5e data cable in a TV using a Panasonic RJ2488 outlet, commonly known as a Pocket Lamin. The host demonstrates peeling the cable, organizing the wires according to the B model (Strike), inserting them into the green pocket, and crimping them with a tool. The video also covers how to correct any installation errors and how to mount the outlet on the wall, concluding with a successful connection test. The host encourages viewers to like, subscribe, and leave comments for further questions or suggestions.
Takeaways
- 📺 The video is a tutorial on how to install a data internet cable using a TV CAT5e outlet.
- 🏠 The outlet is used for distributing embedded internet cables in walls, specifically the Panasonic wej2488 model.
- 🛠️ The video recommends using a crimping tool to strip about 3 cm of the outer sheath of the LAN cable.
- 🔌 It explains that there are 8 slots in the green pocketland for placing the LAN cable according to color codes A and B.
- 🔠 The installation follows the B model, which is the most common, with a specific color sequence for the wires.
- 🔄 The video demonstrates how to separate the cable into two parts and insert them into the slots in the correct order.
- 🔧 It mentions using a punch-down tool or a small flathead screwdriver to press the wires into place.
- ✂️ If a punch-down tool is not available, a pair of scissors can be used to cut the excess cable.
- 🔄 The video shows how to correct any installation errors by opening the connector with pliers and reinserting the cable.
- 🛑 The tutorial includes a test to ensure the cable is properly connected using a cable tester.
- 🔨 The final steps involve mounting the outlet on a wall bracket and closing the casing to complete the installation.
Q & A
What is the main purpose of the video tutorial?
-The main purpose of the video tutorial is to demonstrate how to install an internet data cable (CAT5e) into a Panasonic outlet or socket.
What tool is suggested for stripping the outer casing of the LAN cable?
-The video suggests using a crimping tool to strip the outer casing of the LAN cable, though a cutter can also be used.
How many slots are available for the LAN cable in the Panasonic outlet?
-There are 8 slots available for the LAN cable in the Panasonic outlet.
What color code is followed for the 'Strike' model in the video?
-For the 'Strike' model, the color code followed is: white-orange, orange, white-green, green, white-blue, blue, white-brown, and brown.
What should you do if you do not have a crimping tool for pressing the cables?
-If you do not have a crimping tool, you can use a small flat-head screwdriver to press the cables into place.
How can excess cable be trimmed after installation?
-Excess cable can be trimmed using the cutting function of the crimping tool or with scissors.
What is the function of the 'tank crown' mentioned in the video?
-The 'tank crown' is used to press the cables into the slots, ensuring a secure and proper connection.
What is the process if a cable is installed incorrectly?
-If a cable is installed incorrectly, it can be removed by pressing the retaining clip and pulling the cable out.
How is the functionality of the installation verified?
-The functionality of the installation is verified using a LAN cable tester.
What is the final step after verifying the installation?
-The final step after verifying the installation is to close the outer casing of the outlet.
Outlines

This section is available to paid users only. Please upgrade to access this part.
Upgrade NowMindmap

This section is available to paid users only. Please upgrade to access this part.
Upgrade NowKeywords

This section is available to paid users only. Please upgrade to access this part.
Upgrade NowHighlights

This section is available to paid users only. Please upgrade to access this part.
Upgrade NowTranscripts

This section is available to paid users only. Please upgrade to access this part.
Upgrade NowBrowse More Related Video
Samsung UN55kS8000F back light on of screen problem
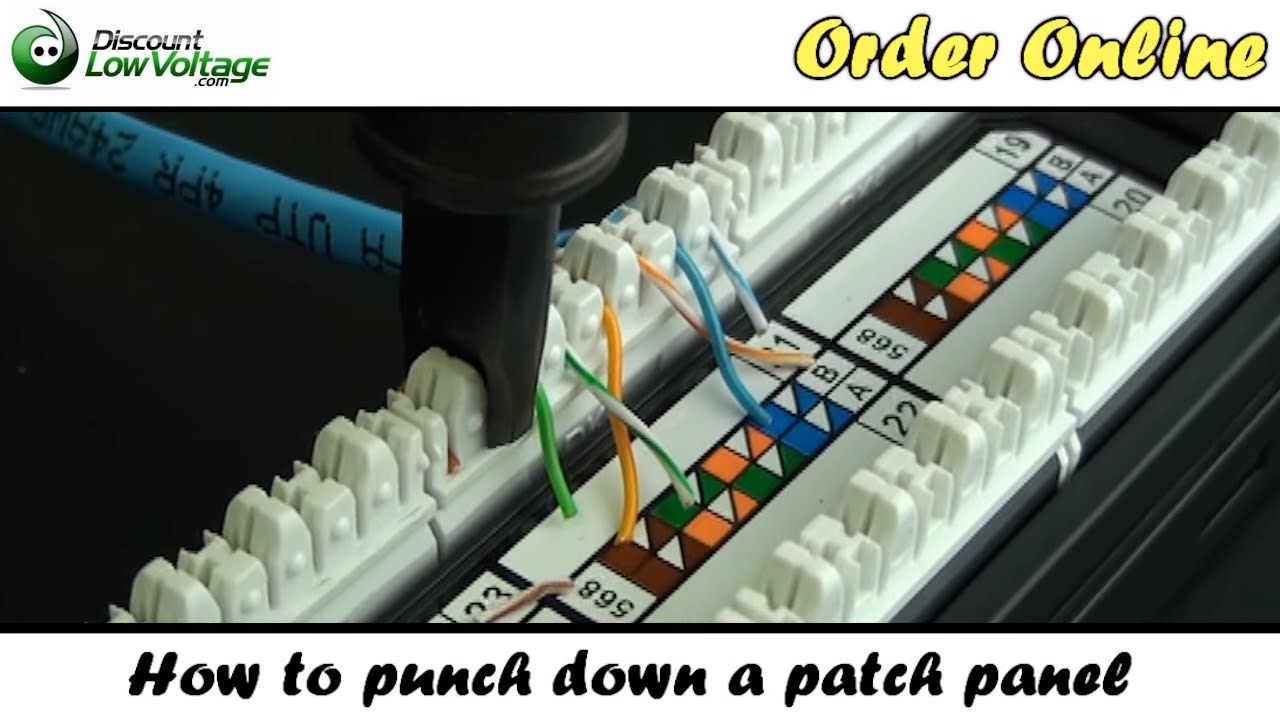
How to Punch Down a Network Ethernet Patch Panel
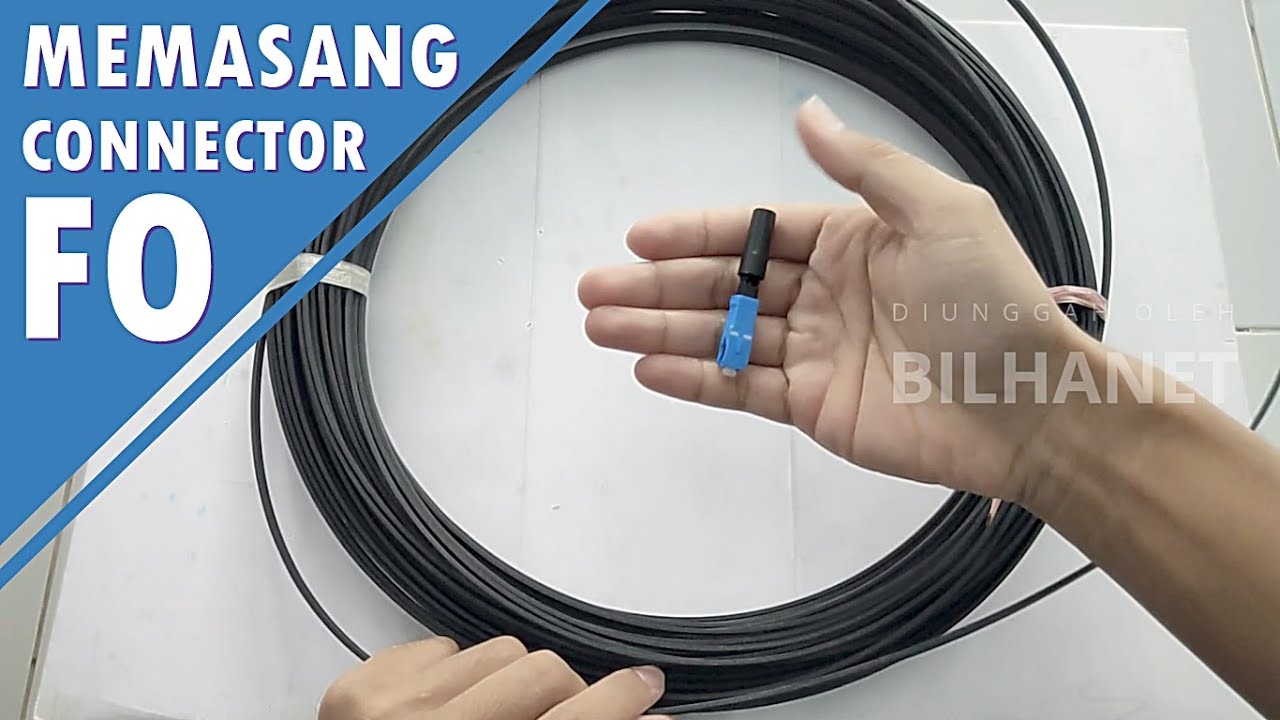
Cara Pasang Fast Connector Fiber Optic Sendiri secara Manual (Tanpa Alat Splicer)

How To Set Up & Install The Facebook Pixel in 2024
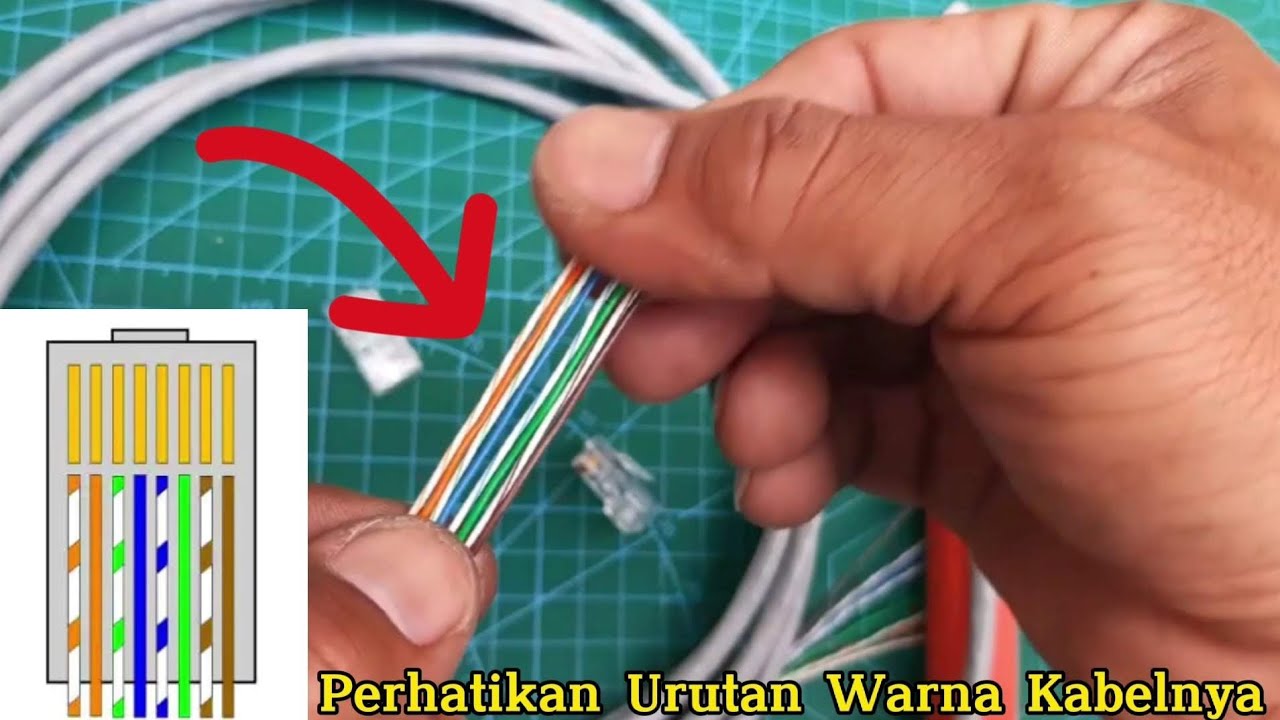
Cara Membuat Kabel Straight (UTP/LAN) #tutorial #straight
PEMULA WAJIB LIHAT BEGINI CARA SPLICING KABEL FIBER OPTIK DENGAN SPLICER TUMTEC FST-16S
5.0 / 5 (0 votes)