ESPHome Basic Setup For All ESP Devices
Summary
TLDRIn this informative video, the host discusses the fundamental configuration applied to all ESP home devices, emphasizing minimalism for efficient troubleshooting. They announce a new content schedule, introducing 'The Quickies' series for concise tutorials. The host guides viewers through setting up a new device in ESP home, explaining substitution variables, globals, board configuration, and various sensors. They also cover Wi-Fi connectivity, over-the-air updates, and integration with Home Assistant, demonstrating a step-by-step process for compiling, debugging, and ensuring device functionality.
Takeaways
- 📅 The creator is changing the channel's schedule to add at least one video per week and moving long-form videos to Saturday for flexibility.
- 🆕 A new series called 'The Quickies' is introduced, featuring short tutorials under 10 minutes, in addition to the regular long-form content.
- 🛠 The video focuses on the basic configuration for ESP home devices, emphasizing the importance of minimalism while maintaining troubleshooting capabilities.
- 🔌 The foundation configuration includes setting up substitution variables (constants) for device-specific information like device name, Wi-Fi name, and IP address.
- 🌐 The video discusses the importance of using manual IP addresses for ESP devices to simplify network troubleshooting and device identification.
- 📝 The creator uses a consistent naming convention for device and sensor IDs in the code, which helps in organizing and identifying components quickly.
- 🔄 The video explains the use of globals and board configurations in ESP home, which are essential for setting up device parameters and microprocessor details.
- 🔒 The Home Assistant API is crucial for ESP devices to communicate with Home Assistant, and the video highlights the necessity of having the correct API key.
- 🌐 The video covers various connectivity options for ESP devices, including Wi-Fi, Bluetooth, Ethernet, LoRa, Zigbee, and RF, but focuses on Wi-Fi configuration.
- 🕒 Time synchronization is discussed, with options like SNTP, GPS, RTC, and Home Assistant for setting the device's time, depending on the user's preference and setup.
- 🔄 The video demonstrates how to compile the ESP home configuration, install the firmware, and add the device to Home Assistant for functionality testing.
Q & A
What is the main topic of the video?
-The main topic of the video is discussing the basic configuration applied to all ESP home devices, focusing on their setup and troubleshooting.
Why is the channel schedule changing?
-The channel schedule is changing because the current Friday afternoon 5:00 PM slot for long-form videos is not suitable for the creator due to lifestyle constraints. The new schedule will move everything to Saturday for more flexibility.
What is the purpose of the new series called 'The Quickies'?
-The Quickies is a new series of tutorials that will be under 10 minutes long. They will cover installations needed for the Saturday videos or address topics and questions from viewers that haven't been discussed in previous videos.
What is the significance of minimalism in the base code for ESP home devices?
-Minimalism in the base code is important for ESP home devices as it helps in conserving limited memory and processing power. However, it should not compromise the ability to troubleshoot and diagnose problems.
What are substitution variables in ESP home?
-Substitution variables in ESP home, also known as constants in coding, are values that are set once and cannot be changed. They are used for defining device names, Wi-Fi names, friendly names, and other constants.
Why is the naming convention important in ESP home devices?
-The naming convention is important for consistency and ease of identification. It helps in organizing and managing devices, especially when searching for specific devices in developer tools.
What does the board configuration in ESP home define?
-The board configuration in ESP home defines the microcontroller type, the amount of SRAM or memory, Wi-Fi type, Bluetooth version, built-in sensors, and the number of SPI, I2C, I2S, and UART interfaces available.
Why is the Home Assistant API key important for ESP home devices?
-The Home Assistant API key is crucial for ESP home devices as it enables communication with Home Assistant. Without it, devices cannot extract information, synchronize time, or initialize properly in Home Assistant.
What is the purpose of the over-the-air (OTA) updates in ESP home?
-OTA updates in ESP home are used for safely updating the device firmware. They ensure that the device reboots into safe mode to focus on updating itself, and if the update fails, it will revert to the old version after a set number of attempts.
How does the Wi-Fi configuration in ESP home help in network management?
-The Wi-Fi configuration in ESP home allows devices to connect to a known access point or become an access point themselves if they fail to connect. This setup helps in managing the network by providing a fallback option and ensuring the device remains connected.
Outlines

This section is available to paid users only. Please upgrade to access this part.
Upgrade NowMindmap

This section is available to paid users only. Please upgrade to access this part.
Upgrade NowKeywords

This section is available to paid users only. Please upgrade to access this part.
Upgrade NowHighlights

This section is available to paid users only. Please upgrade to access this part.
Upgrade NowTranscripts

This section is available to paid users only. Please upgrade to access this part.
Upgrade NowBrowse More Related Video

🔥 GAME TURBO BLACK SHARK TERBARU 2025 - FITUR POP-UP LAYAR! SUPPORT SEMUA HP!!

Cara Setting IP Address untuk Nembak Wifi dan Topologi Jaringan
Topologi Ring: Cara Kerja & Kelebihannya! Jaringan Stabil. 3/25
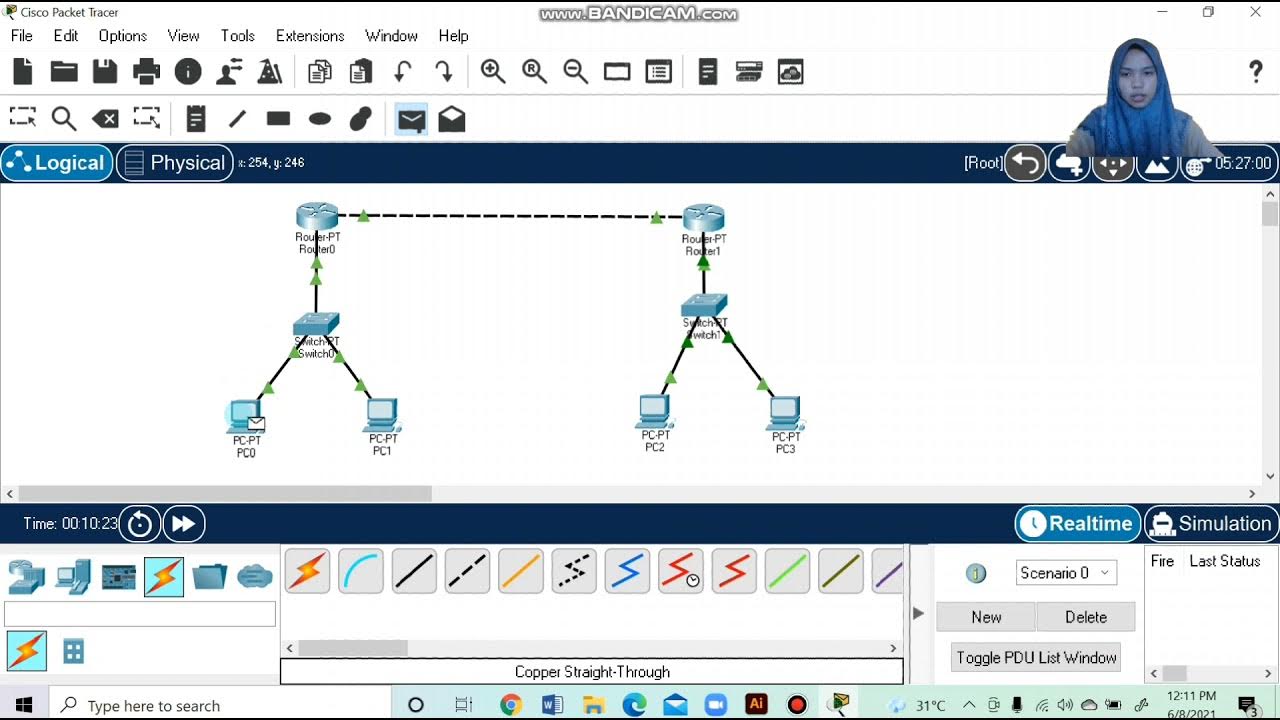
Topologi Jaringan Menghubungkan 2 Router 2 Switch dan 4 PC Packet Tracer

CISCO PACKET TRACER - HUB - TAGALOG
BIKIN IOT SMART HOME GOOGLE ASSISTANT - PCBWAY.COM
5.0 / 5 (0 votes)