Make a Chess Set in 3 Minutes (Blender Tutorial)
Summary
TLDRThis Blender tutorial walks through the step-by-step process of modeling chess pieces and a chessboard. It covers the creation of each piece—pawn, rook, knight, bishop, queen, and king—using various techniques like extrusion, beveling, and boolean modifiers. Special attention is given to the knight’s intricate design, utilizing mirror modifiers and topology correction. The video also guides viewers in making an 8x8 grid chessboard, setting up the pieces with accurate scaling, and organizing them on the board. The tutorial concludes with tips on adjusting materials, lighting, and animation for a polished final scene.
Takeaways
- 😀 Use Blender's 'images as planes' add-on to import reference images of chess pieces for accurate modeling.
- 😀 Align the pawn with the center of the scene axis and start by extruding a cylinder for its base, following its curvature.
- 😀 Bevel sharp edges later to smooth out the pawn, and add a sphere on top to finish its design.
- 😀 The rook is more intricate, with the turret section created by extruding and scaling, and boolean modifiers used for cutouts.
- 😀 The knight is divided into three sections: base, main body (using bezier curves and array modifiers), and head (using mirror modifiers).
- 😀 Topology and shading issues need careful attention, especially when working with complex pieces like the knight.
- 😀 For the bishop, use a sphere and boolean modifier to carve out the top section, following a similar approach to other pieces.
- 😀 The queen's head is challenging, with methods like extruding the outer rim and beveling edges to create a smooth finish.
- 😀 Duplicate and modify the queen's top section to create the king, adding a cross on top using a scaled cube and extrusion.
- 😀 The chessboard is created by flattening a cube and subdividing it to form an 8x8 grid, with materials assigned using checker deselect.
- 😀 Accurate piece placement on the chessboard is achieved by setting the origin to the base and scaling the board to 16x16 units, ensuring proper movement.
Q & A
What add-on is used in Blender to import reference images of chess pieces?
-The 'Images as Planes' add-on is used to import images of all the different chess pieces as reference planes in Blender.
How is the base shape of the pawn created in Blender?
-A cylinder is added and aligned with the bottom of the pawn image, then extruded upwards following the pawn’s curvature.
What is the purpose of adding a sphere on top of the pawn?
-The sphere represents the round head of the pawn, completing the overall shape before smoothing the edges.
How is the rook modeled differently from the pawn?
-The rook involves more intricate sections such as the turret, created through extruding and scaling, and using the Boolean modifier to cut out the top details and rim indentations.
What modifiers are used in modeling the knight piece?
-The knight uses mirror and array modifiers. The mirror modifier allows modeling only one side of the face, while the array modifier helps shape the main body along a Bezier curve.
What challenges did the creator face when modeling the knight?
-The knight was difficult to shape accurately and required a lot of time fixing topology and shading issues caused by previous modeling steps.
How was the bishop’s top section (the head) created?
-A sphere was shaped to the size of the bishop’s indent and used with the Boolean modifier to cut out the top section, creating the iconic bishop slot.
What method was used to model the queen’s crown section?
-The creator extruded the outer rim upwards, then selected evenly spaced faces and brought them down to form the crown, followed by beveling to smoothen edges.
How was the chessboard constructed and divided into squares?
-A flattened cube’s top face was subdivided into an 8x8 grid, and 'checker deselect' was used to apply alternating materials for the black and white squares.
Why was the chessboard scaled to 16 by 16 meters?
-Scaling the board to 16x16 ensured each square was 2 meters wide, making piece movement between squares precise and consistent during animation.
How were the chess pieces organized on the board after modeling?
-Each piece’s origin was set to its base using the 3D cursor, allowing accurate alignment on the board. The pieces were then organized into collections by side and linked with their materials.
What were the final steps before rendering the chess scene?
-Lighting adjustments, animation setup, and final material linking were done before producing the final render showcasing all the modeled chess pieces.
Outlines

This section is available to paid users only. Please upgrade to access this part.
Upgrade NowMindmap

This section is available to paid users only. Please upgrade to access this part.
Upgrade NowKeywords

This section is available to paid users only. Please upgrade to access this part.
Upgrade NowHighlights

This section is available to paid users only. Please upgrade to access this part.
Upgrade NowTranscripts

This section is available to paid users only. Please upgrade to access this part.
Upgrade NowBrowse More Related Video

Blender 3D Tutorial Membuat Karakter Game Amoung Us! 3D Modeling, (Pemula) Blender 2.90
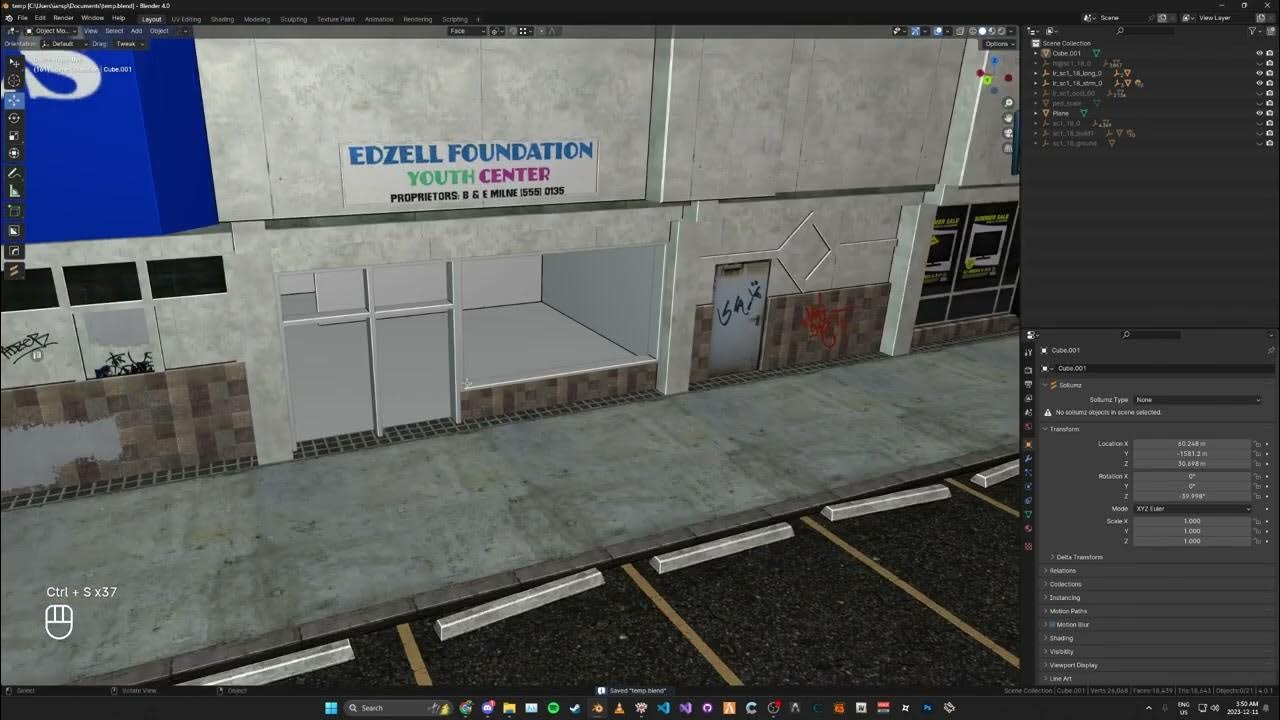
Creating Multi Room MLO Interior For GTA V | Sollumz 2.3+
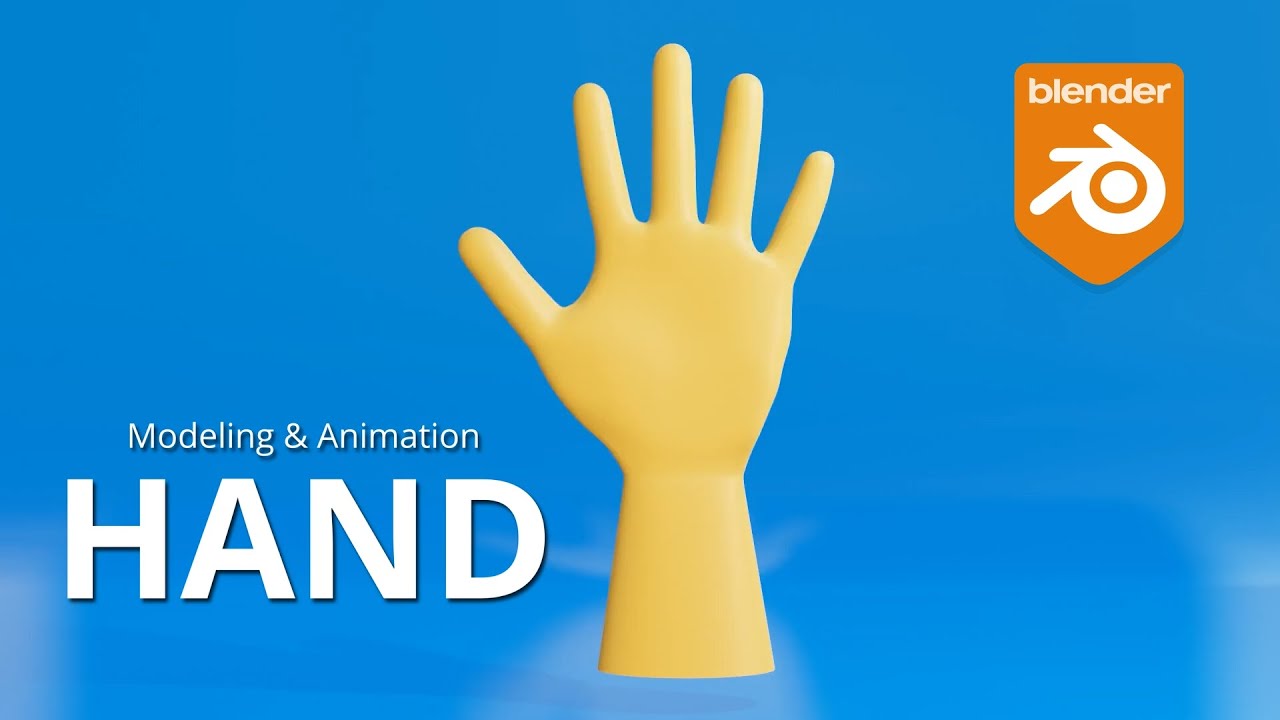
Modeling & Animasi Tangan | tutorial Hand Animation in Blender | Indonesia
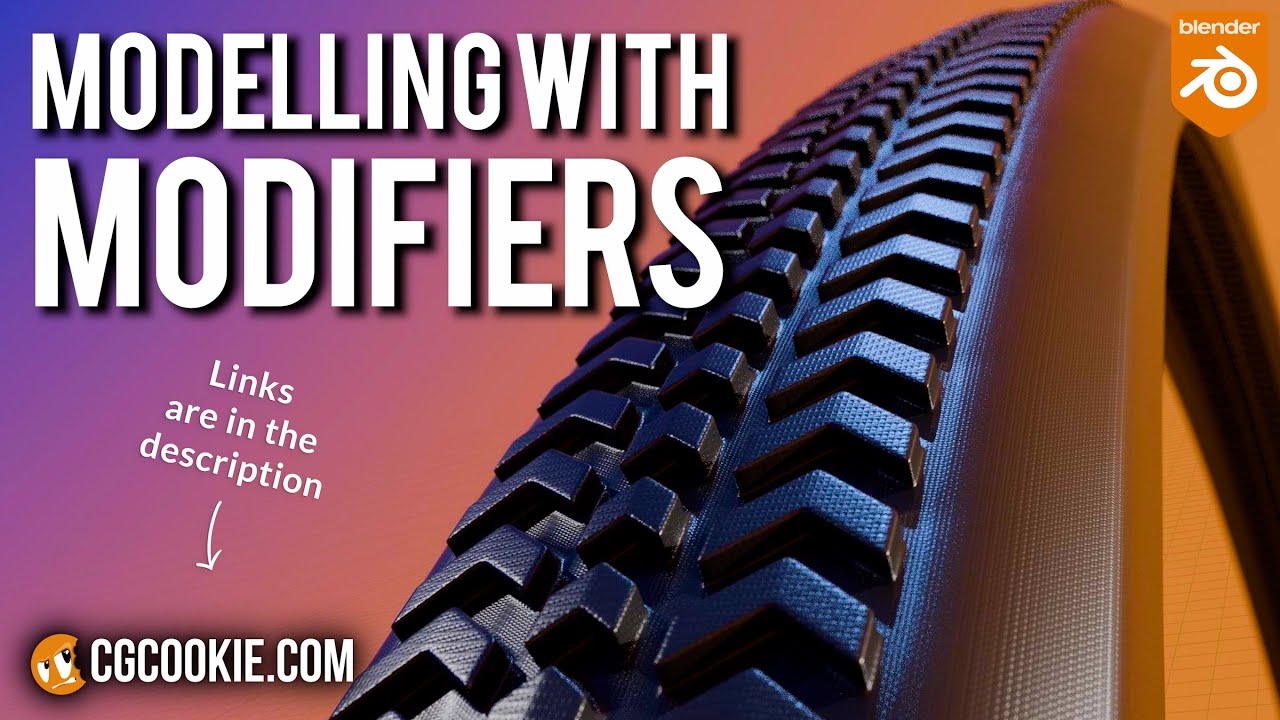
Make A Bike Tire in Blender With A Non-Destructive Modelling Workflow

FUSION 360 TUTORIAL: DESIGN THE TITAN-1M | ACADEMY
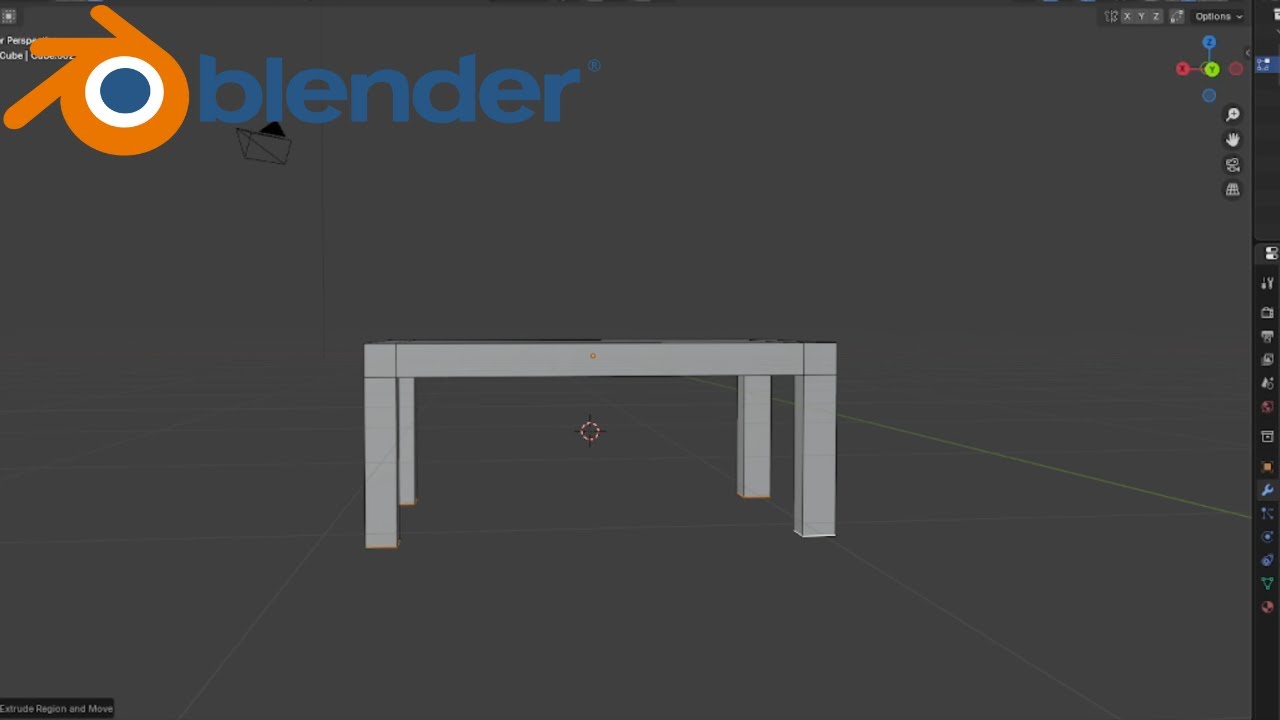
CARA MEMBUAT MEJA DI APLIKASI BLENDER KURANG DARI 2 MENIT
5.0 / 5 (0 votes)