CARA MEMBUAT PROGRAM ABSEN SISWA DENGAN MS ACCESS 2016
Summary
TLDRThis video provides a step-by-step tutorial on creating a student attendance form using Microsoft Access. It guides viewers through setting up a database, designing a table with fields such as Name, Gender, NISN, Age, Major, Date, and attendance status, and creating a user-friendly form for data entry. The tutorial covers formatting, aligning, and customizing form elements, adding functional buttons for Save, Undo, Print, and navigation, and testing the form with sample entries. By the end, viewers can efficiently manage student attendance digitally, replacing handwritten records with a well-organized, visually appealing, and fully functional Access form.
Takeaways
- 😀 Open Microsoft Access and create a new database for student attendance or student data.
- 😀 Rename your table meaningfully, such as 'StudentAttendance' or 'MadrasahStudentAbsence'.
- 😀 Use Design View to set up fields including Name, Gender, NISN, Age, Major, Date, Present, and Permission.
- 😀 Assign appropriate data types for each field: Long Text, Short Text, Number, or Yes/No for attendance and permissions.
- 😀 Design a form to enter attendance records, arranging fields clearly and adjusting font sizes and colors for readability.
- 😀 Add buttons for operations like Save, Undo, Print, and navigation between records, and align them neatly.
- 😀 Use icons or images on buttons (e.g., a checkmark for Save) for better visual understanding.
- 😀 Test the form in Form View by entering sample data and verifying that Save, Undo, and Print buttons function correctly.
- 😀 Adjust the layout and alignment of fields and buttons to create a visually appealing and user-friendly interface.
- 😀 Always save progress frequently to prevent data loss and ensure the attendance database functions properly.
Q & A
What is the first step when creating a student attendance form in Microsoft Access?
-The first step is to open Microsoft Access and either create a new database or open an existing one, then name it appropriately, such as 'Student Attendance Data'.
How do you create a new table for student attendance data?
-Click 'Create' in Microsoft Access to generate a new table, then switch to 'Design View' to define the table fields and their data types.
Which fields are essential for a student attendance table?
-Essential fields include ID (AutoNumber), Name (Long Text), Gender (Short Text), NISN (Number), Age (Long Text or Short Text), Major (Short Text), Date (Date/Time), Present (Yes/No), Not Present (Yes/No), and Permission (Yes/No).
How should the primary key be set for the table?
-By default, the ID field is set as the primary key. However, it can be turned off if another field or combination of fields is preferred as the primary identifier.
What are the key steps in designing the form for student attendance?
-After creating the table, select 'Create → Form', choose the table, then customize the layout by adjusting field placement, font size, colors, and aligning buttons for a visually appealing design.
Which buttons are typically added to a Microsoft Access attendance form?
-Common buttons include Save (to save attendance entries), Undo (to cancel incorrect entries), and Print (to print the attendance report). Additional navigation buttons like Next or Back can also be added.
How should Present and Absent fields be arranged on the form?
-For clarity, the 'Present' checkbox should be placed on the left and the 'Absent' checkbox on the right. This helps users quickly identify and mark attendance.
What is the purpose of the Undo button in the attendance form?
-The Undo button allows users to cancel a data entry that was entered incorrectly before saving it, preventing errors from being recorded in the database.
How can the visual design of the form be improved?
-Adjust font sizes, align text and fields centrally, use consistent button sizing, choose appealing colors, and ensure the layout is balanced to improve readability and overall appearance.
What should be done after creating and customizing the form?
-Test the form by entering sample data for Name, Gender, NISN, Age, Major, Date, and Present/Absent status. Verify that saving, undoing, and printing functions work correctly, and make any adjustments as needed.
Why is it recommended to align and block all buttons and fields?
-Aligning and blocking all buttons and fields ensures a neat and professional layout, making the form easier to use and visually consistent.
How can the size of text and form elements affect the form’s usability?
-Properly sized text and form elements improve readability, make the interface user-friendly, and ensure that the form displays correctly on different screens.
Outlines

This section is available to paid users only. Please upgrade to access this part.
Upgrade NowMindmap

This section is available to paid users only. Please upgrade to access this part.
Upgrade NowKeywords

This section is available to paid users only. Please upgrade to access this part.
Upgrade NowHighlights

This section is available to paid users only. Please upgrade to access this part.
Upgrade NowTranscripts

This section is available to paid users only. Please upgrade to access this part.
Upgrade NowBrowse More Related Video

CARA MEMBUAT GOOGLE FORMULIR LEWAT HP ANDROID | Google Form
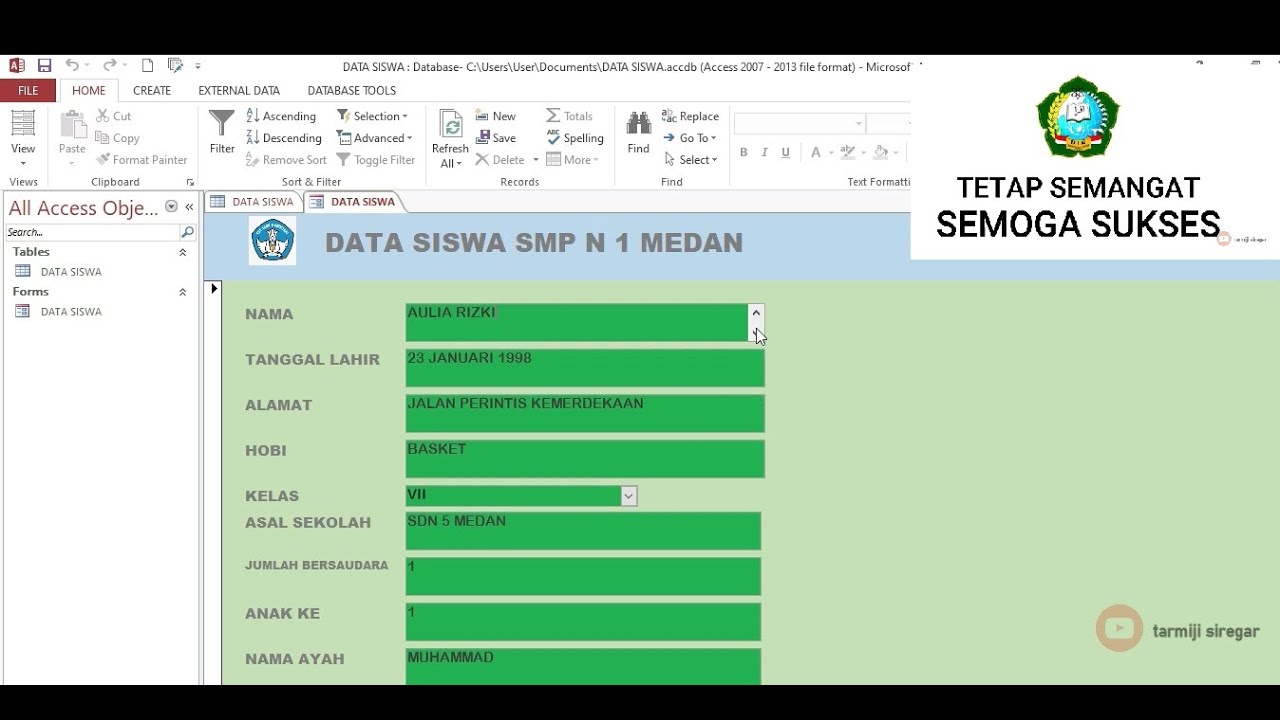
TUTORIAL MEMBUAT DATA SISWA MENGGUNAKAN MICROSOFT ACCESS (2007,2010,2013,2016,2019)

Sangat Mudah Sekali! Langkah langkah membuka microsoft word │Cocok untuk pemula!
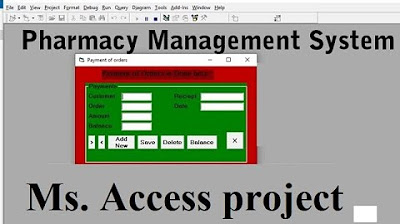
Pharmacy Management System using Microsoft Access

Belajar Komputer dari NOL cepat dan mudah part 2
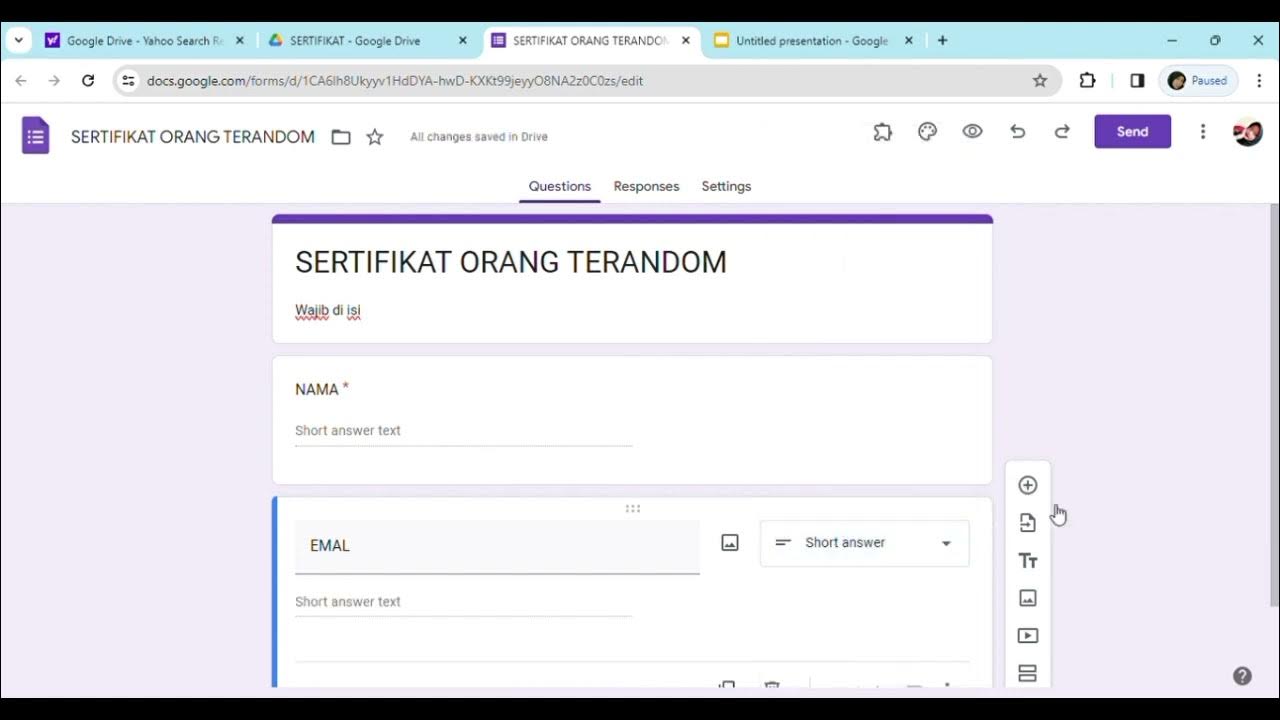
Cara membuat sertifikat dengan menggabungkan Google form, Google slide, Exel dan QR code
5.0 / 5 (0 votes)