Blender 4.2 | Make This Loop Animation | Tutorial
Summary
TLDRIn this beginner-friendly Blender tutorial, the creator shows how to animate a cute donut-like character using simple shape keys. The process involves modeling the character, adding eyes, teeth, and a mouth that opens and closes. With basic keyframe animation, a ball moves through the character's mouth while the character blinks at random intervals. The tutorial emphasizes an easy approach to animation without rigging, making it perfect for beginners. Viewers also learn how to render and finalize the animation for export. The creator encourages creativity and exploration throughout the process.
Takeaways
- 😀 The tutorial demonstrates how to create a simple and beginner-friendly animation in Blender, focusing on basic shape keys and no rigging.
- 😀 The goal of the animation is to create a cute character with a mouth that opens and closes as a ball passes through it.
- 😀 The final Blender file will be available for download on Patreon, with additional learning resources available on Skillshare.
- 😀 The process begins by creating a donut-shaped character using basic Blender tools like extrude and scale.
- 😀 Teeth are created using cubes that are duplicated and positioned around the character’s mouth.
- 😀 Eyes are made using UV spheres, with materials assigned for realistic colors like reddish-purple for the body and peach for the mouth.
- 😀 The tutorial emphasizes using simple shape keys to animate the mouth opening and closing, as well as adding a blink to the character’s eyes.
- 😀 Basic animation is introduced, including keyframing the ball’s movement and the character’s mouth and eye movements.
- 😀 The animation timeline is set to 120 frames, and keyframes are inserted to control the mouth and ball's interaction.
- 😀 Lighting and rendering settings are explained, including using Cycles as the render engine and adjusting material properties to achieve the final look.
- 😀 The tutorial concludes with instructions on rendering the animation, saving the output as an MP4 file, and uploading the final result to Patreon.
Q & A
What is the focus of the animation tutorial?
-The tutorial focuses on creating a simple animation of a character with a mouth that opens and a ball passing through it, using basic shape keys in Blender. It's beginner-friendly, without any rigging involved.
What software is used for the animation in this tutorial?
-The tutorial uses Blender, a 3D modeling and animation software.
Why is this animation suitable for beginners?
-This animation is beginner-friendly because it only involves simple shape keys to animate the character's mouth and no complex rigging is required.
What are shape keys, and how are they used in this animation?
-Shape keys are used to store different shapes of a mesh, allowing for smooth transitions between them. In this animation, shape keys are used to control the character's mouth opening and blinking.
How do you add a subdivision surface modifier in Blender?
-To add a subdivision surface modifier, select your object, go to the modifiers tab, and click 'Add Modifier'. Then, choose 'Subdivision Surface' from the list.
How do you create the character's teeth in Blender?
-The teeth are created by adding a cube, scaling it down, and then duplicating it to make multiple teeth. These are then positioned around the character's mouth.
What is the purpose of the 'blink' shape key?
-The 'blink' shape key animates the character's eyes, creating a blinking effect by scaling and flattening the eyes along the z and y axes.
How do you animate the ball passing through the character's mouth?
-The ball is animated by setting keyframes for its position at the start and end of the animation. It moves from the front of the character's mouth to the back, passing through it.
How can the timing of the mouth opening and closing be adjusted?
-The timing can be adjusted by manipulating the keyframes for the mouth shape key. You can change the frame values to make the mouth open or close sooner or later.
What rendering settings are recommended for this animation?
-For rendering, the tutorial suggests using the 'Cycles' render engine, setting the max render samples to 50, and rendering the animation as an MP4 video with the FFM container.
Outlines

This section is available to paid users only. Please upgrade to access this part.
Upgrade NowMindmap

This section is available to paid users only. Please upgrade to access this part.
Upgrade NowKeywords

This section is available to paid users only. Please upgrade to access this part.
Upgrade NowHighlights

This section is available to paid users only. Please upgrade to access this part.
Upgrade NowTranscripts

This section is available to paid users only. Please upgrade to access this part.
Upgrade NowBrowse More Related Video
Belajar Modeling Untuk Pemula | Blender Tutorial

Modeling a Fridge - Maya Tutorial
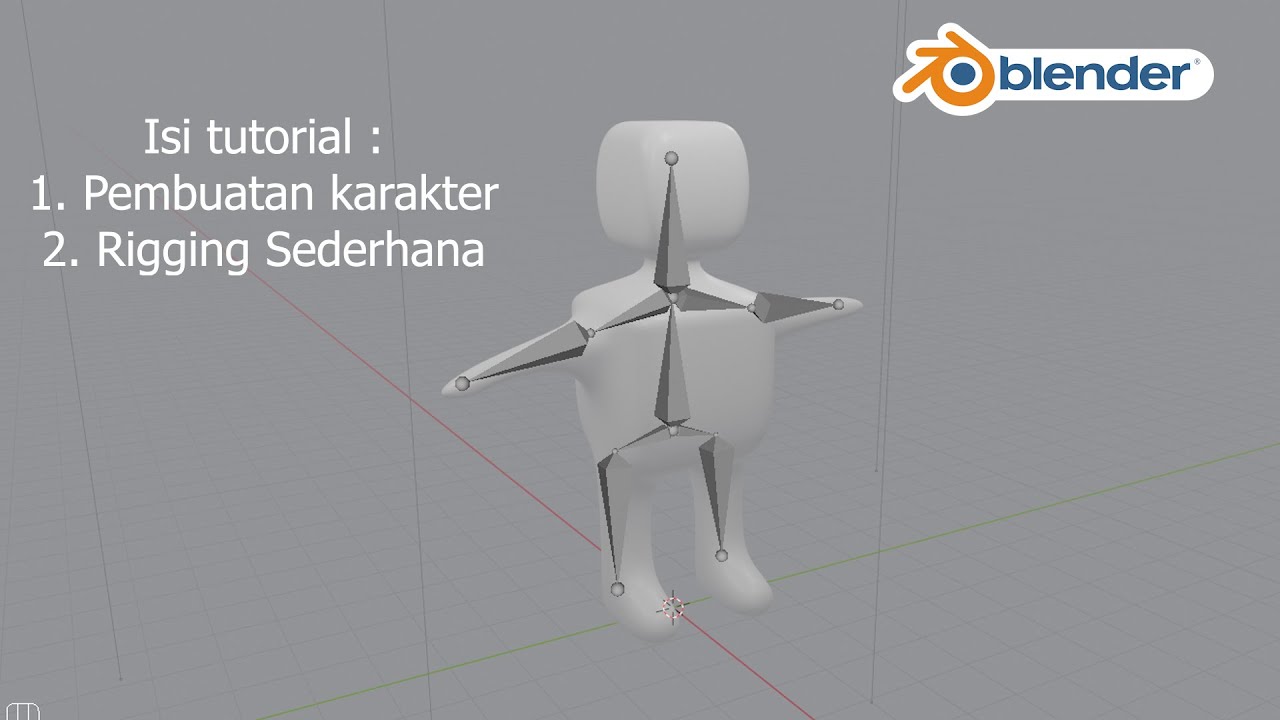
Tutorial Blender Pemula - Membuat Karakter Sederhana dan Rigging

Informatika, Aktivitas Individu AP-K7--02 kelas 7
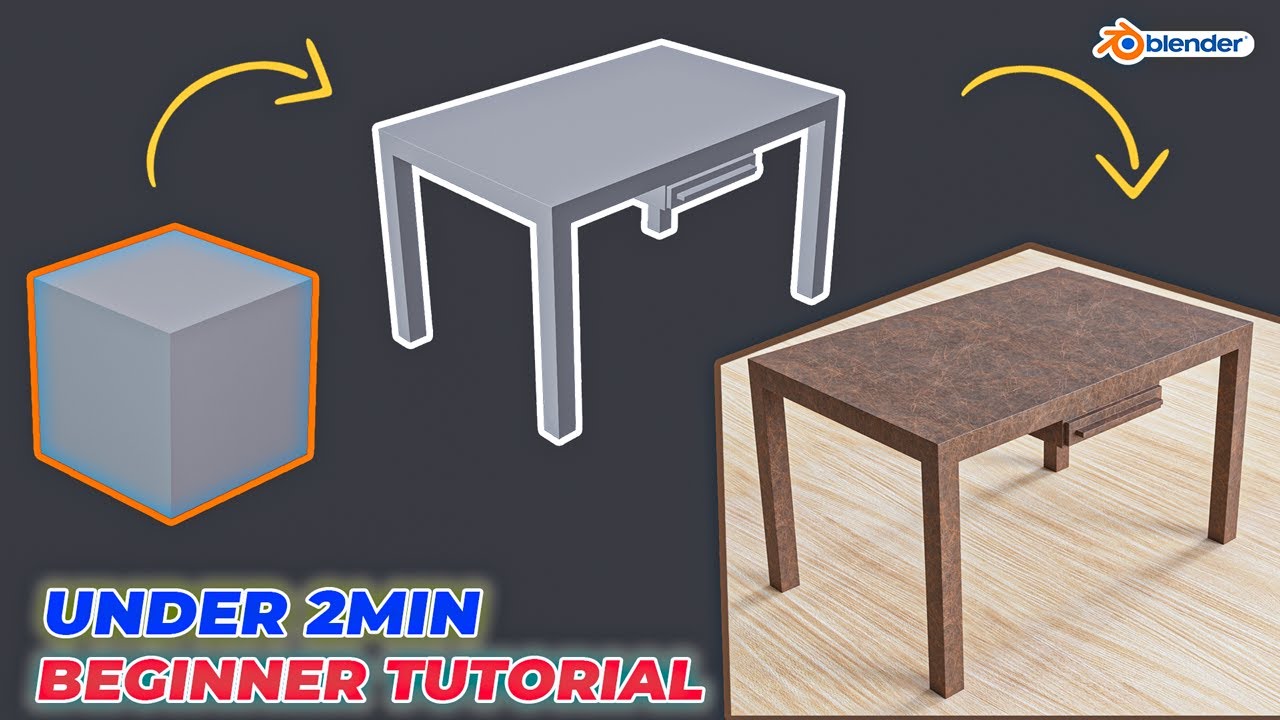
Modeling Table Under 2Min || Blender Beginners Tutorial

Blender sofa - Create a Realistic Sofa in Blender in 15 minutes
5.0 / 5 (0 votes)