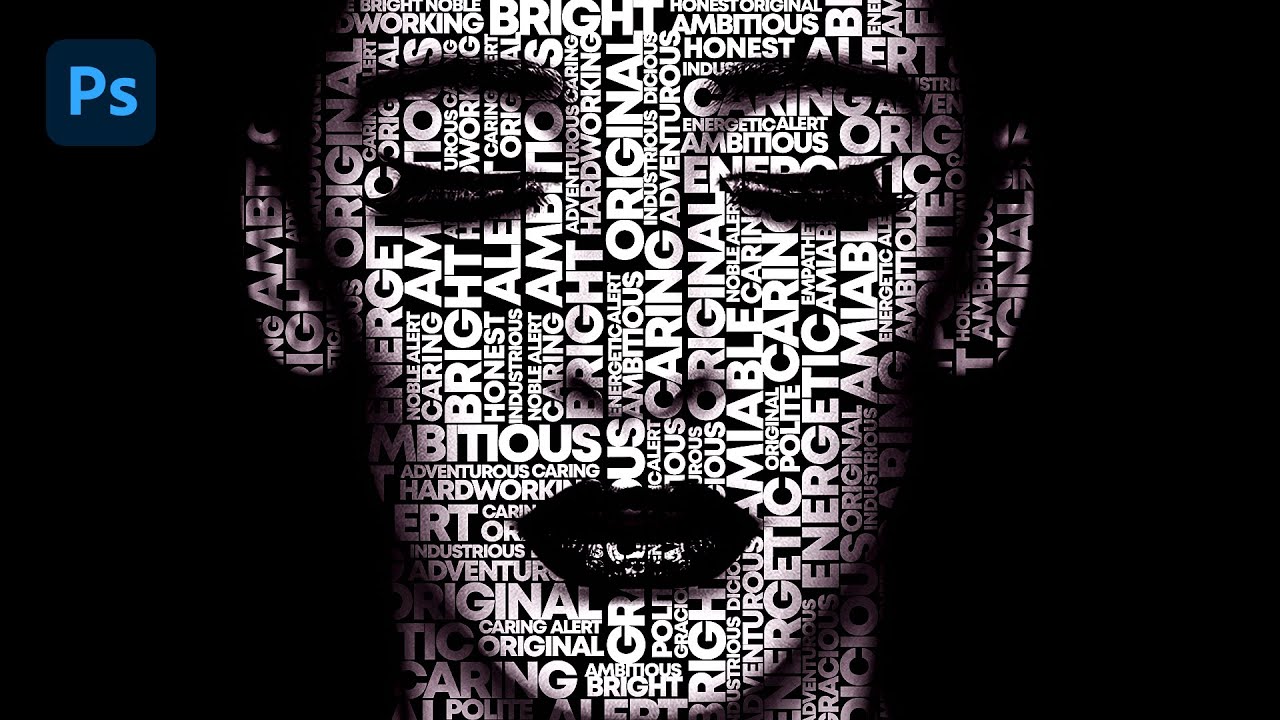
How to Make Creative Poster Design in Photoshop
Summary
TLDRIn this Photoshop tutorial, you'll learn how to design a striking poster by using various adjustment layers and tools. The process includes creating a gradient adjustment layer, removing the image background, and adding additional images. You'll explore techniques like using layer masks, adjusting black and white levels, and applying a solid color with Color Dodge blend mode. Further steps include refining the image with Camera Raw filters and final adjustments. The tutorial guides you through detailed techniques to enhance your poster design and achieve a polished, professional result.
Takeaways
- 😀 Create a gradient adjustment layer in Photoshop and apply specific settings for your design.
- 😀 Remove the background of the image and drag it into your main document.
- 😀 Insert a second image, resize it, and apply a layer mask to blend it with the background.
- 😀 Use a black brush on the layer mask to hide unwanted areas of the image.
- 😀 Add a black and white adjustment layer and clip mask it to the bottom layer.
- 😀 Adjust the contrast of the image by using a levels adjustment layer.
- 😀 Create a solid color adjustment layer, choose a color, and clip mask it to the bottom layer.
- 😀 Change the blend mode of the solid color layer to Color Dodge and invert the mask using Ctrl + I.
- 😀 Paint over the eyes with a white brush to enhance them using the inverted mask.
- 😀 Use blending options to adjust the layer's 'Blend If' slider for a refined effect.
- 😀 Create a merged copy of all layers, convert it to a smart object, and apply camera raw filters for final adjustments.
Q & A
What is the first step in creating the poster design in Photoshop?
-The first step is to create a gradient adjustment layer and apply the required settings for the gradient.
How do you remove the background of the image?
-You remove the background by selecting the background area and deleting it, making the image transparent before moving it to the main document.
What do you do after inserting the second image?
-After inserting the second image, you adjust its size to fit the composition as needed.
How can you hide areas of an image using a layer mask?
-You add a layer mask and use a black brush to paint over the areas you want to hide.
What is the purpose of the black and white adjustment layer?
-The black and white adjustment layer converts the image to grayscale, and when clip masked to the bottom layer, it ensures only the bottom image is affected.
What does the Levels adjustment layer do?
-The Levels adjustment layer allows you to modify the image's contrast and brightness, and you can increase the contrast to enhance the image's details.
Why is the Solid Color adjustment layer used in this tutorial?
-The Solid Color adjustment layer is used to add a color overlay, which can be changed to any color, and the blend mode is set to 'Color Dodge' to create a bright, glowing effect.
What does pressing Ctrl+I do when working with the mask?
-Pressing Ctrl+I inverts the mask, switching the areas that are hidden or visible, allowing you to reveal parts of the image that were initially masked.
What is the function of the 'Blend If' slider in the blending options?
-The 'Blend If' slider is used to control how the layer interacts with the underlying layers based on tonal values, allowing for smooth transitions between the image layers.
How do you apply a camera raw filter in Photoshop?
-To apply a camera raw filter, you first create a merged copy of all layers, convert it to a Smart Object, and then open the Camera Raw filter for further adjustments.
Outlines

This section is available to paid users only. Please upgrade to access this part.
Upgrade NowMindmap

This section is available to paid users only. Please upgrade to access this part.
Upgrade NowKeywords

This section is available to paid users only. Please upgrade to access this part.
Upgrade NowHighlights

This section is available to paid users only. Please upgrade to access this part.
Upgrade NowTranscripts

This section is available to paid users only. Please upgrade to access this part.
Upgrade NowBrowse More Related Video


5.0 / 5 (0 votes)