Tugas 1 Jaringan Komputer. Tutorial Membuat Kabel Jaringan Tipe Straight.
Summary
TLDRThis video tutorial walks viewers through the process of making a UTP network cable. It covers all the necessary tools, such as UTP cable, RJ45 connectors, crimping tool, and tester. The tutorial explains each step in detail, from stripping the cable and sorting the wires by color to inserting them into the RJ45 connector and testing the completed cable. The guide ensures clarity by demonstrating the importance of following the correct wiring sequence and provides troubleshooting tips for successful cable creation.
Takeaways
- 😀 The script starts with a greeting, 'Asalamualaikum warahmatullahi wabarakatuh.'
- 😀 The speaker, Bimarisara, introduces themselves as a student from the Information Systems department.
- 😀 The task at hand is to teach a practical networking assignment related to computer networks.
- 😀 Required materials include a UTP network cable, Cat 6E cable, LAN crimping tool, a cable tester, and a wire stripper.
- 😀 The first step involves stripping the cable to the required length.
- 😀 RJ45 connectors are needed for connecting the UTP cable to devices like switches or routers.
- 😀 The UTP cable is separated into four color-coded pairs: white-blue, blue, white-orange, orange, white-brown, brown, white-green, and green.
- 😀 After separating the wires, they are straightened and arranged according to the correct cable order: white-orange, orange, white-green, blue, white-blue, green, white-brown, brown.
- 😀 The wires are then cut to the appropriate length and inserted into the RJ45 connector, ensuring the order is maintained.
- 😀 Once inserted correctly, the connector is crimped to secure the wires in place and ensure a strong connection.
- 😀 The process is repeated for the other end of the cable to complete the connection.
- 😀 A cable tester is used to check the connection, ensuring the cable functions properly and the lights on the tester should light up in sequence to confirm success.
Q & A
What is the first step in the process of connecting a UTP cable?
-The first step is to strip the UTP cable to expose the wires inside.
What materials are required to complete the cable connection task?
-The materials required are a UTP cable (Cat 6E), RJ45 connectors, a cable stripper, a crimping tool, a cable tester, and a ruler or measuring tool.
Why is it important to measure the UTP cable before cutting?
-Measuring the cable ensures that the length is appropriate and that the RJ45 connectors can be properly attached without excess cable length.
What are the color codes for the UTP cable wiring?
-The color codes for the UTP cable are: white-orange, orange, white-green, green, white-blue, blue, white-brown, and brown.
How should the wires be arranged before crimping the RJ45 connector?
-The wires should be arranged in the order of white-orange, orange, white-green, green, white-blue, blue, white-brown, and brown, ensuring they are straight and not twisted.
What should you check before crimping the RJ45 connector?
-Before crimping, make sure the wires are correctly aligned in the RJ45 connector, and ensure all wires are fully inserted into the connector.
What is the purpose of using a cable tester in this process?
-The cable tester is used to check if the UTP cable is functioning correctly, ensuring all the wires are connected properly and the signal is intact.
What happens if the cable tester does not show a proper connection?
-If the cable tester does not show a proper connection, it indicates that the wiring inside the cable is incorrect or not fully connected, and the cable needs to be rechecked and possibly re-crimped.
How should you handle the process if there is background noise while working?
-The speaker in the video mentions working at home and notes that there is background noise. While it may be distracting, it doesn't impact the steps in the cable connection process.
What is the significance of using a crimping tool in this task?
-The crimping tool is used to secure the RJ45 connector to the cable, ensuring a firm and reliable connection between the wires and the connector.
Outlines

This section is available to paid users only. Please upgrade to access this part.
Upgrade NowMindmap

This section is available to paid users only. Please upgrade to access this part.
Upgrade NowKeywords

This section is available to paid users only. Please upgrade to access this part.
Upgrade NowHighlights

This section is available to paid users only. Please upgrade to access this part.
Upgrade NowTranscripts

This section is available to paid users only. Please upgrade to access this part.
Upgrade NowBrowse More Related Video
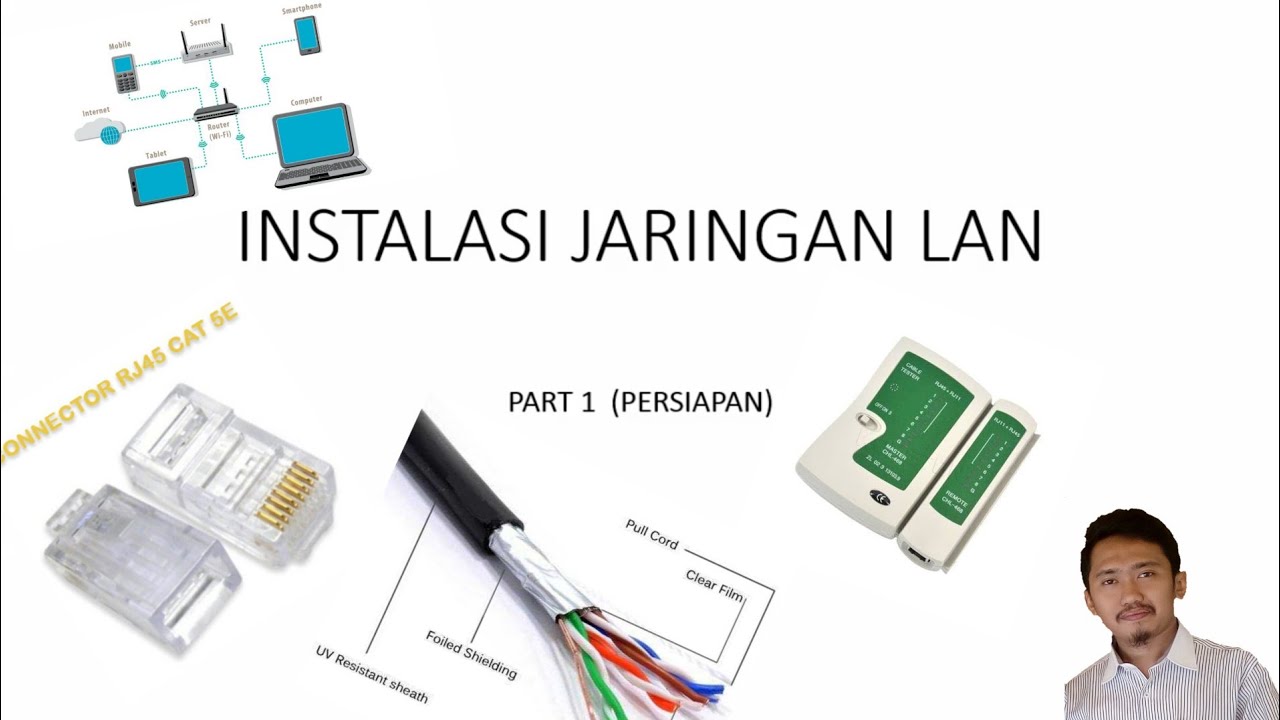
Instalasi Jaringan LAN Part 1

Jaringan Komputer Sederhana | Tutorial Belajar Online Lengkap CISCO CCNA 200-301 Part 5
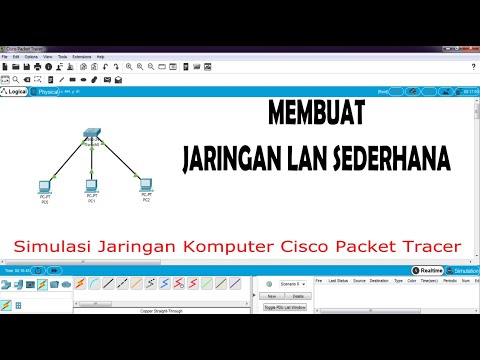
Cara Membuat Jaringan LAN Sederhana Cisco Packet Tracer

Cara membuat jaringan Peer to Peer sederhana || Jaringan Dasar #1

Merancang Pengalamatan Jaringan - Teknik Komputer dan Jaringan
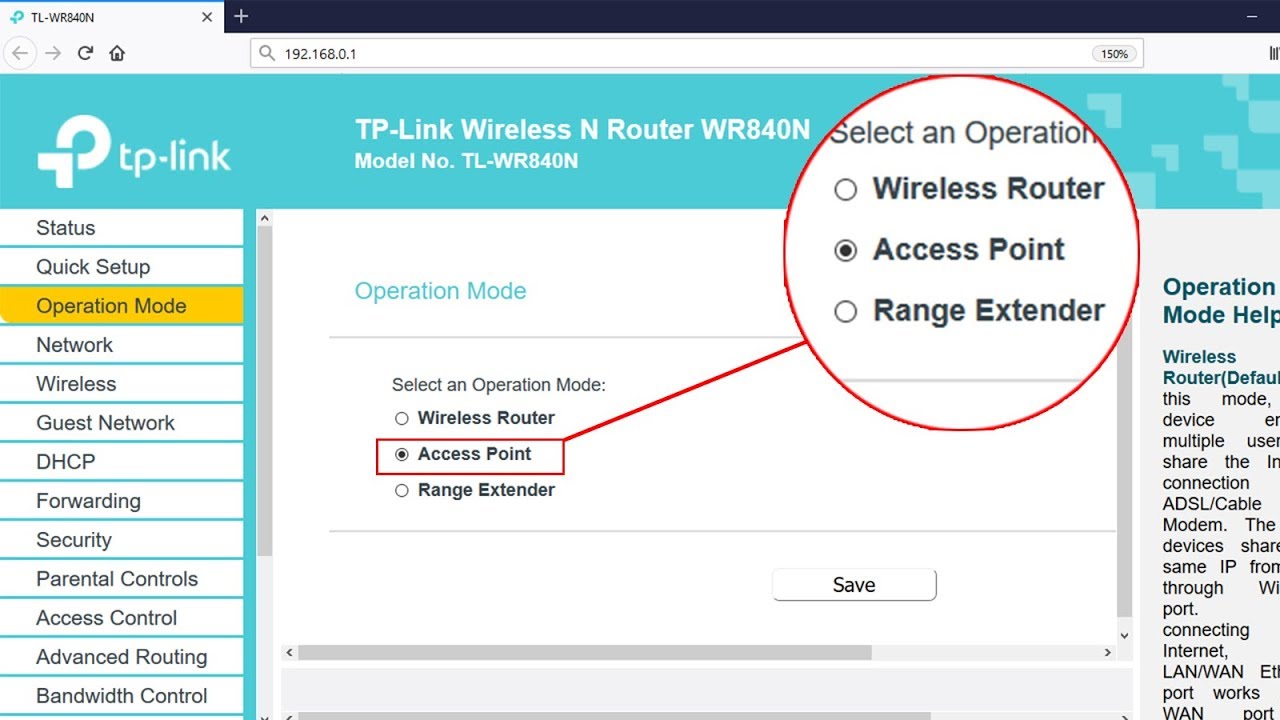
Setup ACCESS POINT mode on TP-LINK TL-WR840N | NETVN
5.0 / 5 (0 votes)