Cara Membuat Batik Jumputan 3 Warna Teknik Shibori || Batik Tie Dye || SBDP Kelas 5 Tema 9
Summary
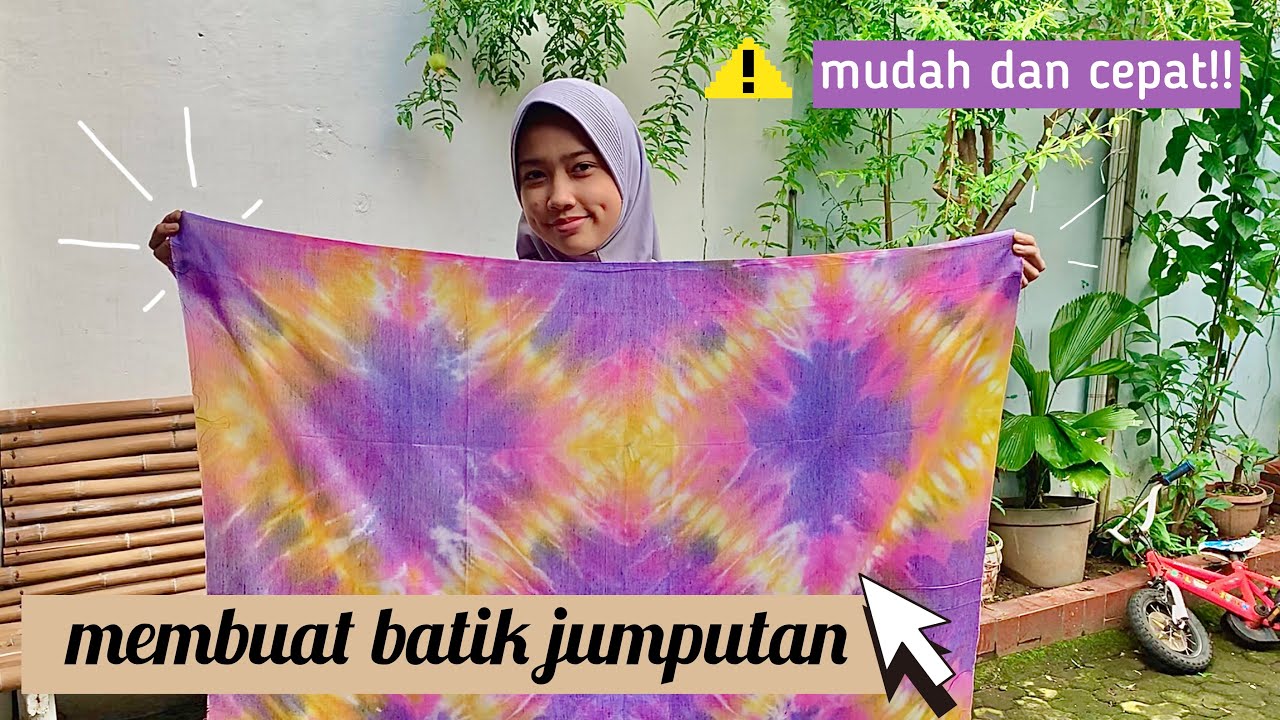
TLDRThis video tutorial demonstrates how to create beautiful batik motifs using the 'jumputan' technique with a butterfly pattern. The process starts with folding a piece of Prima fabric in precise steps, followed by tying it tightly with raffia or rubber bands. Afterward, the fabric is dyed using textile dye in multiple colors. The careful folding ensures uniform and neat results, while the dyeing technique guarantees vibrant, clean colors. Viewers are encouraged to follow the steps and experiment with their own designs. The video concludes with a showcase of the finished designs, suitable for use in various crafts like tablecloths or dresses.
Takeaways
- 😀 Materials needed include Prima fabric, elastic bands, raffia string, textile dye, scissors, plastic gloves, a plastic container, a spoon, a recycled plastic bottle, and warm water.
- 😀 Start by folding the fabric evenly into two parts, then fold again into a square or rectangle, followed by a triangular fold to create an accordion shape.
- 😀 Ensure that all folds are neat and precise to guarantee a well-defined pattern in the final result.
- 😀 Tie the fabric securely using elastic bands or raffia string at the center and on both sides to prevent dye from bleeding across sections.
- 😀 Mix the textile dye with warm water in a plastic container, stirring until it dissolves, and add cold water if necessary to cool it down.
- 😀 Use a plastic bottle with a small straw for precise dye application to ensure clean coloring without excess spilling.
- 😀 Apply the dye starting from the center and work your way to the edges. You can use multiple colors, such as red, yellow, and purple.
- 😀 Let the dyed fabric sit for 15 minutes to allow the colors to fully soak in before removing the elastic bands and unraveling the folds.
- 😀 Lay the fabric flat in a shaded area (not under direct sunlight) to dry, ensuring the colors set well.
- 😀 After the fabric is dry, rinse it with clean water to prevent the dye from fading or running, ensuring the colors remain vibrant.
- 😀 This easy and fun batik tie-dye technique can be used to create various items, such as tablecloths or dresses, with the butterfly motif.
Q & A
What is the first technique introduced in the video for creating batik motifs?
-The first technique introduced is called 'jumputan,' specifically using the 'sibori' technique, which involves folding fabric into triangles and squares.
What tools and materials are needed to create the batik pattern as shown in the video?
-The materials required are Prima fabric, rubber bands, raffia string, textile dye, scissors, plastic gloves, a plastic container, a plastic bottle, and hot water.
Why is it important to fold the fabric into a triangle before creating the pattern?
-Folding the fabric into a triangle ensures even and uniform folds, which helps in creating a consistent and neat pattern, especially for symmetry in the final design.
How should the fabric be folded to create the butterfly pattern?
-The fabric is folded in a specific order: first, it’s folded into two equal parts, then again into a square shape, followed by a triangle. Then, it’s folded back and forth like a fan to create the butterfly-like shape.
What is the purpose of tying the fabric with rubber bands or raffia string?
-The fabric is tied to ensure the dye does not spread unevenly. Tying the fabric tightly helps maintain the folds and prevents colors from mixing in undesired areas.
What steps are taken to prepare the dye for coloring the fabric?
-To prepare the dye, the dye powder is mixed with hot water in a plastic container. It is then stirred until the dye dissolves completely and can be transferred into a plastic bottle for easy application.
How does the use of a straw in the dye bottle help in the coloring process?
-The straw inserted into the bottle helps control the flow of dye, preventing it from spilling or staining areas of fabric that are not meant to be colored.
How long should the dyed fabric be left to set before further processing?
-The dyed fabric should be left to sit for about 15 minutes to allow the dye to soak in and set properly before it is rinsed.
What is the next step after the fabric has been dyed and left to set?
-After the fabric has set, the next step is to carefully remove the rubber bands or raffia string, then lay the fabric flat to dry in a shaded area away from direct sunlight.
What final steps should be taken to ensure the dye does not fade?
-Once the fabric is dried, it should be washed with clean water to remove any excess dye, preventing it from bleeding or fading over time.
Outlines

This section is available to paid users only. Please upgrade to access this part.
Upgrade NowMindmap

This section is available to paid users only. Please upgrade to access this part.
Upgrade NowKeywords

This section is available to paid users only. Please upgrade to access this part.
Upgrade NowHighlights

This section is available to paid users only. Please upgrade to access this part.
Upgrade NowTranscripts

This section is available to paid users only. Please upgrade to access this part.
Upgrade NowBrowse More Related Video
TUTORIAL MEMBUAT DESAIN BATIK MENGGUNAKAN APLIKASI GEOGEBRA - Batik Urban // Kelompok 6, XI-1

tutorial membuat batik motif Lembang dengan teknik colet
membuat batik jumputan (batik celup ikat)

Cara Membuat Batik Jumputan Teknik Shibori Pola Segitiga Sama Kaki || SBDP Kelas 5 Tema 9

Tutorial cara buat batik di Geogebra🤗

TUGAS MEMBUAT MOTIF BATIK DENGAN MENGGUNAKAN APLIKASI GEOGEBRA
5.0 / 5 (0 votes)