Tutorial Sharing Folder File di Windows 10
Summary
TLDRThis tutorial explains how to easily share files over a network in Windows 10. The speaker walks viewers through the process, including finding the computer’s IP address, creating and sharing a folder, setting permissions, and ensuring seamless access between devices. It highlights the convenience of wireless file sharing, eliminating the need for USB drives or flash disks. The video also emphasizes the importance of disabling password protection for file sharing and concludes with a call to action for viewers to like, share, and subscribe to the channel.
Takeaways
- 😀 To share files on Windows 10, first find your device's IP address by accessing the *Network and Sharing Center* and checking your Wi-Fi connection details.
- 😀 Once you have the IP address, you can begin setting up a folder to share on your computer.
- 😀 Right-click on the folder you want to share, then select *Give Access To* > *Specific People*, and choose *Everyone* to allow all users access.
- 😀 You can adjust permission levels for the shared folder: *Read* for view-only access or *Read/Write* for full access including editing and deleting files.
- 😀 Make sure to disable *Password Protected Sharing* in your network settings to allow easier access to the shared files from other computers.
- 😀 This file sharing method works without the need for a USB drive or external hard disk, using Wi-Fi instead.
- 😀 Ensure both the server (the computer sharing files) and the client (the computer accessing files) are connected to the same Wi-Fi network for successful file sharing.
- 😀 After setting up the folder, open *File Explorer* on the client computer and enter the server computer’s IP address to access the shared folder.
- 😀 Once the shared folder is accessed, try copying or editing a file to verify the sharing permissions work correctly.
- 😀 This method is great for sharing files in environments like offices, campuses, cafes, or anywhere with a Wi-Fi network.
- 😀 If you encounter any issues during the setup, leave a comment on the video for assistance, and remember to subscribe to the channel for more tutorials.
Q & A
What is the first step in setting up file sharing on Windows 10?
-The first step is to find the IP address of your wireless network. You can do this by opening the Network settings and checking the IP address associated with your Wi-Fi connection.
How can you find the IP address on Windows 10?
-You can find your IP address by opening the Network settings, right-clicking on 'Network', and selecting 'Open Network and Sharing Center'. From there, go to 'Change adapter settings' and look for the IP address associated with your wireless network.
What is the significance of the IP address in file sharing?
-The IP address is crucial because it helps you connect to other devices on the same network. You use this IP address to access shared files on another computer over the wireless network.
What does the 'Give access to' option do in Windows 10?
-'Give access to' allows you to share a folder with other users on the network. You can set the permission levels for the users, determining whether they can only read or also write and edit the files in the shared folder.
How are the permission levels different when sharing files in Windows 10?
-There are two main permission levels: 'Read' and 'Read/Write'. 'Read' allows others to view and copy files but not edit them, while 'Read/Write' enables others to view, edit, and delete files in the shared folder.
What is the purpose of disabling password-protected sharing in Windows 10?
-Disabling password-protected sharing allows users on the network to access shared files without needing to enter a password. This is useful when sharing files in a secure network environment.
What should you do if you want to enable file sharing without a password?
-Ensure that the 'Password-protected sharing' option is disabled. This will allow devices on the same network to access shared files without needing to log in with a password.
What does the user mean by 'server' and 'client' in the context of this tutorial?
-In this context, the 'server' refers to the computer hosting the shared files, while the 'client' refers to the computer accessing the shared files over the network.
How do you access a shared folder from a client computer?
-To access a shared folder, open 'File Explorer' on the client computer, enter the server's IP address in the address bar, and navigate to the shared folder. You should see the folder appear if the setup was successful.
What are the advantages of using wireless file sharing over physical storage devices like USB drives?
-Wireless file sharing allows for easier and quicker transfer of files between devices on the same network without the need for physical storage devices like USB drives. It also eliminates the risk of losing or misplacing physical media.
Outlines

This section is available to paid users only. Please upgrade to access this part.
Upgrade NowMindmap

This section is available to paid users only. Please upgrade to access this part.
Upgrade NowKeywords

This section is available to paid users only. Please upgrade to access this part.
Upgrade NowHighlights

This section is available to paid users only. Please upgrade to access this part.
Upgrade NowTranscripts

This section is available to paid users only. Please upgrade to access this part.
Upgrade NowBrowse More Related Video
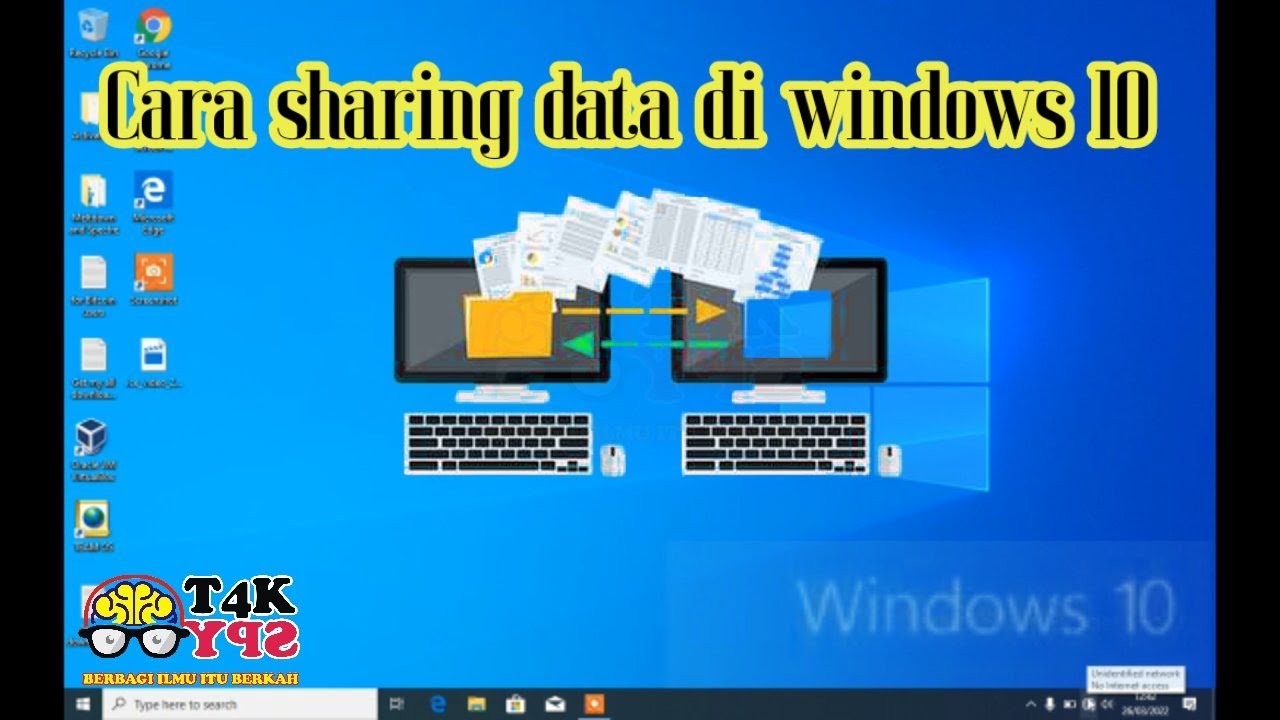
Cara sharing data di windows 10

🖥️ Windows não Mostra Computadores na Rede? Veja Como Corrigir!
Peer To Peer Network Tutorial using Crossover Cables (Tagalog)

How to Share Files, Folders and Drives Over A Network
CARA SETTING LAN UNTUK MENGHUBUNGKAN ANTAR KOMPUTER (PC Networking)
Cómo conectar dos PCs con un cable ethernet cruzado (crossover), para compartir carpetas y archivos
5.0 / 5 (0 votes)