KENAPA TIDAK DARI DULU TAU CARA INI ‼️ Modifikasi Stop Kontak Jadi Super Canggih
Summary
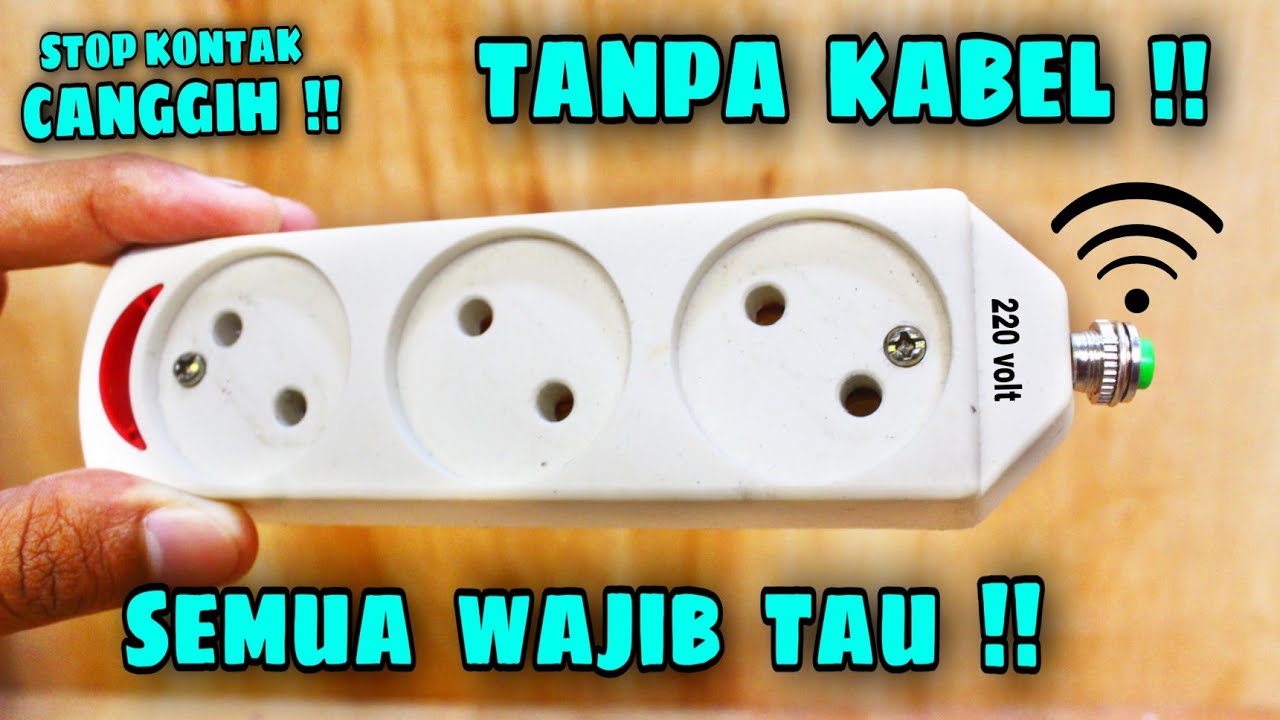
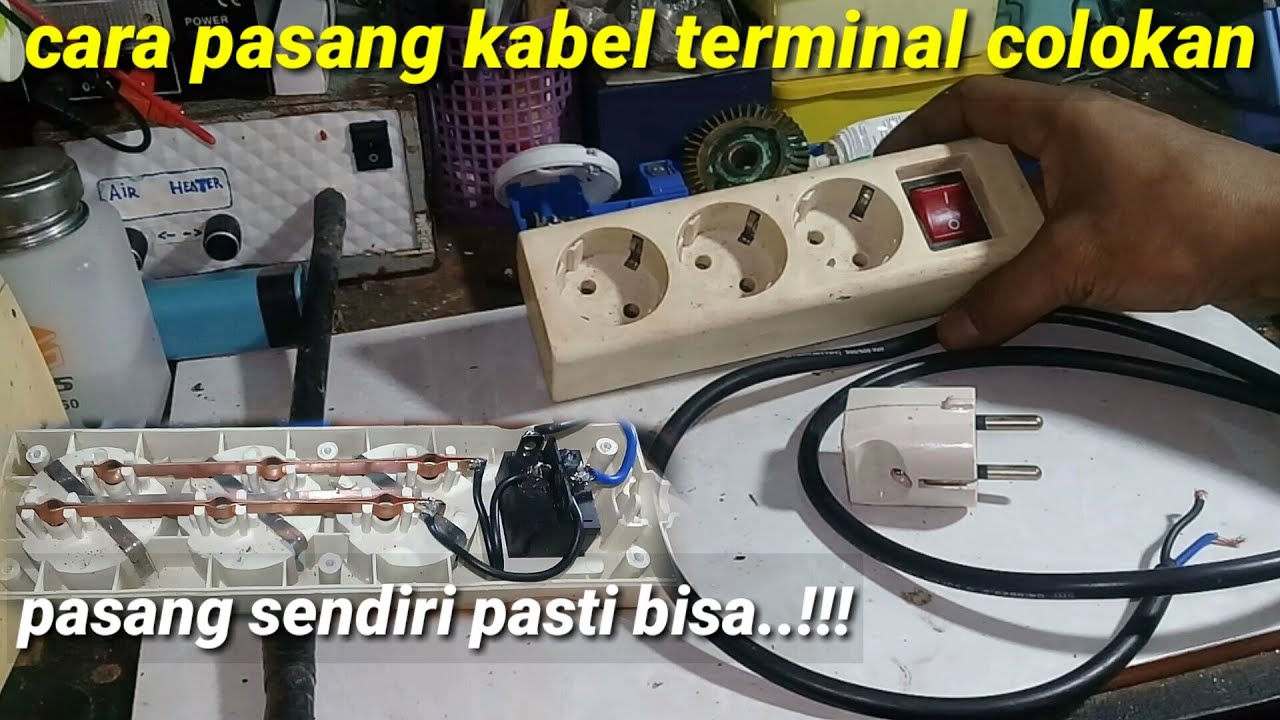
TLDRThis DIY tutorial demonstrates how to modify a basic two-hole socket into a more advanced, LED-indicated socket that signals when it's properly connected to a 220V power source. The process involves disassembling the socket, drilling holes for LEDs, and soldering components like resistors, diodes, and LED lights to create the indicator. Once assembled, the LED lights up when a plug is correctly inserted, ensuring the socket is powered. This simple project is perfect for DIY enthusiasts and provides an easy way to upgrade your electrical sockets with a functional indicator light.
Takeaways
- 😀 Always ensure safety when working with electrical components to avoid risks like short circuits or electric shocks.
- 😀 The project involves modifying a basic 2-hole socket into an advanced one with LED indicators for power status.
- 😀 Basic tools required include a soldering iron, copper wire, LED lights, resistors, diodes, and glue for assembly.
- 😀 LEDs are used to indicate whether the socket is properly connected to a power source. The LEDs light up when the socket is powered.
- 😀 You should carefully drill holes in the socket casing to insert the LED lights. The hole size should match the LED's dimensions.
- 😀 The positive leg of the LED is connected to the diode's cathode, while the negative leg connects to the resistor.
- 😀 Resistors should be used to limit the current and protect the LEDs from damage.
- 😀 Diodes are used in the circuit to ensure the correct flow of electricity, with polarity being important (the stripe indicates the cathode).
- 😀 Proper insulation is essential to prevent short circuits between components, which can lead to safety hazards.
- 😀 Once the components are soldered and secured, the socket can be reassembled and tested by plugging it into a power source.
- 😀 The LED lights up to show the socket is properly connected to power. If it doesn't light up, it means the connection is not functioning.
Q & A
What is the goal of the tutorial in this video?
-The goal of the tutorial is to show how to modify a two-hole power outlet by adding LED lights to indicate when the outlet is properly connected to power.
What tools and materials are needed for this modification?
-The tools and materials required include a soldering iron, drill or cutter, 5mm LEDs, resistors (150k ohm), diodes (1A IN407), and copper wire, along with glue for assembly.
Why is it important to be careful with the LED's polarity?
-The polarity of the LEDs is important because the small metal plate indicates the positive terminal, while the larger plate is the negative. If connected incorrectly, the LED will not function properly.
How do you prepare the power outlet for modification?
-To prepare the power outlet, you need to remove the back cover by unscrewing the four screws and then drill holes in the front part of the outlet for the LED lights to fit.
What is the purpose of the resistor in the circuit?
-The resistor (150k ohm) limits the current flowing to the LED, protecting the LED from being damaged by excessive current.
How do you ensure the LED is connected correctly to the circuit?
-The LED’s positive leg (marked by a smaller metal plate) should be connected to the diode, while the negative leg (the larger metal plate) connects to the resistor.
What safety precautions should be taken when working with electrical outlets?
-Safety precautions include ensuring the outlet is disconnected from the power supply before beginning work, using proper tools, and verifying all connections are secure to avoid electrical hazards such as short circuits.
What does the LED indicate when the outlet is in use?
-The LED serves as an indicator to show that the outlet is receiving power. If the LED is lit, it means the outlet is properly connected to the electrical supply.
How is the LED light installed into the power outlet?
-The LED is installed by drilling holes into the outlet housing, inserting the LED components, and then soldering the leads to the correct components (resistor and diode) in the circuit.
Can the modification be done without a soldering iron?
-While it is possible to make the connections without a soldering iron by twisting wires together, soldering ensures a more secure and reliable connection, reducing the risk of loose connections or shorts.
Outlines

This section is available to paid users only. Please upgrade to access this part.
Upgrade NowMindmap

This section is available to paid users only. Please upgrade to access this part.
Upgrade NowKeywords

This section is available to paid users only. Please upgrade to access this part.
Upgrade NowHighlights

This section is available to paid users only. Please upgrade to access this part.
Upgrade NowTranscripts

This section is available to paid users only. Please upgrade to access this part.
Upgrade NowBrowse More Related Video

Cara Membuat Generator Sederhana by XII Ilmu Alam 1 MAN Model Palangka Raya Gen34 2015

Praktikum Hukum Pascal - Mesin Hidrolik | SaBiKum | Eksperimen Sains | DIY

Electrical Engineering: Basic Laws (5 of 31) Finding R=? (Resistance) in an Element

Counterboring on a Manual Mill
SETELAH NONTON PASTI SEMUA PENGEN BUAT STOP KONTAK CANGGIH TANPA KABEL !!
cara pasang kabel terminal colokan||dan saklar 3 pin
5.0 / 5 (0 votes)