Como usar PINO DIGITAL de ENTRADA no arduino - Curso Gratuito pelo Tinkercad - Aula 2
Summary
TLDRIn this second lesson of the Arduino course, Professor Gustavo demonstrates how to use buttons with Arduino. He explains how to wire and test buttons using a breadboard and components like resistors and LEDs. The lesson shows how a button input can control an LED output, with the use of an Arduino board to read button states and turn the LED on or off accordingly. The lesson also introduces digitalRead and digitalWrite commands in Arduino programming, teaching users how to use these functions to create interactive electronics projects. The course will continue to explore more Arduino features in future lessons.
Takeaways
- 😀 The lesson focuses on using Arduino to read button inputs through the Tinkercad platform.
- 😀 The importance of setting up a breadboard with proper connections (positive and negative) is emphasized.
- 😀 Buttons have different terminal connections, and it’s crucial to understand how to properly wire them to avoid short circuits.
- 😀 A button can either send a positive or negative signal depending on whether it's pressed or not, affecting the Arduino's behavior.
- 😀 The lesson demonstrates how to create a simple circuit where a button controls an LED using a resistor.
- 😀 The button press is used to send a signal to the Arduino, which then controls the LED based on the button's state.
- 😀 Arduino pins are declared as either 'input' or 'output' in the code, depending on the component connected (button as input, LED as output).
- 😀 A digitalRead function is used to read the state of the button, determining if it is pressed (HIGH) or not pressed (LOW).
- 😀 The condition structure (if-else) in the code checks if the button is pressed and turns the LED on or off accordingly.
- 😀 The lesson also demonstrates how to make the LED blink when the button is pressed and held down, by modifying the code.
- 😀 In future lessons, more advanced concepts like analog pins and PWM will be introduced for more complex projects.
Q & A
What is the purpose of the second lesson in the Arduino course?
-The second lesson in the Arduino course focuses on teaching how Arduino reads button inputs. It involves setting up a simple circuit using Tinkercad and explaining the use of buttons with Arduino to control components like LEDs.
Why is the breadboard shown in the video important for this lesson?
-The breadboard is essential for creating circuits in the lesson. It is used to connect components, including the Arduino and electronic elements like LEDs and resistors, allowing the user to experiment with and control different circuits.
What role does the button play in the circuit demonstrated in the lesson?
-The button in the circuit is used to control the flow of electricity. When pressed, it completes the circuit and can either send a HIGH or LOW signal to the Arduino, which can then be used to trigger an action, such as turning an LED on or off.
How does pressing the button affect the LED in the lesson's demonstration?
-Pressing the button sends a signal to the Arduino, causing the LED to either turn on or off, depending on the logic programmed. The button controls whether the circuit is closed (LED on) or open (LED off).
What is the purpose of using a resistor in the circuit with the button and LED?
-The resistor is used to limit the current flowing through the LED to prevent it from burning out. It ensures that the LED receives the appropriate amount of voltage and current when the circuit is closed.
How are the pins on the Arduino configured in the lesson?
-In the lesson, the Arduino pins are configured as either inputs or outputs. Pin 2 is used as an input to read the button's state, and pin 4 is used as an output to control the LED.
What is the purpose of the 'digitalRead' command in the Arduino code?
-'digitalRead' is used to read the state of a digital input pin, in this case, the button. It checks whether the button is pressed (sending a HIGH signal) or not pressed (sending a LOW signal).
What is the difference between 'HIGH' and 'LOW' in the Arduino code?
-'HIGH' means a voltage of 5 volts (ON), and 'LOW' means 0 volts (OFF). These states are used to determine whether a button is pressed or whether an output pin, like the LED, should be activated.
How does the 'if' statement in the code function?
-The 'if' statement checks if the button is pressed by reading the input pin. If the button is pressed (HIGH signal), it turns the LED on; if not pressed (LOW signal), it turns the LED off.
What additional behavior does the teacher add to the LED when the button is pressed?
-The teacher adds functionality to make the LED blink when the button is pressed and held down. The LED alternates between on and off every second while the button is pressed.
Outlines

This section is available to paid users only. Please upgrade to access this part.
Upgrade NowMindmap

This section is available to paid users only. Please upgrade to access this part.
Upgrade NowKeywords

This section is available to paid users only. Please upgrade to access this part.
Upgrade NowHighlights

This section is available to paid users only. Please upgrade to access this part.
Upgrade NowTranscripts

This section is available to paid users only. Please upgrade to access this part.
Upgrade NowBrowse More Related Video

Como usar PINO DIGITAL de SAÍDA no arduino - Curso Gratuito pelo Tinkercad - Aula 1

Simulasi Arduino Menggunakan TinkerCAD - Jam, Stopwatch, dan People Counter Digital
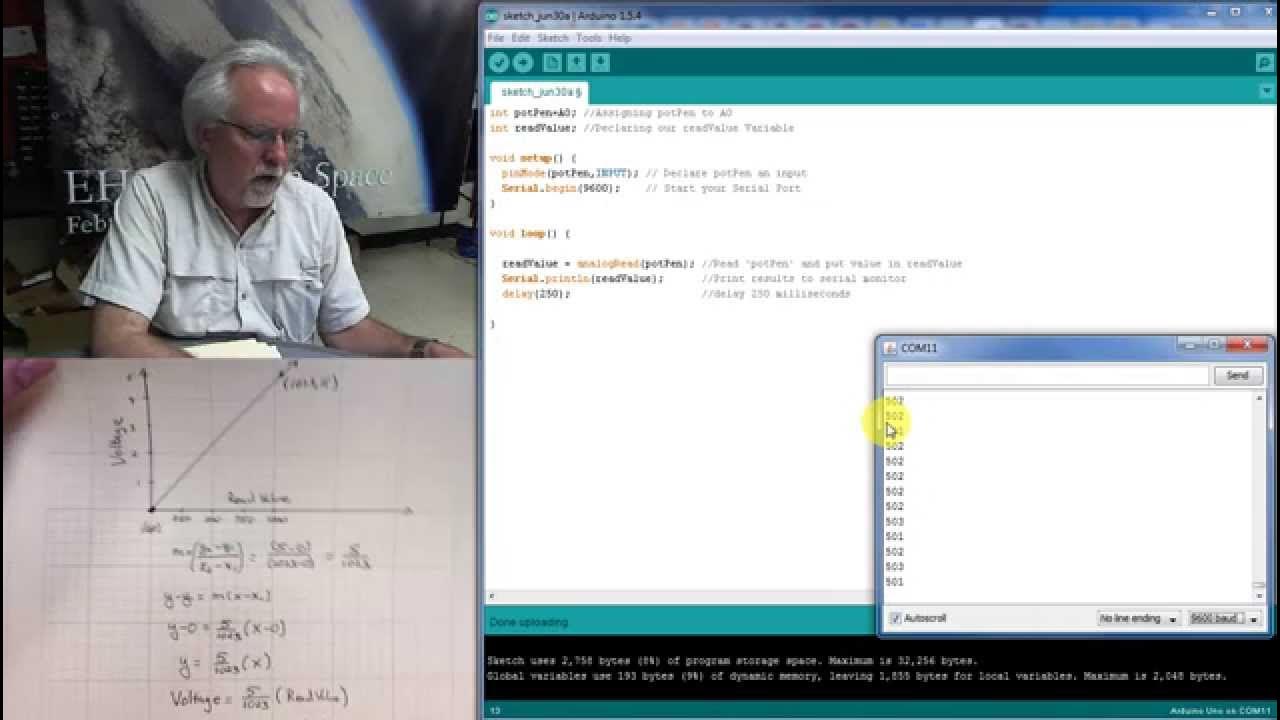
LESSON 10: Reading Analog Voltages with Arduino
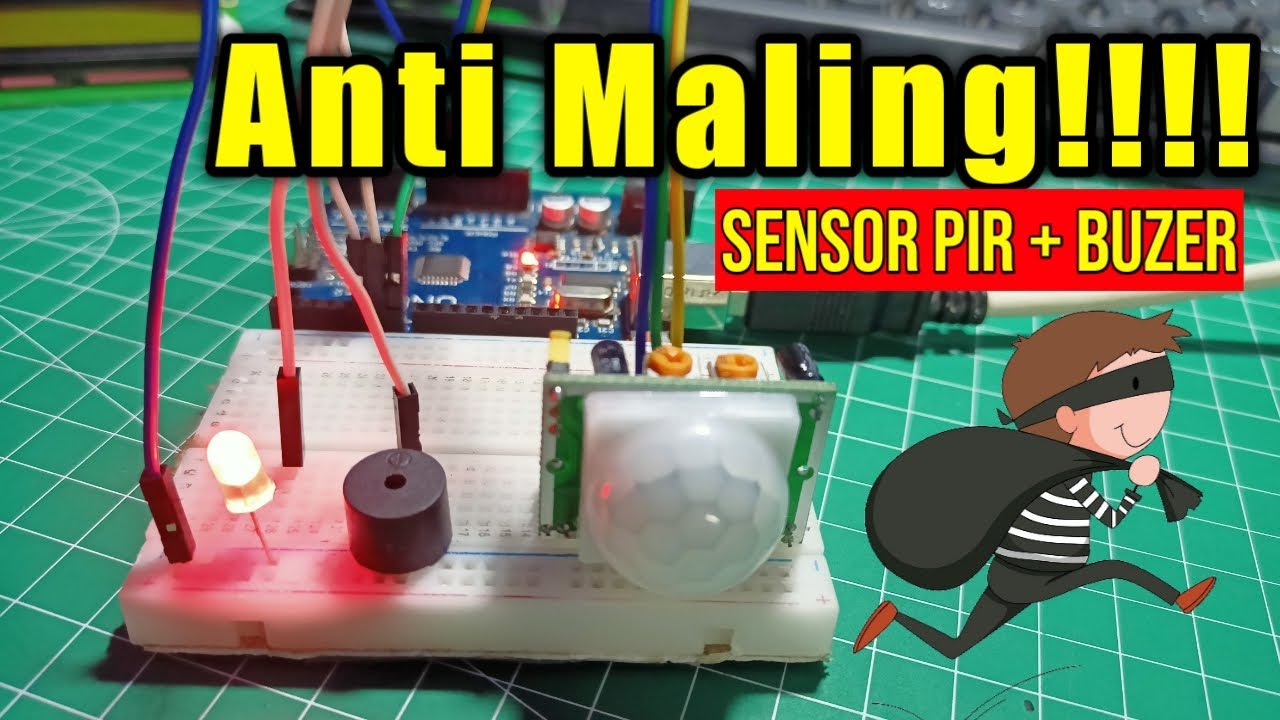
Alarm Anti Maling!!! Menggunakan Sensor PIR

INTEGRATION OF SENSOR AND ACTUATORS WITH ARDUINO-I
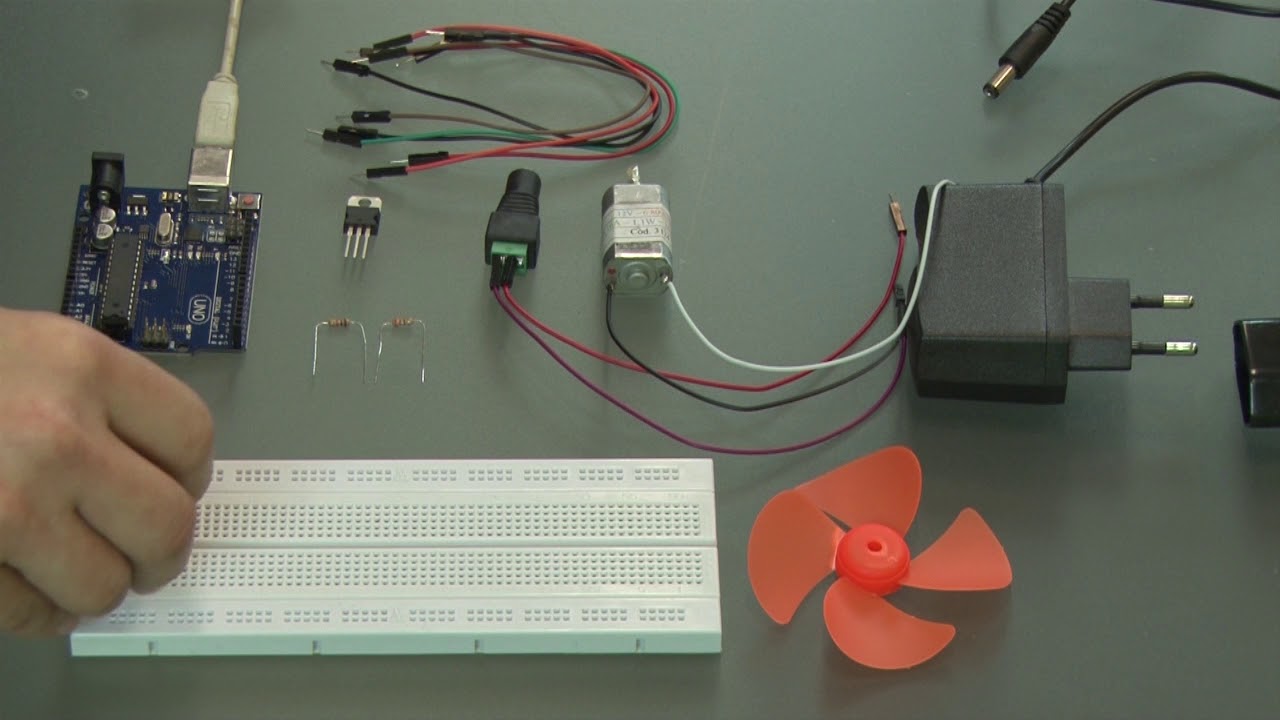
Arduino - Aula 22 - Experimento 9 - Motor elétrico
5.0 / 5 (0 votes)