How To Balance DJI Ronin RS3 - COMPLETE Beginner's Guide!
Summary
TLDRThis video provides a step-by-step guide on setting up and balancing a camera on a gimbal. It covers the process of attaching the quick release plates, unlocking and adjusting the roll, tilt, and pan axes, and ensuring the camera remains steady at various angles. Viewers learn how to fine-tune the balance for each axis and are guided through the necessary adjustments until the camera is stable. The process culminates in calibrating the gimbal for smooth and steady footage, making it ready for use in filming.
Takeaways
- 😀 Attach the upper quick-release plate to your camera before proceeding.
- 😀 Secure the tripod legs to the gimbal with the gimbal turned off.
- 😀 Unlock and re-lock the roll axis while the gimbal is on a flat surface.
- 😀 Adjust the tilt axis to an upright position and lock it after adjustment.
- 😀 Install the bottom quick-release plate on the gimbal and lock the lever.
- 😀 Mount the camera on the gimbal using the quick-release plate and lock it in place.
- 😀 Unlock the tilt axis to allow the camera to rotate freely, then balance the camera's center of gravity.
- 😀 Make adjustments to the camera's position until it can balance upright on its own.
- 😀 Unlock and adjust the tilt axis until the camera stays steady at any angle.
- 😀 Unlock and adjust the roll axis to ensure the camera remains steady at any angle.
- 😀 Unlock the pan axis, adjust the front-to-back position, and balance the camera at a 45-degree angle before turning on the gimbal for calibration.
Q & A
What is the first step when setting up the gimbal?
-The first step is to attach the upper quick-release plate to your camera.
How should the gimbal be positioned when unlocking the roll axis?
-The gimbal should be placed on a flat surface with the roll axis in a horizontal position before you re-lock it.
What should you do after unlocking the Tilt axis?
-Once the Tilt axis is unlocked, position the gimbal upright and then re-lock it.
How do you install the bottom quick-release plate onto the gimbal?
-Place the lever in the unlocked position and then install the bottom quick-release plate onto the gimbal. Once it's in place, lock the lever.
How do you attach the camera to the gimbal?
-Place the lever in the unlocked position and attach the camera using the quick-release plate. Once the camera is properly installed, lock the lever.
What is the purpose of adjusting the center of gravity of the camera?
-Adjusting the camera's center of gravity ensures that it is balanced in an upright position, allowing for stable operation.
How do you balance the Tilt axis?
-To balance the Tilt axis, loosen the lever on the Tilt axis and adjust the up and down position of the camera until it stays balanced at any angle. Lock the lever once balanced.
What should you do if you're using the gimbal with the screen flipped out?
-If you plan to use the gimbal with the screen flipped out, make sure to do so before proceeding with further adjustments.
How do you adjust the balance of the roll axis?
-Unlock the lever for the roll axis and adjust the roll arms' position from left to right until the camera remains steady at any angle. Lock the lever after each adjustment.
How do you balance the pan axis?
-Unlock the lever on the pan axis and adjust the position from front to back until the camera stays balanced when the gimbal is at a 45-degree angle. Lock the lever once balanced.
What is the final step after balancing all the axes?
-The final step is to turn on the gimbal and start the calibration process. Once calibration is done, the setup is complete and ready for use.
Outlines

This section is available to paid users only. Please upgrade to access this part.
Upgrade NowMindmap

This section is available to paid users only. Please upgrade to access this part.
Upgrade NowKeywords

This section is available to paid users only. Please upgrade to access this part.
Upgrade NowHighlights

This section is available to paid users only. Please upgrade to access this part.
Upgrade NowTranscripts

This section is available to paid users only. Please upgrade to access this part.
Upgrade NowBrowse More Related Video
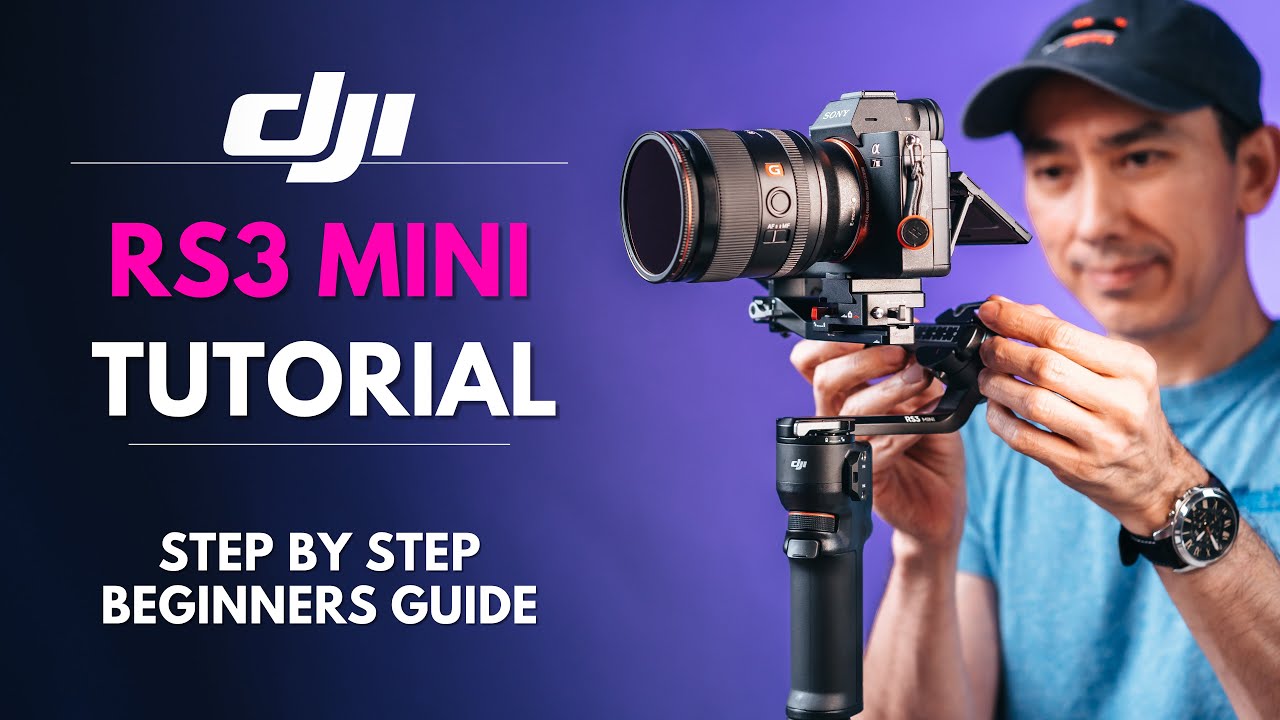
DJI RS3 Mini Tutorial: Step by Step Beginner's Guide. How to balance and use
Edit Viral 3D Videos on Mobile 🔥🔥

5 Steps to Start a Medical YouTube Channel as a Beginner Healthcare Creator
PENJELASAN VLAN + HOTSPOT (MIKROTIK) | 12-12-2022
Cara Merekam Layar Komputer Dengan OBS Gratis 2022

Konfigurasi Bridge Hotspot dan PPPoE
5.0 / 5 (0 votes)