Setting Access Point TP-Link | TL-WA701ND | Client
Summary
TLDRIn this tutorial, the presenter demonstrates how to connect to a free Wi-Fi signal using an access point. After explaining the necessary preparations and referring to a previous tutorial, the video shows the steps to log in, select 'Client' mode, survey available signals, and connect to the strongest one. The tutorial also highlights the limitations of the access point, which can only draw Wi-Fi signals and requires additional equipment for sharing the connection. The video concludes with a successful connection test and encourages viewers to like, comment, subscribe, and share.
Takeaways
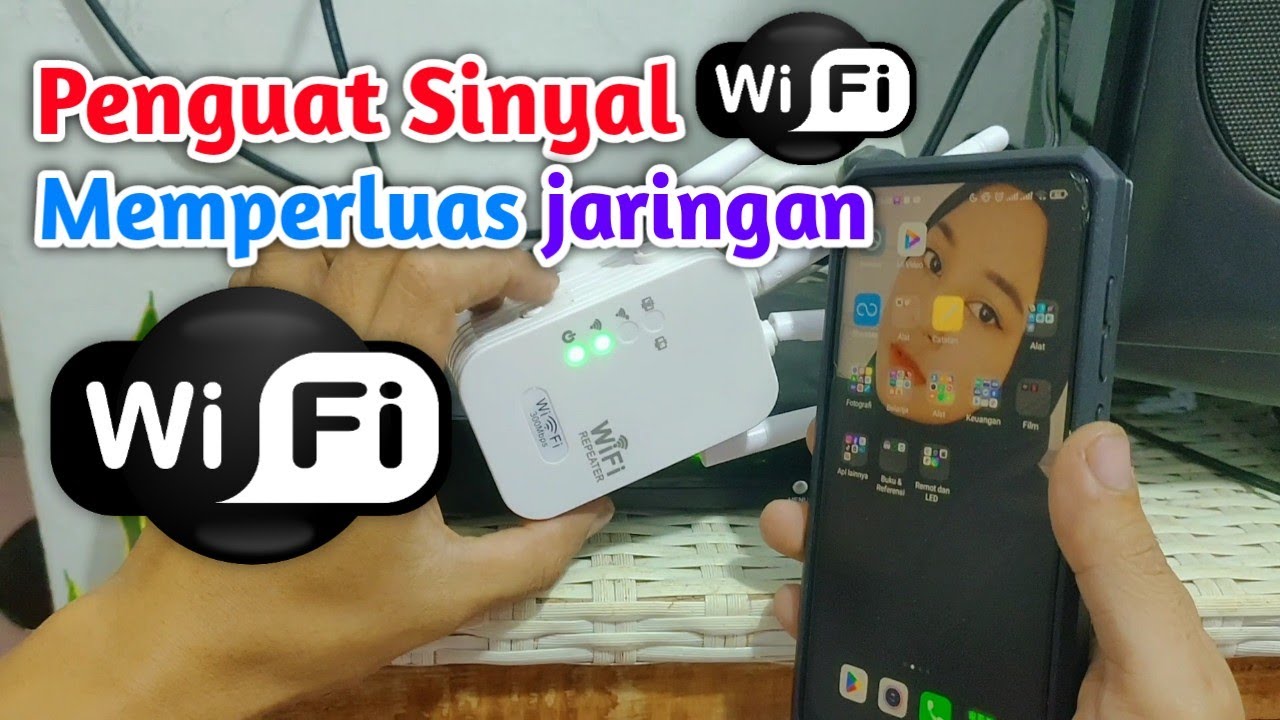
- 😀 The tutorial teaches how to attract free Wi-Fi signals using an access point.
- 😀 The same access point is used as in the previous tutorial, but this time it's set up as a client to pull Wi-Fi signals.
- 😀 To start, viewers should refer to the previous video for necessary preparations, including tutorial links in the description.
- 😀 The first step involves logging into the system and selecting the 'Client' option to pull Wi-Fi to your access point.
- 😀 After selecting 'Client', you need to click 'Survey' to search for the strongest nearby Wi-Fi signal.
- 😀 Once a strong Wi-Fi signal is found, click 'Connect' and enter the Wi-Fi password.
- 😀 After entering the password, proceed to click 'Next' and then reboot the system for the changes to take effect.
- 😀 The video explains the limitation of the access point, as it can only attract signals and cannot share them without adding additional equipment.
- 😀 The tutorial demonstrates the connection status, showing that while the computer is disconnected, it is connected via LAN to the access point.
- 😀 Despite initial disconnection, the tutorial successfully shows browsing functionality after completing the setup.
- 😀 Viewers are encouraged to like, comment, subscribe, and share the video with friends who might find it helpful.
Q & A
What is the main purpose of the tutorial?
-The tutorial aims to demonstrate how to attract free Wi-Fi signals using an access point in client mode.
What equipment is required for this tutorial?
-You need an access point that supports client mode and a nearby Wi-Fi signal to connect to.
What is the difference between 'Repeater mode' and 'Client mode'?
-'Repeater mode' amplifies and extends an existing Wi-Fi signal, while 'Client mode' connects to a Wi-Fi network as a client, allowing the device to use that network's internet connection.
How do you begin the process in the tutorial?
-First, you log in to the access point and select 'Client mode.' Then, click 'Next' to proceed with the setup.
What should you do after selecting 'Client mode'?
-After selecting 'Client mode,' you need to perform a Wi-Fi network survey to find the strongest available signal. Once found, click 'Connect' and enter the Wi-Fi password.
What happens after you enter the password?
-After entering the password, you continue with the configuration, click 'Next,' and then reboot the device to apply the settings.
What should you do if the access point remains disconnected after rebooting?
-If the access point remains disconnected, check the network settings to ensure everything is correctly configured. The computer may still be connected to the access point via LAN, not Wi-Fi.
What limitation does the access point have in this setup?
-The access point in this tutorial can only attract Wi-Fi signals, but it cannot distribute them unless an additional access point or router is used.
How can you test if the Wi-Fi connection was successfully established?
-To test the connection, try browsing the internet. If you can access websites, the connection is working correctly.
What is the final call to action in the tutorial?
-The tutorial ends with a call to action for viewers to like, comment, subscribe, and share the video to help others who may find it useful.
Outlines

This section is available to paid users only. Please upgrade to access this part.
Upgrade NowMindmap

This section is available to paid users only. Please upgrade to access this part.
Upgrade NowKeywords

This section is available to paid users only. Please upgrade to access this part.
Upgrade NowHighlights

This section is available to paid users only. Please upgrade to access this part.
Upgrade NowTranscripts

This section is available to paid users only. Please upgrade to access this part.
Upgrade NowBrowse More Related Video

INI CARA YANG BENAR !!!! NEMBAK WIFI JARAK JAUH DENGAN TENDA O3
Cara Menggunakan Wifi Repeater

CARA SETTING DAN SAMBUNG KABEL FIBER OPTIK

Transfer Files from PC to PC using a LAN/Ethernet Cable

Setting Access Point TP-Link | TL-WA701ND | Bridge
Cara Melihat Password Wifi Yang Sudah Terhubung Ke Laptop/PC
5.0 / 5 (0 votes)