BEST Midjourney Workflow for Tuning Your Own Style
Summary
TLDRThe video provides a 7-step process for using MidJourney's new style tuning feature. The first step is to include an aspect ratio in your prompt to match the output you want. The second step is to use the default mode rather than raw mode when first tuning a style. For step 3, generate 16 style options to select from. You can view styles in pairs or a grid; choose what works for you. To test a style, copy the prompt and paste it into MidJourney on its own. Also try it with just your subject without the original style prompt words. Use permutations to easily compare. This shows whether the style words themselves influence the output. The fifth step is saving shortcuts of prompts plus style codes to streamline future use. Give them descriptive names to remember. If your style code isn't clearly influencing images, step 6 is adjusting the stylize parameter from 0-1000. Try a range with permutations to compare strength of style application. Finally, add some chaos, values 0-100, to introduce variety between generated images. Values around 8-20 work well. You can also switch a default style tuning to raw after the fact if desired. Overall, this process helps simplify navigating the new style tuning capabilities in MidJourney.
Takeaways
- Include aspect ratio in prompt for desired output dimensions
- Stick to default mode instead of raw mode when starting out
- Use 16 style choices for initial tuning
- View styles in pairs or grid based on preference
- Use fast loops and brackets to compare style options
- Save successful styles as shortcuts for future use
- Adjust stylize parameter if style isn't coming through
- Try various stylize values above and below default of 100
- Add chaos for variety, starting around 8 to 20
- You can switch to raw style after initial tuning if desired
Q & A
What are some key things to include in your initial prompt when tuning style?
-Include the aspect ratio if you know the output dimensions you want, like 2x3 for posters or 16x9 for wider formats.
When first starting out with style tuning, is it better to use default or raw mode?
-Stick with default mode at first, as raw mode gives very similar results and is harder to understand.
How many style choices should you select for initial tuning?
-16 choices is a good starting point to give you enough options without being overwhelming.
What are the two ways to view the style options?
-You can view styles in pairs to see the full grid, or as single images in a larger grid based on preference.
How can you easily compare results with and without style words?
-Use fast loops and brackets around style words to generate images with and without those words.
Why save successful styles as shortcuts?
-Saving shortcuts saves time and makes it easy to reuse effective styles for new prompts.
What can you adjust if the style isn't coming through well initially?
-Try increasing the stylize parameter above the default 100 to strengthen the style's influence.
What range of stylize values should you experiment with?
-Try stylize values above and below the default of 100 to find the right balance.
How can you add more variety to your style results?
-Use low chaos values around 8-20 to introduce more randomness and unique options.
When's a good time to switch to raw style mode?
-You can switch to raw style after initial tuning in default mode to compare results.
Outlines

This section is available to paid users only. Please upgrade to access this part.
Upgrade NowMindmap

This section is available to paid users only. Please upgrade to access this part.
Upgrade NowKeywords

This section is available to paid users only. Please upgrade to access this part.
Upgrade NowHighlights

This section is available to paid users only. Please upgrade to access this part.
Upgrade NowTranscripts

This section is available to paid users only. Please upgrade to access this part.
Upgrade NowBrowse More Related Video
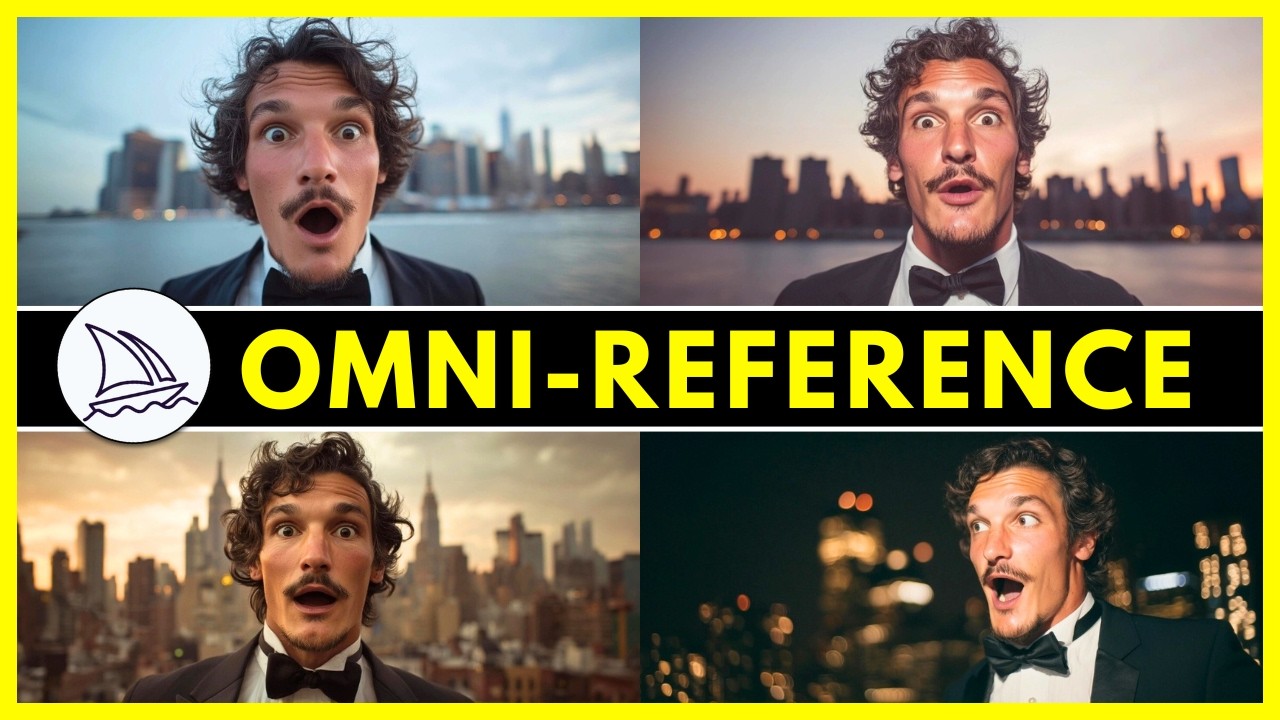
Midjourney's NEW Omni-Reference: Create CONSISTENT Characters, Objects, Scenes | V7 --oref Guide

NEW Midjourney UPDATE - Niji V6 Anime Generator

Screen Flow Action Buttons (beta) in Salesforce Summer 24

How to Create Multiple Consistent Characters in Midjourney V6!

Stop Building n8n AI Agent (This Claude MCP Does It INSTANTLY)
Salesforce Calendar - how to show tasks & other records
5.0 / 5 (0 votes)