Membuat Batik Geogebra (Dilatasi, Rotasi, Refleksi & Translasi)
Summary
TLDRThe video demonstrates a step-by-step process for creating intricate geometric patterns using software tools. It begins with placing points in a coordinate system and connecting them to form shapes. The tutorial covers techniques like deleting points, creating semi-circles, rotating patterns, and translating designs. The instructor emphasizes reflection and transformation methods to enhance the pattern's complexity. By following the video, users will learn how to efficiently manipulate geometric shapes to produce unique batik patterns, encouraging creativity and precision in design.
Takeaways
- 🟢 Start by placing points at (0,0), (0,2), (2,2), (0,-2), and (-2,-2).
- 🟢 Connect segments from point B to C, C to D, and D to E.
- 🟢 Use the 'Delete from Point' function to simplify the pattern by selecting point A and entering '2'.
- 🟢 Select the semi-circle tool to connect the pattern as shown in the video.
- 🟢 Rotate the pattern by blocking it, selecting point A, and clicking 'Rotate Round Point' at 45 degrees.
- 🟢 Create new points at (-12,4), (-8,8), and (-4,12) for a new design in the upper left corner.
- 🟢 Choose the ellipse tool and follow the video instructions to complete the shape.
- 🟢 Add helper points and connect them using the semi-circle tool as demonstrated.
- 🟢 Reflect the pattern three times by selecting it and using the 'Reflect About Line' feature at point D.
- 🟢 Translate the batik pattern three times by selecting it and moving it to the right until it touches the translated pattern.
Q & A
What is the first step in creating the pattern?
-The first step is to place points at coordinates (0,0), (0,2), (2,2), (0,-2), and (-2,-2).
How are the segments connected after placing the points?
-The segments are connected by linking point B to C, C to D, and D to E.
What method is used to delete points from the pattern?
-The method used is 'delete from point', which involves selecting the pattern, clicking on point A, and entering the number two.
What shape is created after deleting points?
-A semi-circle is created by connecting the remaining points according to the video instructions.
How is the rotation of the pattern achieved?
-The pattern is rotated by selecting it, blocking point A, and clicking to rotate it 45 degrees.
What new points are created for the upper left corner?
-New points are created at the coordinates (-12,4), (-8,8), and (-4,12).
What tool is used to create an ellipse in the design?
-The ellipse tool is used, and the process follows the steps shown in the video.
What is done after creating the ellipse?
-Helper points are created, and a semi-circle is drawn by connecting these points.
How many times is the reflection of the pattern performed?
-The pattern is reflected three times about the Y-axis at point D.
What is the final transformation applied to the batik pattern?
-The batik pattern is translated three times by vector, ensuring the right edge touches the left edge of the translated pattern.
Outlines

This section is available to paid users only. Please upgrade to access this part.
Upgrade NowMindmap

This section is available to paid users only. Please upgrade to access this part.
Upgrade NowKeywords

This section is available to paid users only. Please upgrade to access this part.
Upgrade NowHighlights

This section is available to paid users only. Please upgrade to access this part.
Upgrade NowTranscripts

This section is available to paid users only. Please upgrade to access this part.
Upgrade NowBrowse More Related Video
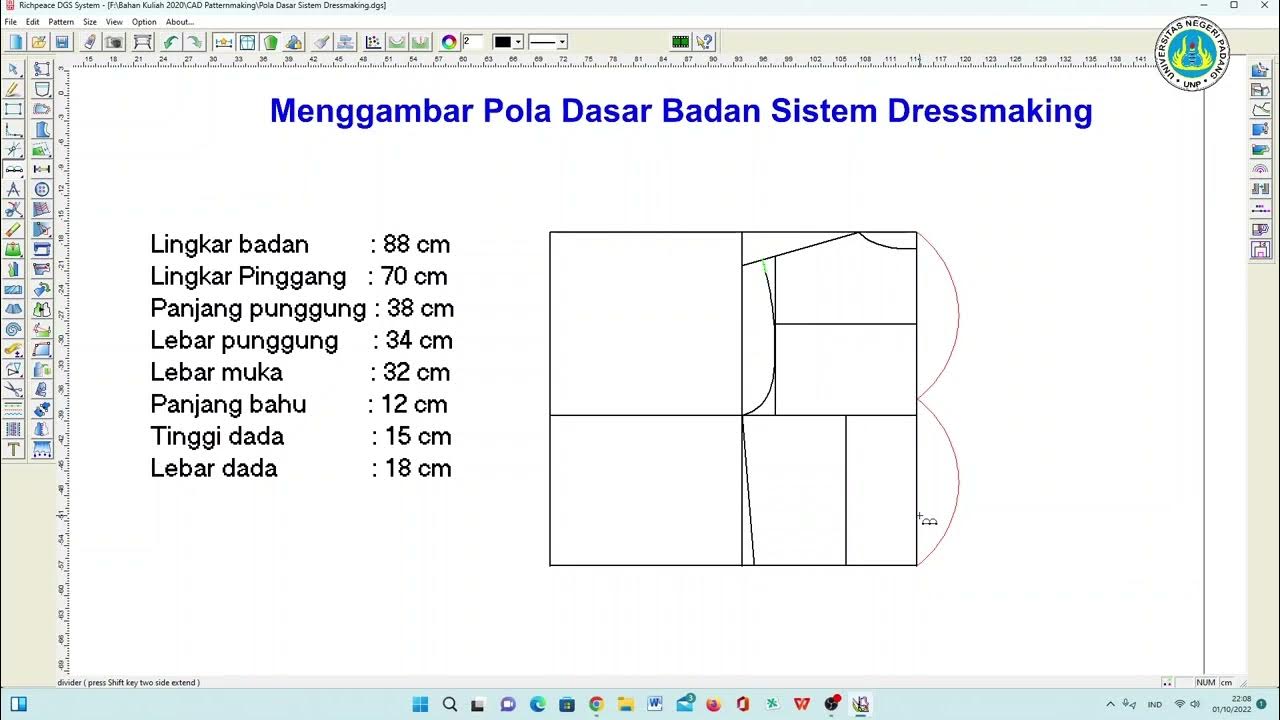
Cara Membuat Pola Dasar Badan Dressmaking dengan Richpeace

Sierpinski Arrowhead Curve L-system (118098 steps!)

Cara Membuat Ecoprint Dye Blanket | How to make Ecoprint Dye Blanket | MORDANT TS2+ (01)
IDE KREATIF TAS TERBARU DARI BUNGKUS MIE SEDAAP
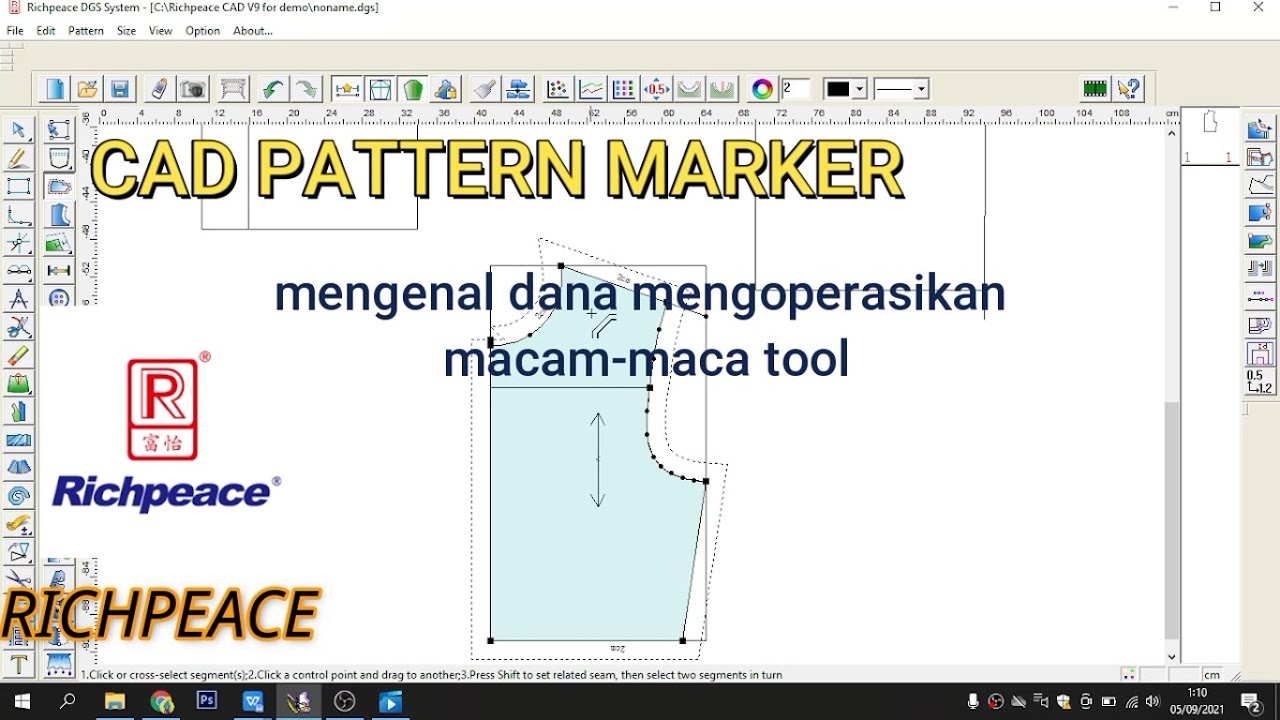
CAD PATTERN MARKER | Pengenalan dan pengoperasian Toolbar pada Richpeace RP-DGS

Use Case Dengan EA Sparx 1
5.0 / 5 (0 votes)