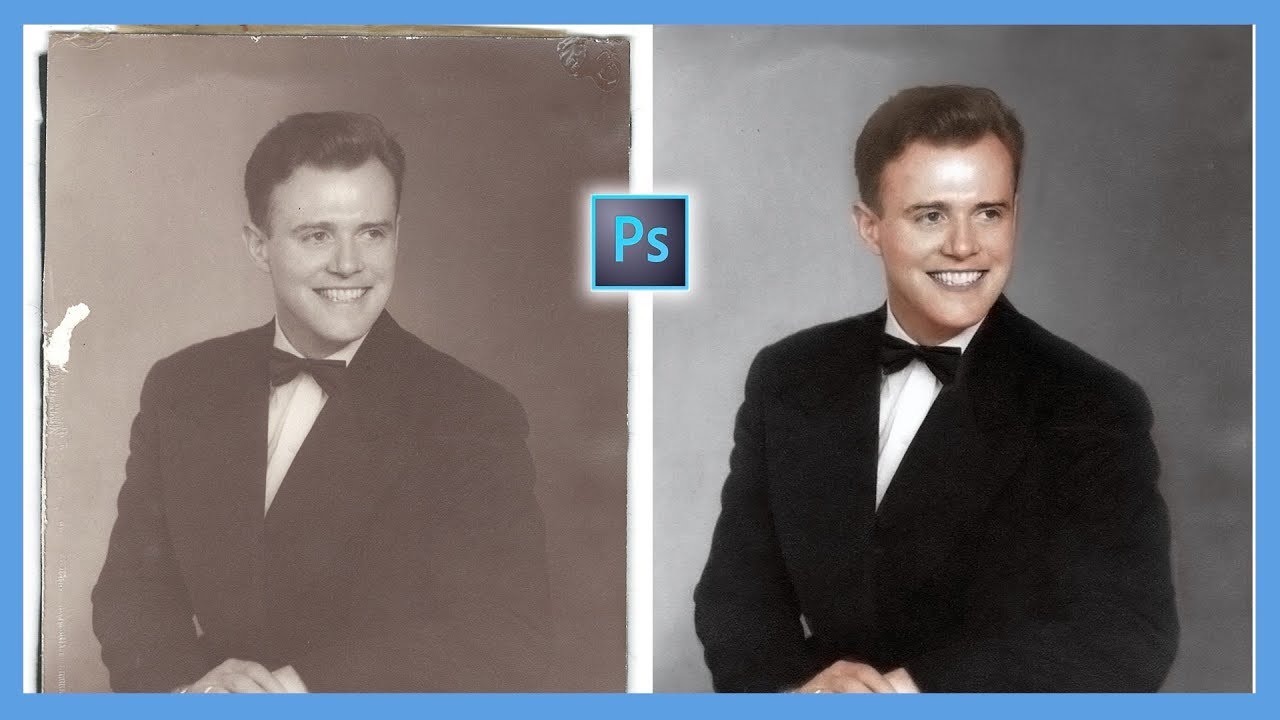
PHOTOSHOP TUTORIAL: Photo Restoration, How to repair and restore damaged Photographs
Summary
TLDRIn this video, the creator demonstrates how to restore old black-and-white photographs using Photoshop. They emphasize non-destructive editing by converting the image layer into a smart object. The process includes cropping, using healing tools for spot and edge repairs, and correcting high-contrast areas. They show how to restore facial details using the Healing Brush tool and replace missing parts like an eye. Finally, they adjust lighting and exposure using curves adjustments to improve the overall image quality. The video concludes with an invitation to explore more tutorials on photo restoration and coloring.
Takeaways
- 🖼️ Convert image layers to smart objects to ensure non-destructive editing, keeping the original safe.
- ✂️ Use the crop tool to remove unwanted borders or parts of the image, and uncheck 'Delete Cropped Pixels' to retain flexibility.
- 🧹 Use the Spot Healing Brush and Healing Brush tools on a new layer to repair small spots and preserve edits non-destructively.
- 👁️ For complex spot repairs, sample from nearby similar areas, such as fixing one eye by sampling from the other.
- 🔄 Use the Clone Source tool to modify duplicates (e.g., flipping or rotating elements) when replacing image parts.
- 🚫 Switch the Healing Brush tool to 'Replace' mode when fixing edges to avoid unwanted blending with black borders or high-contrast areas.
- 🎨 Use the Healing Brush tool frequently to manually sample nearby pixels, allowing for more control over spot repairs.
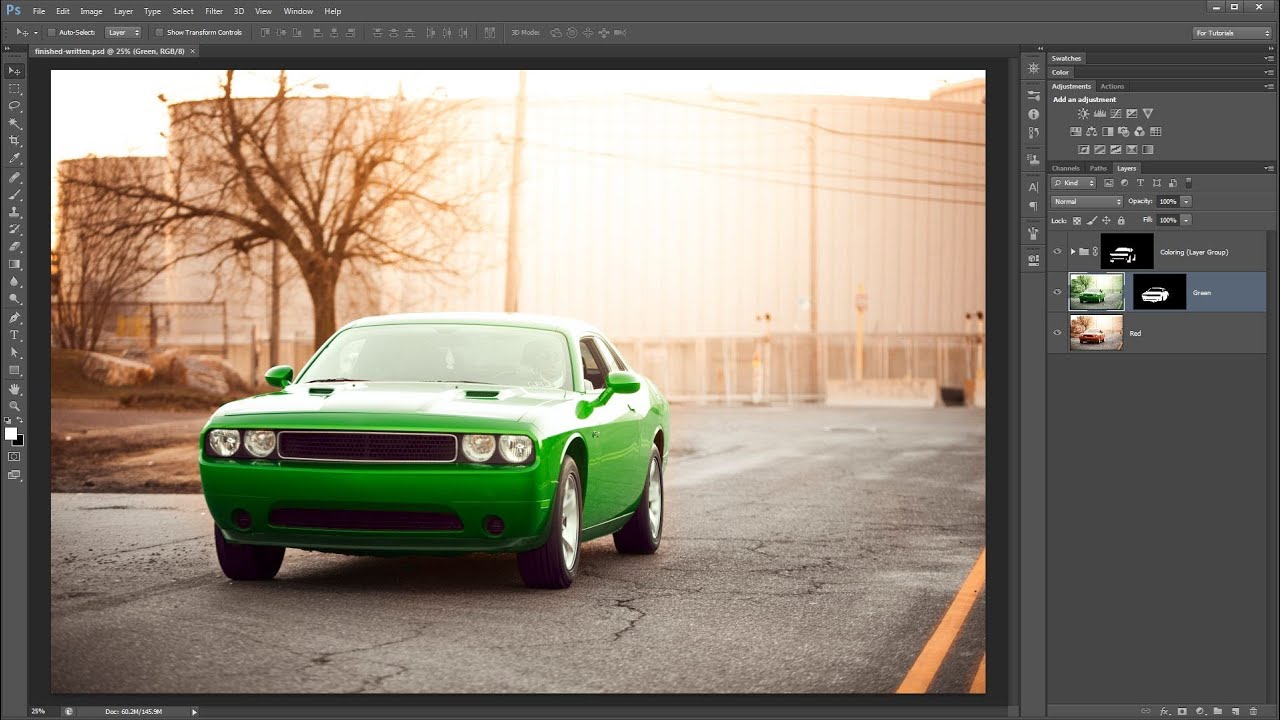
- 🔧 Adjust the lighting and exposure using curves adjustment layers and masks, allowing selective edits to brighten or darken specific areas.
- 🌫️ Apply a motion blur to masks to smooth out harsh lines when adjusting specific areas of the image.
- 📷 After repairs and adjustments, the image can be finalized and further enhanced with tutorials on coloring available in other videos.
Q & A
What is the first step the creator takes when restoring a black-and-white photograph in Photoshop?
-The first step is converting the image layer to a smart object to work non-destructively, which preserves the original image inside a 'clear plastic wallet' analogy.
Why does the creator recommend unchecking 'Delete Cropped Pixels' when using the crop tool?
-Unchecking 'Delete Cropped Pixels' allows the creator to change the crop later without permanently losing any cropped-out areas of the image.
What types of damage does the creator identify in old photographs, and how are they repaired?
-The creator identifies three types of damage: small spots that can be patched easily, more complex spot repairs (like near the eye) requiring nearby sampling, and edge repairs that need precision but can look worse than they are.
Which Photoshop tools can be used for non-destructive repair work, according to the creator?
-The Spot Healing Brush tool and the Healing Brush tool can be used for non-destructive repairs when applied to a new layer with 'Sample All Layers' checked.
What does the creator suggest when an entire part of the image, like an eye, is missing?
-The creator suggests replacing the missing part with a similar existing element (like the other eye) and using the clone source options to flip and adjust the duplicate for a more natural appearance.
How does the creator handle areas where the Healing Brush tool causes issues with edges?
-In these cases, the creator switches the mode of the Healing Brush tool to 'Replace,' which directly copies and pastes pixels rather than blending them, making it useful for edge repairs.
Why does the creator prefer the main Healing Brush tool over the Spot Healing Brush tool?
-The creator prefers the Healing Brush tool because it allows for quickly sampling nearby areas, providing more control without needing to switch tools frequently.
What issue does the creator identify with high-contrast edges, and how is it fixed?
-High-contrast edges, like the area near the eye, can cause problems with patching. The creator switches to 'Replace' mode to make quick repairs and then smooths them out in 'Normal' mode.
How does the creator adjust the lighting in the photograph after completing the restoration?
-The creator adds a curves adjustment layer and uses masking to target specific areas, like the left and right sides, while applying a motion blur to soften the transitions.
What does the creator do to fine-tune the overexposed areas in the photograph?
-The creator uses another curves adjustment, focusing on slightly reducing the brightness in the center to bring back some details without overdoing it.
Outlines

This section is available to paid users only. Please upgrade to access this part.
Upgrade NowMindmap

This section is available to paid users only. Please upgrade to access this part.
Upgrade NowKeywords

This section is available to paid users only. Please upgrade to access this part.
Upgrade NowHighlights

This section is available to paid users only. Please upgrade to access this part.
Upgrade NowTranscripts

This section is available to paid users only. Please upgrade to access this part.
Upgrade Now5.0 / 5 (0 votes)


