Tutorial Dasar Relay Arduino
Summary
TLDRIn this video, Muhammad Abidzar demonstrates how to use a 5V DC relay with Arduino Nano. He explains the relay's pin configuration, including normally open (NO) and normally closed (NC) states, and provides a practical example using a 12V DC fan. The relay is programmed to alternate between ON and OFF states, controlled via Arduino code. Abidzar also shows how to apply the relay in high-voltage AC circuits up to 250V. Viewers are encouraged to ask questions and subscribe for more tutorials.
Takeaways
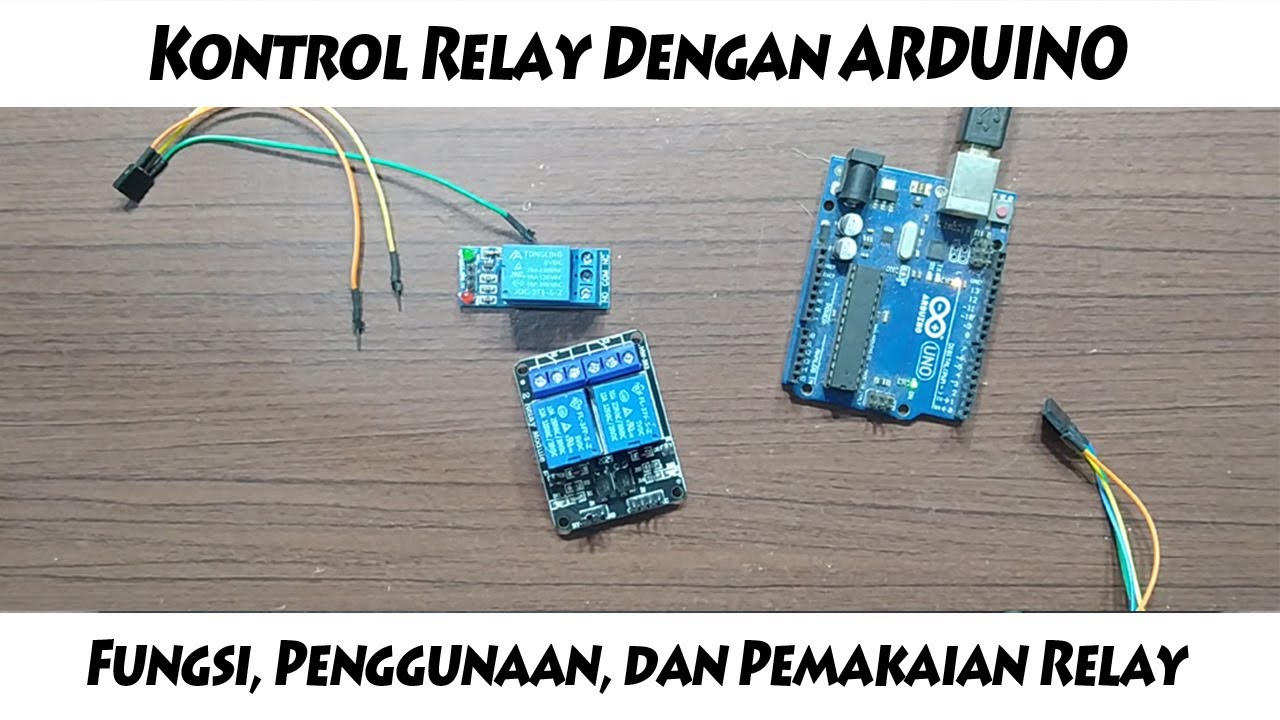
- 🔌 The video is about using a 5-volt DC relay with three pins: VCC, GND, and IN, and explaining how they function.
- 🟢 The relay has two states: Normally Open (NO) and Normally Closed (NC). When the relay is off, NO is open and NC is closed.
- 💡 A practical example involves connecting the relay with an Arduino Nano for control via a digital pin.
- ⏱️ The program will turn a lamp on for 5 seconds and off for 1 second in a continuous loop.
- 🔄 The relay will change states based on HIGH (on) and LOW (off) signals from the Arduino, flipping NO to NC and vice versa.
- 🔧 The setup also demonstrates connecting a 12V DC fan using the relay to control its operation.
- ⚡ The video shows wiring an adapter with the fan to demonstrate how the relay can control the fan’s power.
- 🔋 The relay is capable of controlling both 12V DC devices and 220V AC devices, which makes it versatile.
- 🛠️ A demonstration includes reversing the setup to show the opposite timing effect: turning the fan on for 2 seconds and off for 5 seconds.
- 📢 The video concludes with an invitation to ask questions and subscribe for more tutorials.
Q & A
What components are used in the video for the relay setup?
-The video uses a 5V DC relay, an Arduino Nano, a fan, a 12V DC adapter, and basic wiring components such as VCC, GND, and input pins.
What is the function of the VCC, GND, and IN pins on the relay?
-VCC connects to the power supply (5V), GND connects to the ground, and the IN pin receives the signal from the Arduino to control the relay.
What do the terms NO (Normally Open) and NC (Normally Closed) mean?
-NO means the circuit is open and not connected when the relay is off. NC means the circuit is closed and connected when the relay is off. When the relay is activated, the connections between NO and NC switch.
How does the relay control the fan in the video?
-The relay controls the fan by connecting the positive wire from the fan to the NO (Normally Open) pin and the power supply to the common (COM) pin. When the relay is activated, the fan turns on by completing the circuit.
What happens when the relay receives a 'HIGH' signal?
-When the relay receives a 'HIGH' signal, the NO (Normally Open) connection closes, and the NC (Normally Closed) connection opens, allowing current to flow through the NO circuit.
How does the timing of the fan's operation work in the example?
-In the example, the fan is set to turn on for 5 seconds, then turn off for 1 second, and repeat this cycle. This is controlled through the Arduino code that sends signals to the relay.
How can the timing of the fan be adjusted in the code?
-The timing can be adjusted by changing the delay values in the Arduino code. For example, the delay for the fan to be on or off can be changed from 1 second to 2 seconds, as shown in the video.
What happens if the fan is connected to the NC (Normally Closed) pin instead of NO?
-If the fan is connected to the NC (Normally Closed) pin, it will stay on when the relay is inactive and will turn off when the relay is activated.
Can the relay handle AC power, and if so, what voltage?
-Yes, the relay can handle AC power. It supports up to 250V AC and a current of up to 10A for switching higher voltage devices.
What is the purpose of the tutorial in the video?
-The purpose of the tutorial is to demonstrate how to control a relay using an Arduino, explaining how to wire the components, program the Arduino, and control devices like a fan using a relay.
Outlines

This section is available to paid users only. Please upgrade to access this part.
Upgrade NowMindmap

This section is available to paid users only. Please upgrade to access this part.
Upgrade NowKeywords

This section is available to paid users only. Please upgrade to access this part.
Upgrade NowHighlights

This section is available to paid users only. Please upgrade to access this part.
Upgrade NowTranscripts

This section is available to paid users only. Please upgrade to access this part.
Upgrade NowBrowse More Related Video
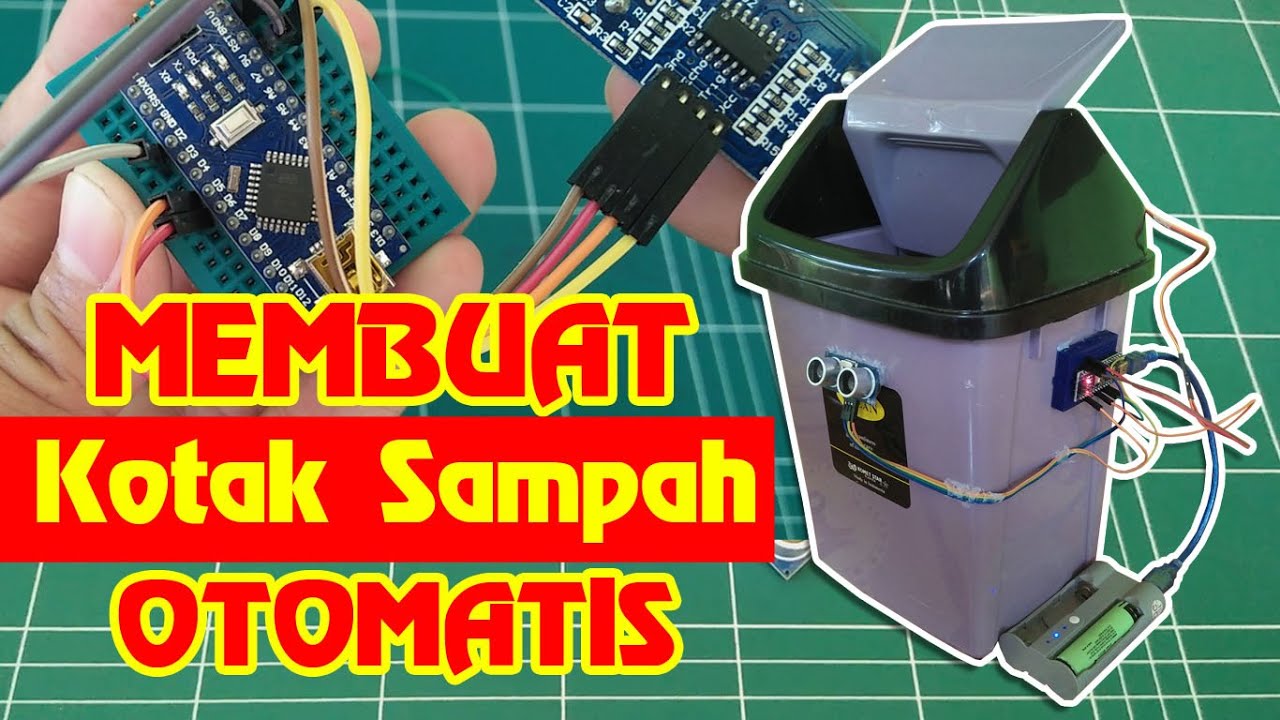
Dijamin Bisa | Membuat Kotak Sampah Otomatis

Cara buat saklar Lampu sensor tepuk

Membuat Alat Kontrol Peralatan Listrik Jarak Jauh - ARDUINO PROJECT INDONESIA
Cara penggunaan dan pengoperasian relay dengan ARDUINO UNO

Arduino Automated Coffee Maker Build

How to make Automatic Plant Watering System using Arduino UNO and Soil Sensor || Techie Lagan
5.0 / 5 (0 votes)