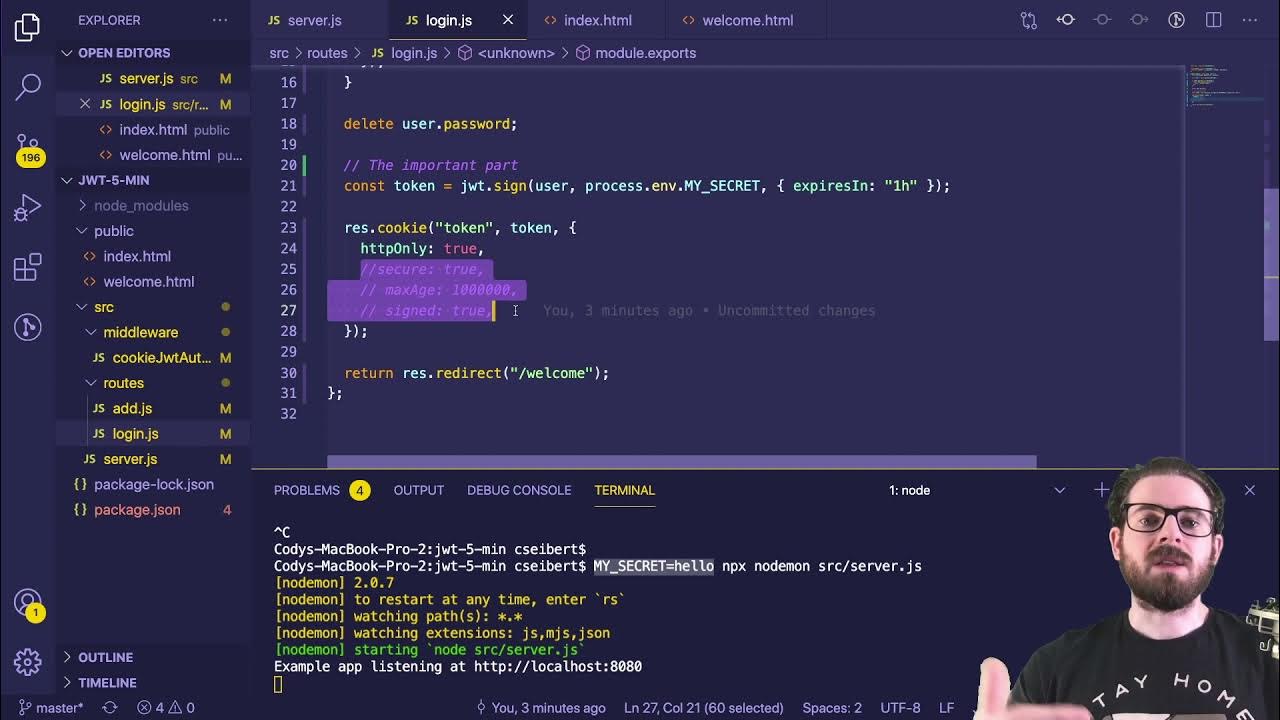
JWT Authentication with Node.js, React, MySQL | Node JS Authentication With JSON Web Token
Summary
TLDRThis tutorial covers the implementation of JWT (JSON Web Tokens) for authentication in a Node.js application. After setting up the signup and login pages and storing user records in MySQL, the instructor demonstrates how to generate a token upon successful login, store it on the client-side, and use it for subsequent API requests to verify user authentication without requiring re-login. The video guides through installing JWT, creating a login route to generate tokens, storing tokens in local storage, and setting up a server-side route to verify tokens, ensuring a secure and efficient user authentication process.
Takeaways
- 😀 The video discusses implementing JWT (JSON Web Tokens) authentication with Node.js.
- 🔐 It follows up on previous videos that covered creating signup and login pages and saving records in a MySQL database.
- 🛠️ The first step is to install JSON Web Token on the server side using npm or yarn.
- 🗝️ JWT works by generating a token for the user upon successful login, which is then stored client-side.
- 👤 The token is used for subsequent API requests to verify the user's identity without needing to re-authenticate.
- 📈 The video provides an example of how JWT can simplify the process of requesting data like posts or comments after initial login.
- 💻 The server-side code demonstrates how to generate a token using JWT with a secret key and an expiration time.
- 🔄 After login, the token is sent back to the client and can be stored in local storage for future use.
- 🔑 The server includes a route to check user authentication by verifying the JWT token.
- 📱 On the front end, the token is sent with API requests in the headers to authenticate the user.
- 🔍 The video concludes with a demonstration of the authentication check, showing how the server responds differently based on token validity.
Q & A
What is JWT and how does it work?
-JWT stands for JSON Web Token. It is a compact, URL-safe means of representing claims to be transferred between two parties. The token is generated by the server after successful authentication and is stored on the client-side. Each time the user makes a request to an API, the token is sent to the server for verification. If the token matches the server's records, the server responds with the requested data.
Why is JWT preferred over session cookies for authentication?
-JWT is preferred over session cookies because it allows for stateless authentication, which is more scalable in distributed systems. It reduces the need for server storage and can be easily used across different domains and services.
What is the first step to implement JWT in a Node.js application?
-The first step to implement JWT in a Node.js application is to install the 'jsonwebtoken' package on the server side. This can be done using npm with the command 'npm install jsonwebtoken' or using yarn with 'yarn add jsonwebtoken'.
How is the JWT token generated in the Node.js server?
-In the Node.js server, after successful login verification, the server generates a JWT by using the 'jsonwebtoken' library. It takes the user's ID and a secret key, along with an expiration time, to create the token.
Where should the secret key for JWT be stored in a production environment?
-In a production environment, the secret key for JWT should be stored in an environment variable (e.g., in a .env file) to keep it secure and not hard-coded into the application's source code.
How long does a JWT token last in the given example?
-In the provided script, the JWT token is set to expire in 300 seconds, which is approximately five minutes.
How is the JWT token sent to the client-side in the application?
-After the token is generated on the server, it is returned as part of the response to the client-side. The client-side application then stores this token, typically in local storage.
What is the purpose of storing the JWT token in local storage on the client-side?
-Storing the JWT token in local storage allows the client-side application to easily access the token for subsequent requests to the server, ensuring that the user remains authenticated without needing to log in again.
How does the server verify the JWT token for subsequent API requests?
-The server verifies the JWT token by extracting it from the request headers, using the 'jsonwebtoken' library's verify method with the secret key. If the token is valid and not expired, the server processes the request; otherwise, it returns an error.
What happens if the JWT token is not provided or is invalid?
-If the JWT token is not provided or is invalid, the server responds with an error message indicating that a token is required or that the token is not authenticated.
How can the user check their authentication status using JWT in the front-end?
-In the front-end, a button is provided that, when clicked, sends a request to the server with the JWT token. The server then checks the token's validity and responds with the authentication status.
Outlines

This section is available to paid users only. Please upgrade to access this part.
Upgrade NowMindmap

This section is available to paid users only. Please upgrade to access this part.
Upgrade NowKeywords

This section is available to paid users only. Please upgrade to access this part.
Upgrade NowHighlights

This section is available to paid users only. Please upgrade to access this part.
Upgrade NowTranscripts

This section is available to paid users only. Please upgrade to access this part.
Upgrade NowBrowse More Related Video
5.0 / 5 (0 votes)


