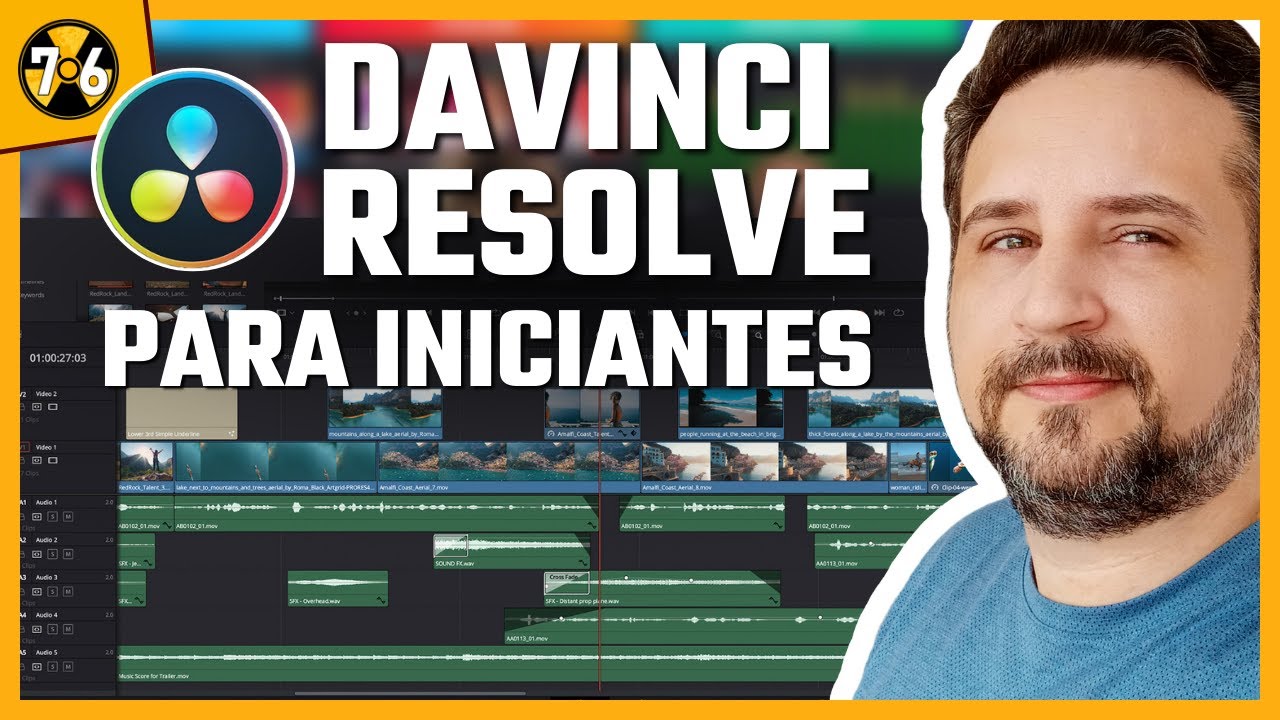
Exporting AAF Media from Davinci Resolve for Sound Design

Audio Production and Post Production
11 Jun 202405:01

Summary

TLDRThis tutorial video guides on exporting AAF from DaVinci Resolve for sound designers. It emphasizes including a sync point at the project start for syncing later. The video covers selecting the export range, adjusting render settings for AAF with frame handles and audio format, and exporting video separately in QuickTime format with H264 codec. It also discusses audio settings like bit depth and sample rate, and how to render and organize files for sound design in ProTools.

Takeaways

  • 🎡 Start by including a sync beep at the beginning of the project for easier syncing later on.
  • πŸ“½ Ensure the in and out range of the project is complete before exporting to include all necessary content.
  • πŸ”§ When exporting, select 'Pro Tools' in the render settings to prepare the file for sound design.
  • πŸ“ Create a new folder with your project name and include 'aaf' in the file name for organization.
  • 🎞 Choose to export video separately to manage file sizes and ease of handling.
  • πŸŽ› Set the audio format to WAV, codec to linear PCM, and frame handles to 1000 for flexibility in audio editing.
  • πŸ”Š Consider the bit depth; use 24-bit unless recorded in 32-bit, which requires a corresponding session setup.
  • πŸ“Ή For video, use 'Custom Export', choose 'QuickTime' format, and codec 'H264' for compatibility.
  • πŸ—‚ Include runtime timecode in the video to help the sound designer sync audio with video frame by frame.
  • πŸ”Š Normalize audio if necessary and set target loudness levels according to broadcasting standards.

Q & A

  • What does the acronym 'AAF' stand for in the context of the video?

    -AAF stands for Advanced Authoring Format, which is a file format used for exchanging audio and video data between different software applications.

  • Why is including a sync point at the beginning of a project important?

    -Including a sync point at the beginning of a project allows the sound designer and editor to sync the project correctly, ensuring that the audio and video are aligned.

  • What does 'Del' refer to in the script?

    -In the script, 'Del' likely refers to the 'Delete' key on the keyboard, which is used to select everything in the timeline.

  • Why is it necessary to ensure the in and out range is complete when exporting AAF?

    -Ensuring the in and out range is complete means that the range includes everything that you want to export, ensuring that no part of the project is missed.

  • What is the significance of frame handles in the context of audio post-production?

    -Frame handles are extra frames of video or audio that are included in the export. They allow the sound designer to trim the clip left or right without losing any of the original content.

  • Why might exporting an AAF without frame handles be problematic?

    -Exporting an AAF without frame handles could result in the sound designer not having enough material to trim the audio or video properly, potentially leading to lost content or synchronization issues.

  • What audio format and codec are recommended for exporting AAF in the video?

    -The recommended audio format is WAV and the codec is Linear PCM.

  • What is the purpose of rendering video separately when exporting AAF?

    -Rendering video separately allows for greater control over the video file, such as ensuring it is exported as a single clip rather than individual clips.

  • What video format and codec are recommended for exporting video in the script?

    -The recommended video format is QuickTime and the codec is H264.

  • Why is it important to include runtime time code when exporting AAF for sound design?

    -Including runtime time code allows the sound designer to sync everything frame by frame, ensuring precise synchronization between the audio and video.

  • What does the term 'bit depth' refer to in the context of audio recording?

    -Bit depth refers to the number of bits of information in each sample of audio, with higher bit depths providing greater detail and dynamic range.

Outlines

00:00

🎡 How to Export AAF from DaVinci Resolve

This video tutorial guides viewers on how to export an AAF file from DaVinci Resolve for sound designers. It emphasizes the importance of including a sync point at the beginning of the project for syncing purposes later. The process involves selecting the entire timeline, adjusting the in and out range to ensure everything is included, and setting render settings to export to Pro Tools. The tutorial advises creating a new folder with 'AAF' in the filename for clarity. It specifies exporting audio in WAV format with a linear PCM codec, setting frame handles to 1000 frames for trimming flexibility, and choosing bit depth based on the recording setup. The video also covers exporting video separately, with settings for QuickTime format and H264 codec, and provides instructions for rendering the video and audio files.

Mindmap

Keywords

πŸ’‘AAF

AAF stands for Advanced Authoring Format, which is a file format used in professional audio and video production. It is designed to facilitate the exchange of audio data between different software applications. In the context of the video, AAF is the format to which the final project is exported to send to sound designers. The script mentions exporting an AAF file with frame handles to allow sound designers to trim audio clips, highlighting its importance in post-production workflows.

πŸ’‘Sync PEEP

A sync peep is a reference tone or beep added to a project at the beginning to help synchronize audio and video. The video script emphasizes the importance of including a sync peep at the start of a project to ensure that sound designers and editors can sync the project correctly later on.

πŸ’‘Render Settings

Render settings refer to the options and parameters chosen when exporting or rendering a video or audio file. The script describes navigating to render settings and selecting Pro Tools as the destination for the AAF export, indicating the process of finalizing the project for audio post-production.

πŸ’‘Frame Handles

Frame handles are extra frames of video or audio added to the beginning and end of a clip to allow for more flexibility in editing. The video script specifies setting frame handles to 1000, which is crucial for sound designers to trim clips in post-production without losing any essential audio.

πŸ’‘Wave

Wave, or WAV, is a Microsoft audio file format standard for storing an audio bitstream on PCs. In the script, 'wave' is mentioned as the format for exporting audio, with a codec of linear PCM, indicating a standard and high-quality audio export for sound design.

πŸ’‘Linear PCM

Linear PCM (Pulse Code Modulation) is an uncompressed audio codec that represents the waveform of an analog signal by using a series of values. The script mentions using linear PCM as the codec for the wave files, ensuring high-quality audio that is suitable for professional sound design.

πŸ’‘Bit Depth

Bit depth refers to the number of bits of information in each sample of a digitized audio signal, which affects the quality and resolution of the audio. The script specifies a bit depth of 24 or 32, depending on the recording, which is important for maintaining audio quality during the export process.

πŸ’‘Render Queue

A render queue is a list of tasks that need to be rendered or exported in video editing software. The script mentions putting the AAF export settings into the render queue, illustrating the step where the export process is prepared for execution.

πŸ’‘Custom Export

Custom export allows users to specify unique settings for exporting media files that differ from the default settings. In the script, custom export is used to render the video as a single clip, which is then exported as a QuickTime file with h264 codec, suitable for compatibility with Pro Tools and other software.

πŸ’‘Audio Normalization

Audio normalization is the process of adjusting the audio levels so that the loudest part of the audio does not exceed a certain dB level. The script mentions normalizing audio and setting it to the standard for broadcasting and theater exhibitions, which is crucial for preparing audio files for various playback environments.

πŸ’‘Runtime Timecode

Runtime timecode is a sequence of numeric codes generated at regular intervals by a timecode generator. The script suggests including runtime timecode in the AAF file, which is essential for sound designers to sync audio with video frame by frame during post-production.

Highlights

Introduction to exporting AAF from DaVinci Resolve for sound designers.

Importance of including a sync beep at the start of the project.

How to ensure the in and out range is complete for exporting.

Instructions on how to select everything and zoom out in the timeline.

Navigating to render settings and selecting Pro Tools.

Explanation of why the file name cannot be changed and the workaround.

Details on changing the location and creating a new folder for the AAF.

The necessity of exporting video separately and the steps to do so.

Audio settings for exporting AAF: format, codec, frame handles, and bit depth.

Reasoning behind setting frame handles to 1000 for trimming purposes.

Advantages of rendering full extent versus frame handles for audio files.

How to set up the audio channels and bit depth according to the source.

Leaving file tab settings as is before exporting.

Process of exporting video separately using custom export settings.

Video export format and codec recommendations.

Importance of matching project settings for resolution and frame rate.

Explanation of subtitle settings and burning them into the video.

Final audio settings before exporting: codec, sample rate, bit depth, and normalization.

Setting target labels and loudness levels for audio normalization.

Instructions on adding jobs to the render queue and exporting.

How to include runtime time code for syncing purposes.

Importance of matching runtime time code in the picture with audio post-production software.

Review of the exported AAF files and their organization in the created folder.

Guidance on importing AAF into audio post-production software.

Link to additional videos on importing AAF into Pro Tools and starting sound design.

Conclusion and anticipation for the next video in the series.

Transcripts

play00:00

[Music]

play00:07

hi welcome to sound and Melodies In this

play00:10

video we're going to see how to export

play00:12

aaf from thein resolve to send to sound

play00:16

designers at the beginning of the

play00:18

project make sure to include a sync peep

play00:21

that will later allow the sound designer

play00:23

and Editor to sync the project

play00:26

correctly once the editing is done go to

play00:29

Del

play00:30

Del and select everything and let's zoom

play00:34

out and make sure the in andout range is

play00:38

complete meaning that the range includes

play00:41

everything that you want to export

play00:43

aa4 and once the range is selected we go

play00:47

to render

play00:50

settings and select prot tools you can't

play00:55

seem to change the file name for some

play00:59

reason but it's all right let's change

play01:02

the

play01:03

location browse for location and select

play01:06

this AV scratch folder and there I'll

play01:09

create a new folder called AA this

play01:12

should be your project name folder and

play01:14

include aaf in the file name so that

play01:17

it's easier to understand and it will

play01:19

change the location here and we're going

play01:22

to export video separately so let's

play01:24

uncheck that and in the audio this is

play01:28

what we need the format is wave and codc

play01:31

is linear PCM and frame handles let's

play01:35

make it 1,000 this allows the sound

play01:38

designer to trim the clip left or right

play01:41

in the audio post production

play01:43

software you can also render full extent

play01:47

but that will mean that the audio files

play01:49

may be extremely large but definitely do

play01:52

not export an aaf without any frame

play01:56

handles and in the channels it can be

play01:59

same as source

play02:00

the bit depth is 24 unless the sound

play02:03

recordist has recorded it in 32 bit but

play02:06

that would mean that You' have to have

play02:08

your session set up in such a way that

play02:10

your audio settings has 32 bit as well

play02:13

in the file tab I will leave everything

play02:15

as it is and that's all we need and we

play02:18

can put this to render queue and for

play02:23

video we go to custom export and again I

play02:27

can't change the file name here but it's

play02:29

all right

play02:30

and I'll render as single clip and not

play02:32

individual Clips this will give me full

play02:33

video as one file and I'll click export

play02:36

video and here the format should be

play02:39

quick time and cod can be h264 it works

play02:43

very well with Protools and nendo and

play02:46

the resolution you can change according

play02:48

to your project settings and the frame

play02:50

rate also according to your project

play02:52

settings then let's go to advance we

play02:55

don't need anything here and in subtitle

play02:57

settings if you have any subtitles in

play02:58

your project you have have to click that

play03:00

and burn into video and let's check

play03:05

everything once go to audio codc linear

play03:08

PCM sample rate

play03:10

48,000 bit depth 24 and audio

play03:14

normalization we can normalize audio

play03:17

just in case if you want and we can put

play03:21

this at evu r128 which is the standard

play03:24

for broadcasting and uh theater

play03:28

exhibitions Target label is maximum Peak

play03:31

or true Peak we can put it at minus one

play03:33

and uh Target loudness is set

play03:35

automatically and we can now put this to

play03:38

render q and once the render Q jobs are

play03:42

there we can just click render all and

play03:45

it will start to export a AF file

play03:48

including a video for

play03:51

us additionally it would be helpful for

play03:56

the sound designer to have a runtime

play03:59

time code included which allows the

play04:01

sound designer to sync everything frame

play04:04

by frame and also make sure that the

play04:07

runtime time code in the picture is the

play04:10

exact time code in the audio

play04:12

postproduction

play04:16

software okay now the AA files are

play04:20

exported let's see in the folder that we

play04:22

created and we'll find a lot of wab

play04:26

files including one aaf file

play04:30

and when the video export will be done

play04:32

it will also appear there as mob file

play04:35

and when it's all done we can import the

play04:38

aaf file in audio post production

play04:41

software and start the sound design

play04:44

process and on the topic of how to

play04:46

import AA into Protools and start

play04:49

organizing the files and start the sound

play04:51

design there are a few videos in the

play04:53

channel that you can check out and I'll

play04:55

put the link in the description as well

play04:57

and finally thank you for watching this

play04:58

video and we'll see see you in next one

Rate This
β˜…
β˜…
β˜…
β˜…
β˜…

5.0 / 5 (0 votes)

Related Tags
Exporting AAFSound DesignResolve TutorialAudio EditingVideo Post-ProductionAAF FilePro ToolsMedia ExportSyncing ProjectsAudio Post